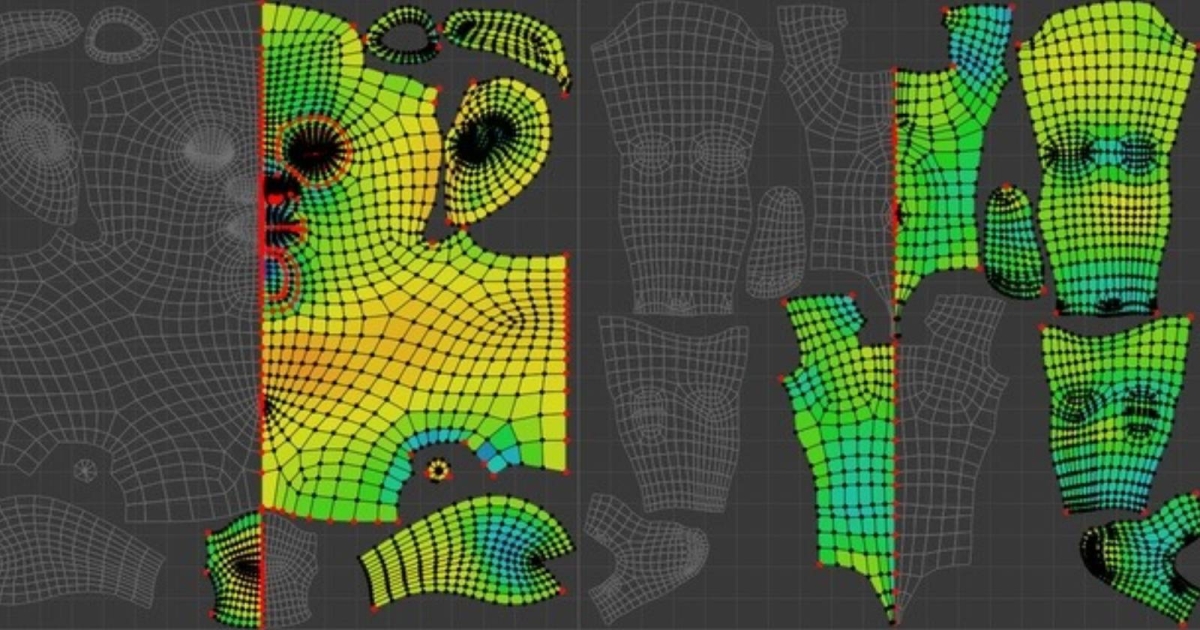
There isn’t a universal method for creating UV maps, as the process can vary depending on the project. 3D Artist Julien Kaspar has gathered some useful tips and production advice, offering an inside look at how Blender Studio tackles character, prop, and set creation in their open movie projects and sharing techniques you can apply to your own work.
The three-part UV series is complete, but please note that the second and third parts are behind a paywall, as Blender Studio offers their materials through subscription to support the Blender mission of content creation and production pipeline testing.
The first article is organized around specific use cases and their requirements, but it does not cover projection mapping, complex procedural shaders, or Geometry Nodes. Additionally, it doesn’t dive into step-by-step instructions. Julien covers texture painting and baking, emphasizing the importance of minimizing area and angle stretching and exploring the choice between painting in 2D or 3D, demonstrating Live Unwrap feature and symmetry to streamline the process.
Blender Studio
Blender Studio
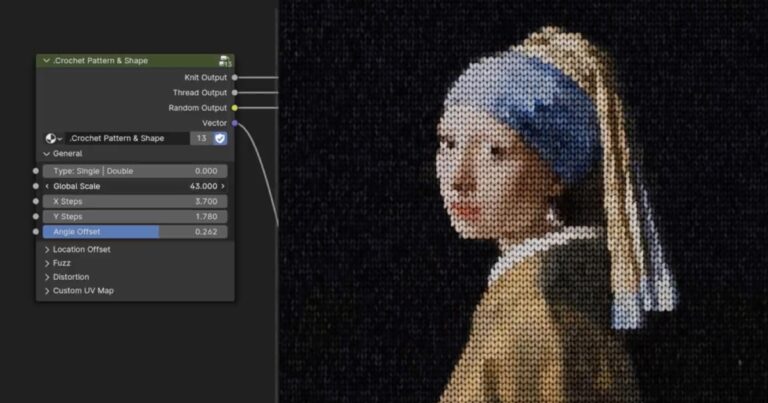
Sometimes, tiled or procedural textures (or even Geometry Nodes) are added to a material, so it’s better to use a separate UV map for these patterns. Julien goes into making the UV map match real fabric patterns or make it focused on just specific areas that need a repeating pattern mapped on them. If a UV map is used exclusively for tiling, there is no need to worry about overlapping UVs, and it’s better to place seams only where they realistically make sense or where they are hidden.
Read the UV unwrapping guide here and check out Packing UV Maps for Production and Working with UV Smoothing articles.
Don’t forget to join our 80 Level Talent platform and our new Discord server, follow us on Instagram, Twitter, LinkedIn, Telegram, TikTok, and Threads, where we share breakdowns, the latest news, awesome artworks, and more.
