

TECHWORLDTIMES.COM
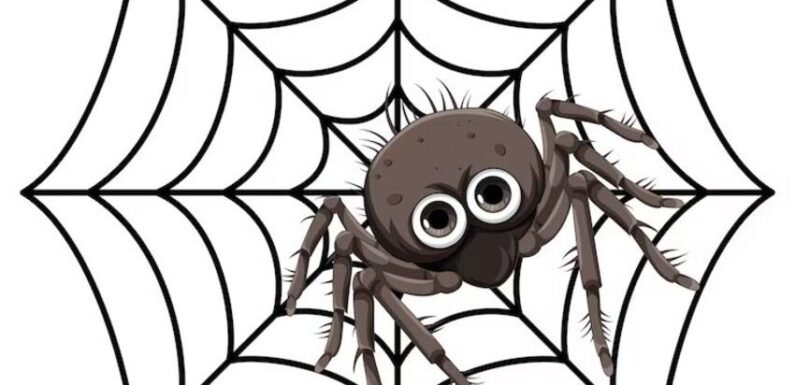
Spider Drawing Easy: How to Draw a Spider in Simple Steps
Posted on : April 30, 2025
By
Tech World Times
Technology
Rate this post
Drawing a spider can seem tricky. But don’t worry! With just a few steps, you can create a cool spider. Whether you are a beginner or just looking for a fun activity, this Spider Drawing Easy tutorial is perfect for you. Let’s break it down into simple steps.
Materials You Will Need
Before starting, make sure you have everything ready:
Paper (any size you prefer)
Pencil (for sketching)
Eraser (for fixing mistakes)
Black marker or pen (for outlining)
Colored pencils or markers (optional for color)
Once you have your materials, you are ready to start drawing!
Step 1: Draw the Spider’s Body
The first step in any Spider Drawing Easy guide is to draw the body. Start with a simple oval shape. This will be the main body of the spider.
Draw a medium-sized oval in the center of your page.
This oval should be slightly wider at the top, like the body of an insect.
Make sure the oval is big enough to hold the spider’s legs but not too large. The size will depend on how big you want your spider to be.
Step 2: Add the Spider’s Head
Now, draw the spider’s head. This part is easy to add, as it is just another small oval.
Draw a smaller oval shape near the top of your first oval (the body).
The head should be smaller than the body but still clear enough to see.
Position the head towards the front of the body so the spider looks realistic.
Step 3: Draw the Legs
The spider’s legs are what make it look like a spider. Don’t worry; drawing the legs is easier than it seems.
Start by drawing 4 legs on each side of the body.
Use curved lines for each leg.
The legs should start thin at the body and gradually get wider at the ends.
Each leg will have two or three curves, making the spider’s legs look natural. Try to make the legs look like they are spread out from the body.
Tips for Drawing the Legs:
The legs should not be too straight. Make them a little wiggly or bent.
Try to make the legs symmetrical on both sides.
Step 4: Add the Details
Now it’s time to add the details that make your spider unique.
Draw small circles on the spider’s head for its eyes. You can add anywhere from 2 to 8 eyes depending on the type of spider you want.
Add small lines along the legs to give them texture. These lines will show that the legs are segmented.
This step is where you can get creative. If you want, you can add patterns to the spider’s body or legs. Some spiders have dots or stripes, so feel free to add these!
Step 5: Outline the Spider
Once you are happy with your sketch, it’s time to make it stand out. Use a black marker or pen to outline the spider.
Carefully trace over all the lines you’ve drawn with a pen.
Make sure the lines are bold and clear. You can leave the eyes and legs outlined in smaller strokes for extra detail.
Remember to go slow. If you make a mistake, you can always erase it and try again.
Step 6: Color Your Spider (Optional)
If you want to make your Spider Drawing Easy even more fun, you can add color.
Spiders can be many colors. You can use brown, black, or even red.
Add darker shades to the body for a more realistic look. Use a lighter color on the legs or head.
Use colored pencils, markers, or crayons to add life to your spider drawing.
Feel free to get creative with your colors. Some spiders have vibrant colors, while others are more plain.
Step 7: Final Touches
After outlining and coloring, take a step back and look at your drawing. Are there any areas that need more detail? You can add more shading or extra patterns to make it pop.
Use your eraser to clean up any extra pencil marks.
Add small shadow lines under the spider to give it depth.
Helpful Tips for a Perfect Spider Drawing
Practice First: If you’re unsure about any of the steps, practice on scrap paper first.
Use References: Look at photos of real spiders for inspiration on how to draw the legs and body.
Keep It Simple: If you’re a beginner, focus on simple shapes and lines. You can always add details later.
Stay Symmetrical: Make sure the legs are evenly spaced on both sides of the body.
Take Your Time: Don’t rush through the steps. The more time you spend, the better your drawing will look.
Why Drawing Spiders Is Fun
Drawing spiders is not only easy, but it’s also a great way to practice your drawing skills. Spiders are unique creatures with lots of interesting features to observe. Plus, they are often a fun and spooky theme to explore.
By following this Spider Drawing Easy guide, you can create a simple, yet cool, spider drawing that will impress your friends and family. Whether you’re drawing a cartoonish spider or a realistic one, the steps will always work for you.
Conclusion
Drawing a spider doesn’t need to be hard. With these easy steps, you can create a cool spider drawing in no time. All you need is a little practice and patience. From drawing the body to adding the details, each step brings you closer to your final masterpiece.
So grab your paper and pencil, and follow these simple steps. You’ll have a fantastic spider drawing in no time. Remember, Spider Drawing Easy is all about having fun and enjoying the process. Happy drawing!
Tech World TimesTech World Times (TWT), a global collective focusing on the latest tech news and trends in blockchain, Fintech, Development & Testing, AI and Startups. If you are looking for the guest post then contact at techworldtimes@gmail.com
0 Commentarios
0 Acciones
75 Views