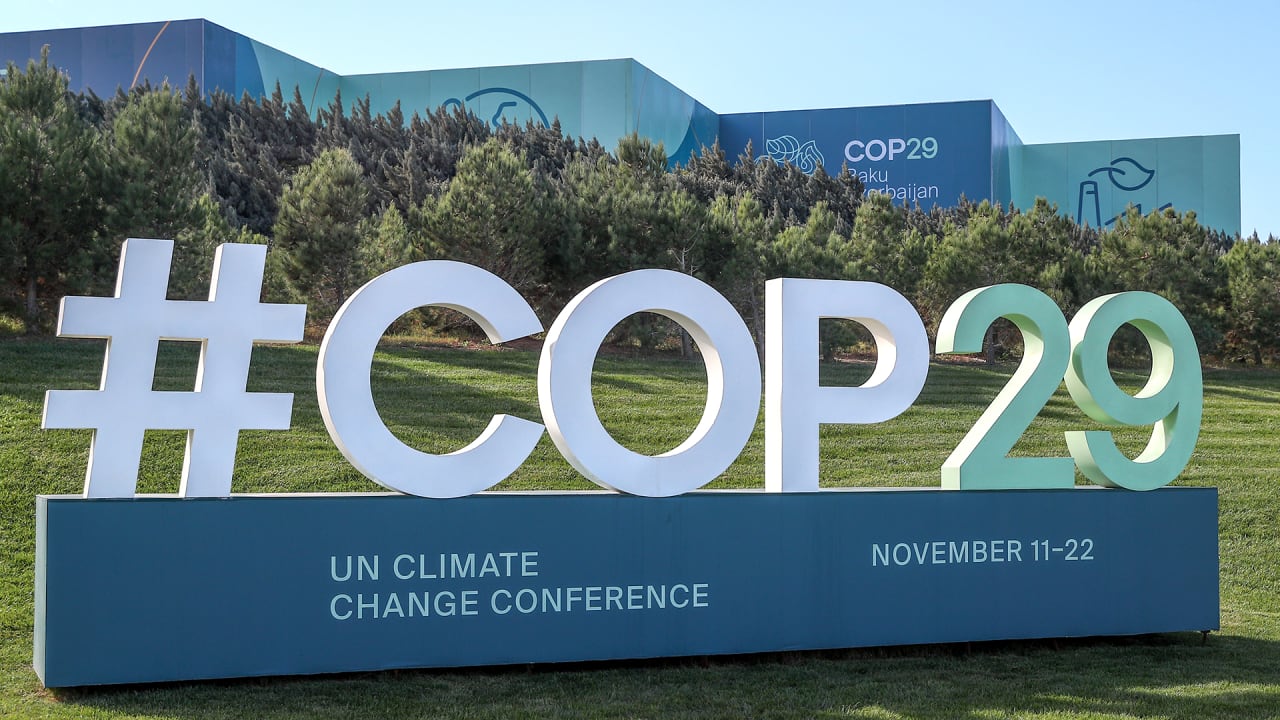
From new goals to climate reparations, 5 things to watch at COP29
Its possible there has never been a worse time for the United Nations to hold negotiations on climate change. Post-pandemic inflation has upended countries around the world, straining public budgets and distracting governments from climate action. Conflicts in Ukraine and the Middle East continue to rage, scrambling the priorities of powerful countries like Russia, Iran, and those of the European Union. To top it all off, the United States just elected Donald Trump, who has called climate change a hoax and removed the U.S. from the 2015 Paris climate agreement during his first term in office.Nevertheless, in a few days thousands of negotiators and activists will convene in Baku, Azerbaijan, to try to make progress on the global climate fight. This years conference, known as COP29, is widely acknowledged as a transitional affair without the marquee significance of the 2015 Paris talksor even last years summit in Dubai, which saw the worlds nations finally agree to move away from fossil fuels. Still, next week negotiators plan to hash out key issues that could determine both how the world mitigates carbon emissions and also how it addresses the mounting toll of climate disasters in developing countries.Heres what to look out for:A new goal for international climate aidThe topline agenda item at COP29 is the so-called new collective quantified goal, a target stipulating how much climate aid money wealthy countries should send to poorer countries. This funding is supposed to help developing nations transition to renewable energy and adapt to climate effects like droughts and sea-level rise. Negotiations will be tense, because wealthy countries have reneged on past commitments, and much of the money they have sent has been in the form of costly loans, or else has been of questionable value for the climate fight. All this is all on top of the fact that developing countries and many experts contend that current aid commitments are insufficiently low. A U.N. report released earlier this week found that adaptation efforts in particular are underfunded to the tune of between $180 and $360 billion per year.Its not just about the volume of money, said Emilie Beauchamp, an advocate with the International Institute for Sustainable Development, a climate-focused think tank. It is about whether the finance actually reaches the ones who need it the most.Negotiators aim to settle on a new goal by the end of COP. Vulnerable nations are pushing for an annual commitment that totals in the trillions of dollars. But there are still key questions about who should have to pitch in money, and who should receive it. The United States and Europe have called for massive economies like China and wealthy petrostates like Saudi Arabia to contribute funds even though they were considered developing nations when the UN first began to negotiate over climate change. These countries have resisted these calls, pointing to the fact that the United States and Europe are responsible for more total emissions historically. This geopolitical deadlock has held up progress on the negotiations for months, and its key to an overall global agreement on climate aid.Picking up slack from the U.S.The first few days of every COP feature a parade of announcements from world leaders and their senior ministers, who take the stage to toutand quantifytheir countrys commitment to the climate fight. This years round of announcements will feature an elephant in the room: The United States, which is the worlds largest economy and its largest historic emitter, is likely to formally pull out of the international climate fight as soon as Trump takes office next year. Current President Joe Biden isnt attending COP, and even if his senior administration officials make new pledges, they may be hard for other countries to take seriously.The question is whether other big emitters, in particular China and the European Union, step up their ambition in an effort to bridge the gap that Trump will likely create. Ministers from these countries have likely already been preparing for a Trump victory. But because both Europe and China have been struggling through economic malaise in recent years, its unclear how much other governments will be willing to promise when it comes to clean energy and adaptation investment.Coordinating the global energy transitionThe big news out of last years COP28 was the U.A.E. consensus document, an agreement in which all the worlds major economies, including the United States and petrostates like Saudi Arabia, pledged to move away from fossil fuels. Language calling for transitioning away from fossil fuels in energy systems, in a just, orderly and equitable manner, was painstakingly crafted, but now it has to be put into practice. The summit in Baku is unlikely to see another agreement of this scale, but individual countries will be detailing more specific commitments they plan to make to move that energy transition forward.One of the biggest action items is the regulation of methane, a greenhouse gas that is orders of magnitude more potent than carbon dioxide. The U.S., the European Union, and Canada have all unveiled sweeping new regulations of methane from oil wells and industrial facilities in recent years, but negotiators at COP are likely to make new progress on restricting methane from agriculture, which accounts for around a third of global emissions of the gas.A couple of years ago [agriculture] was kind of the third rail of methaneyou didnt want to touch it because the politics around it were so, so bad, said Jonathan Banks, a senior policy advisor at Clean Air Task Force, referring to backlash from farmers in countries such as the Netherlands. But weve turned a corner on agriculture.There will also be big debates about the role of nuclear energy, which in recent years has sparked renewed interest from countries looking for round-the-clock power that does not emit carbon, as well as carbon removal and storage technologies, which the oil industry has touted as a key way to cut down emissions. There are fierce disagreements both within and between countries about whether or not these technologies constitute climate solutions; a line in last years COP28 agreement, which suggested that coal power could be used for decades as long as it was accompanied by carbon capture, ignited strong objections from some negotiators.Hashing out climate reparationsTwo years ago, longtime wealthy nations vowed to provide what amounts to reparations for their role causing climate change. Because these early-industrializing nations have emitted the most greenhouse gasses historically, the argument goes, they should send money to poor countries to help them recover from climate-fueled disasters that the latter did little to cause. This commitment was the realization of a demand that small island states and developing countries in Africa had been seeking for years.But the devil is in the details: The new loss and damage fund is housed at the World Bank, which has a troubled legacy with developing countries, and wealthy nations have only capitalized the new fund to the tune of $700 million, a sliver of the total need. The big question at this years COP is whether this fund can get off the ground or whether it will get so bogged down in bureaucracy that it fails to meet the challenges faced by the countries it was intended to help.Squabbling over carbon marketsOne of the major ways that large companies claim progress toward their emissions reduction targets is through whats known as the voluntary carbon market. It works like this: When climate pollution is too difficult or expensive to directly abate, a company can simply buy credits representing prevented or sequestered emissions elsewhere (say, through an afforestation project that promises to keep carbon locked up in the trunks of newly-planted trees). Now, the United Nations is trying to create its own carbon marketbut for countries, not companies. The goal is to give nations more ways to cooperate to meet their Paris Agreement targets.Some experts say such a market could expedite global emissions reductions and lower the cost of climate mitigation. But the issue is extremely contentious, and environmental groups are concerned that a U.N.-backed carbon market will replicate the same shortcomings as those seen in voluntary markets. Some scientists have criticized carbon markets for legitimizing junk offsets that dont permanently keep carbon out of the atmosphere, or that were going to happen anyway.At last years COP, diplomats made no progress whatsoever on developing the U.N. carbon market, disagreeing over the types of carbon credits that should be eligible for trading and on the methodologies used to generate them. This years COP president has promised to get the market to the finish line, but disagreements are likely to persist. Some commentators say Trumps reelection has dampened enthusiasm for a strong outcome.Joseph Winters contributed reporting to this article.This article originally appeared in Grist at https://grist.org/international/here-are-the-5-issues-to-watch-at-cop29/. Sign up for Grists weekly newsletter here.Grist is a nonprofit, independent media organization dedicated to telling stories of climate solutions and a just future. Learn more at Grist.org