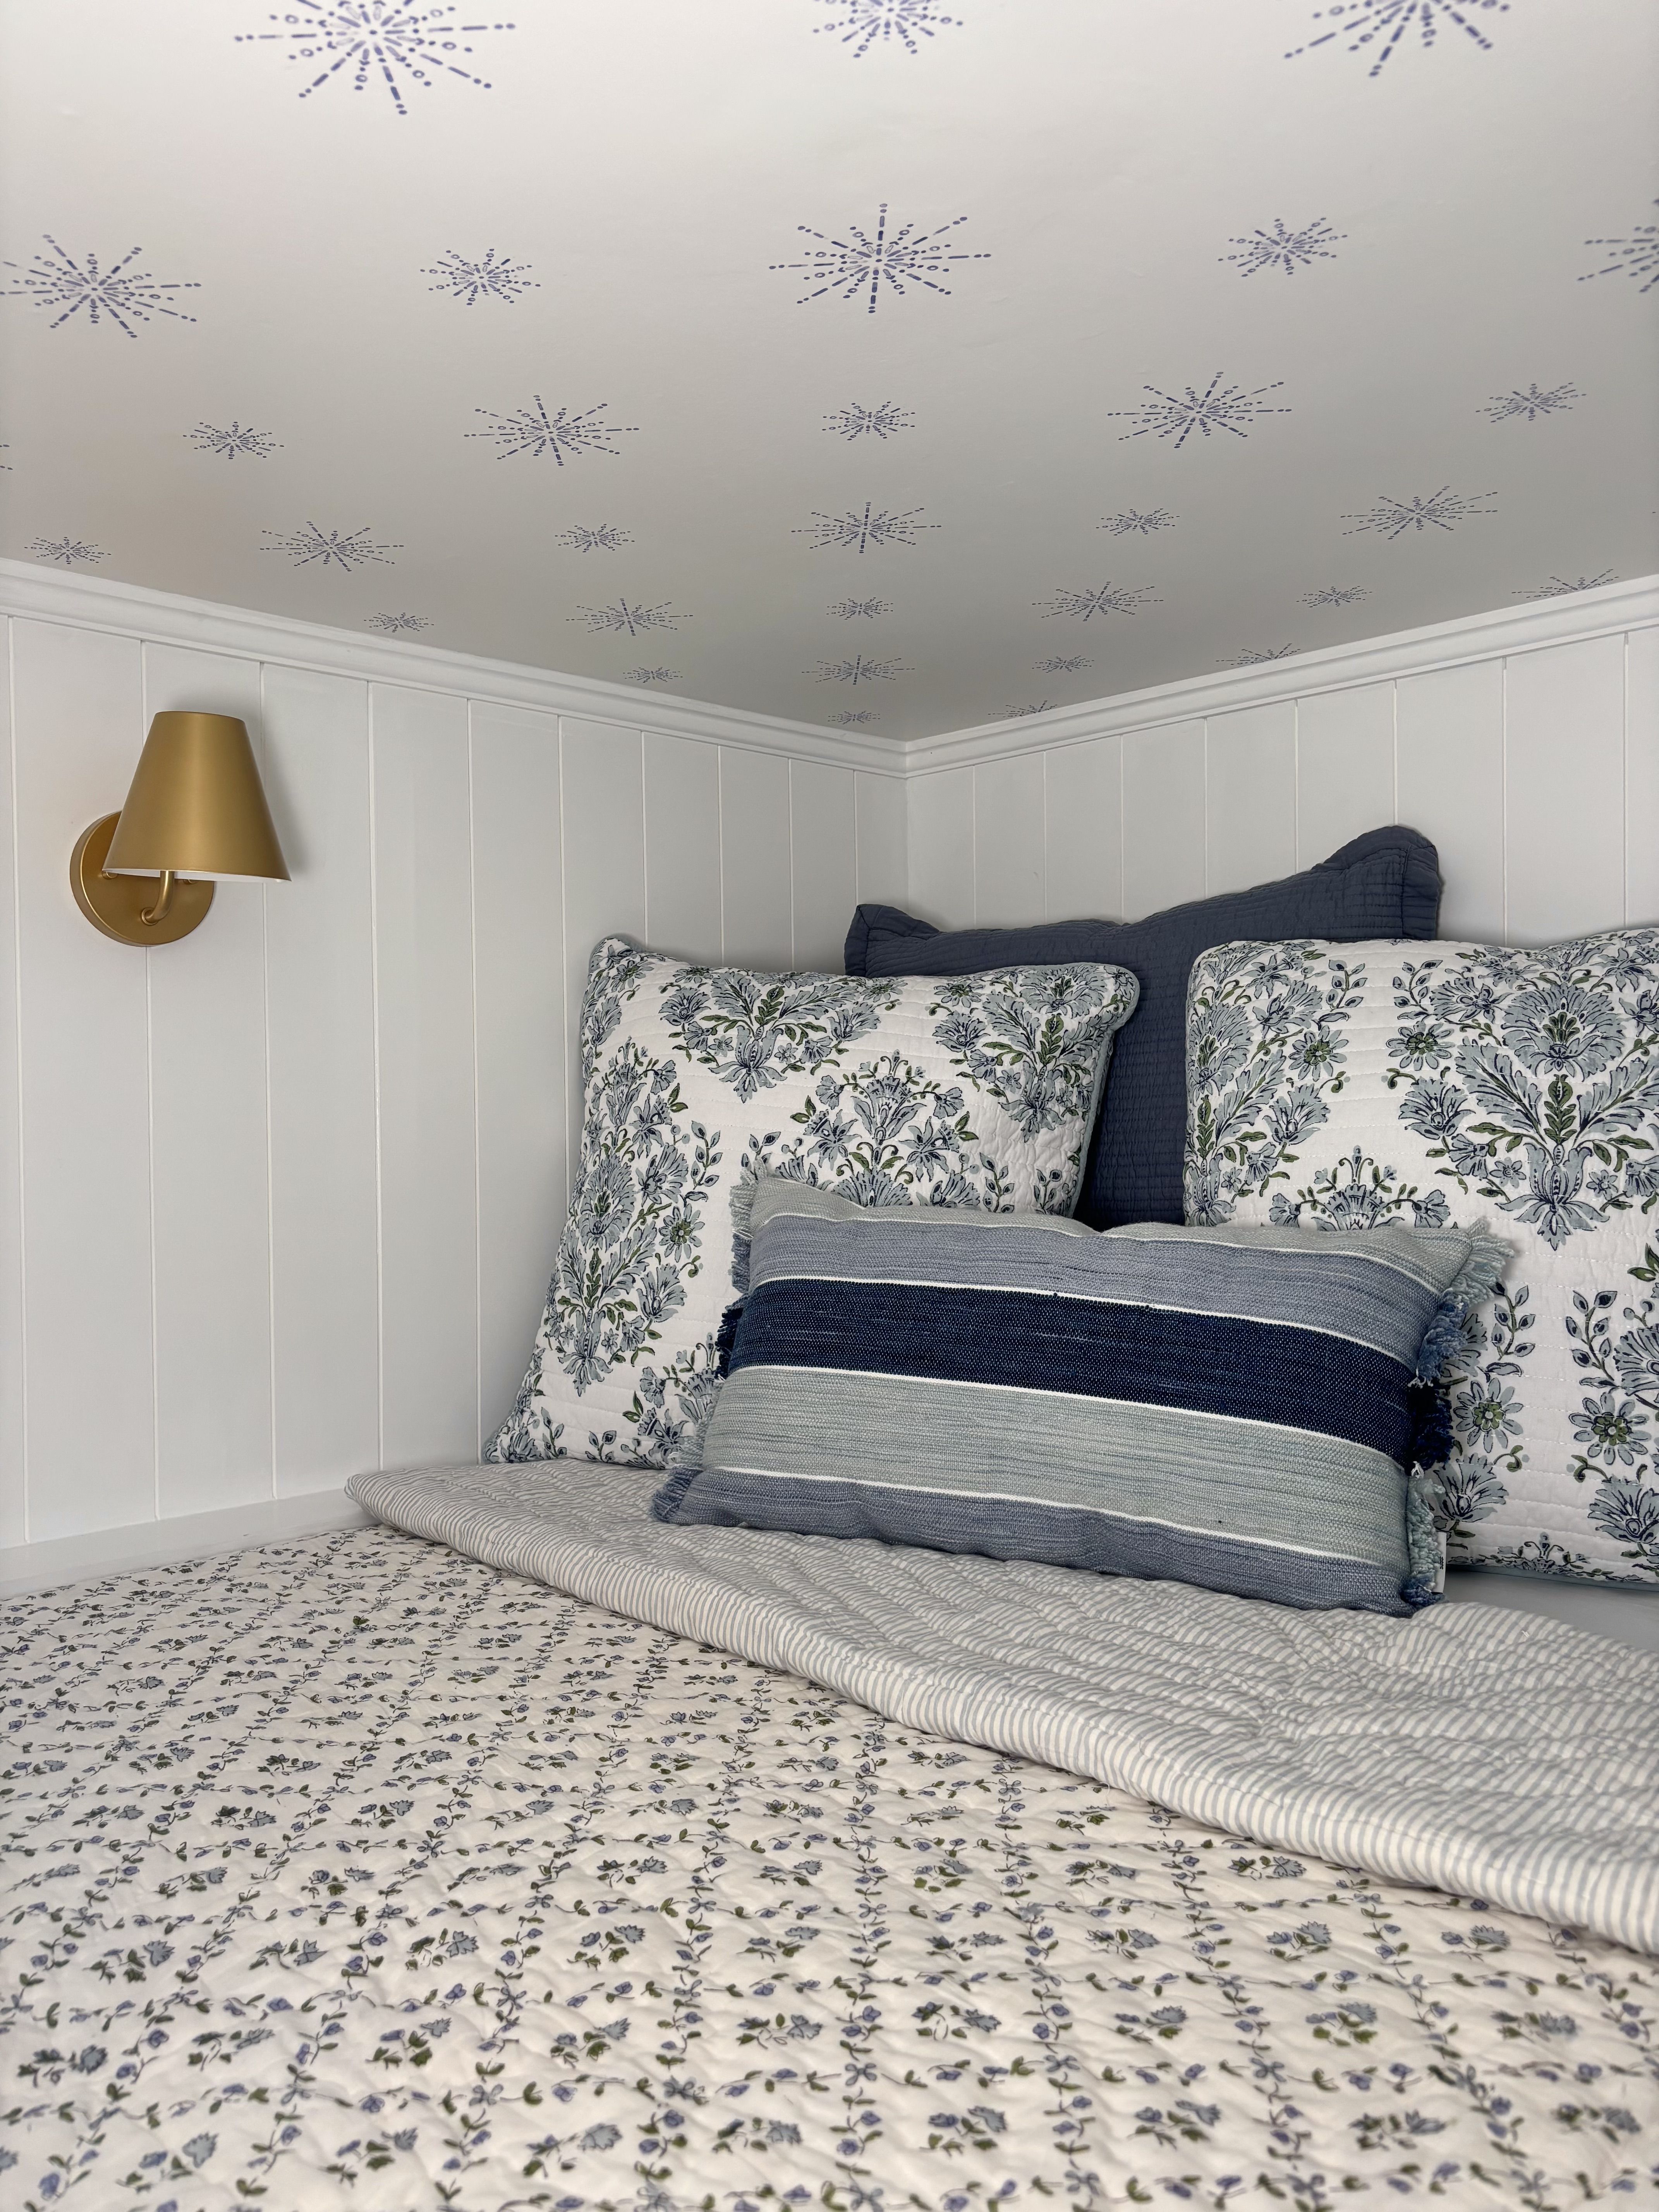
"Wildly Creative!" Fans Praise This Influencer for Her "Brilliant" Bunk Nook
www.housebeautiful.com
DIY designer Dodie Vanhooser just proved that small spaces can have big potential. When the owner and principal designer of Indigo House realized she didnt have enough spare rooms to accommodate her guests, she converted her studios closet into a bunk bed roomproblem solved.Ive been dreaming about turning this little closet off my studio into the cutest built-in bunkbeds forever, Vanhooser captioned the first in a series of Instagram videos documenting her efforts, adding, Well, the time has come, and the pressure is ON! In just seven days, Vanhooser (with a little help from family and friends) demoed and redesigned the storage space into a cozy sleep oasis. Followers swarmed to the comment section to sing the bunk nooks praises, calling Vanhoosers work wildly creative, impressive, and inventive, deeming the DIYer a space genius. So how did Vanhooser get from point A to point B in her latest renovation project? Were breaking down the tangible steps that went into transforming the unused space into a statement-making sleep nook in just a week.Related StoriesStep 1: DemolitionDodie VanhooserVanhoosers original closet space.How does one transform a closet into a bedroom of sorts? Demo, demo, demo. First, Dodie and her husband Tom removed the drywall, framing, baseboard, carpet, and wire shelving from the 59-inch-deep, 78-inch-wide closet. Next, she hired an electrician to remove any wiring from the closets original light fixture and rough in the new light switches. Last, the duo removed the studs of the wall, and cut and removed the bottom lumber plate that the studs rested on. In the end, Vanhooser told a commenter the space was perfect for full-size mattresses with a four-inch shelf behind [them]. Step 2: Building and FramingNow that Vanhooser had a blank canvas, it was time to get building. As soon as the lumber for this project was delivered, it was measured, marked, and cut for the structures framing. To ensure the beds were sturdy enough for kids to climb and play on, Vanhooser used four-inch structural screws to anchor the studs in place.I had decided to build these beds as a loft rather than a traditional bed construction for added strength and security, Vanhooser told House Beautiful. I probably overbuilt them, but I could put a baby elephant up there and not be worried. Ha! Related StoryStep 3: Heavy Lifting Once Vanhooser had a sturdy foundation to build off of, it was time to make the bunk beds look more like, well, beds! This involved cutting and wrestling plywood into place, installing plywood decking (these are thin pieces of plywood that have been glued together to make a thicker, sturdier sheet), and situating nickel gap-primed shiplap paneling along the walls. Last, but certainly not leastVanhooser says this step was the trickiest of the dayshe checked that the round cutouts for the light fixtures and switches were perfectly aligned and cut on both levels of the bunks.Pro Tip: Vanhooser tells House Beautiful she used vertical Nickel Gap Shiplap Paneling instead of installing traditional shiplap boards as it was a cost-saving and time-saving decision that once painted, looks the same.Step 4: Trimming and SecuringView full post on InstagramDay five was shiplap day, and Vanhooser had a little help from her son to complete it. The goal was to fit plywood sheets to the bunk beds frame. When the measurements were correct, Vanhooser and her son secured the underside of the top bunk and built shelves behind each mattress so guests could store books, their phones, a glass of water, etc. Step 5: Caulking and PaintingOnce the bunk beds were in place and secureand Vanhoosers patience was thoroughly testedit was time to focus on the spaces aesthetic. The day was mostly made up of Caulking!!! And more Caulking, Vanhooser says. Then she painted the walls with a semi-gloss enamel in a crisp white color. Waiting for the paint to dry would prove to be worth it.Step 6: DecoratingDodie VanhooserVanhooser's decorative touches included Indian block-print bedding and custom wallpaper on the ceiling.Decorating this bunk nook, Vanhooser tells her followers was, where the magic happened. The bunk beds were just big enough to fit two full-size mattresses. The DIY designer dressed the bedding in Indian block-print quilts from her travels in Jaipur, India, and matching pillowcases; each sleep space was allotted a dimmable lamp; and a rope ladder with tassel details completed the sleepytime loft. It was a week of hard work, but we have to say, we're seriously jealous of the lucky guests who get to enjoy this dreamy bunk bed nook.Dodie VanhooserThe finished bunk bed nook!Follow House Beautiful on Instagram and TikTok.
0 Comments
·0 Shares
·16 Views


