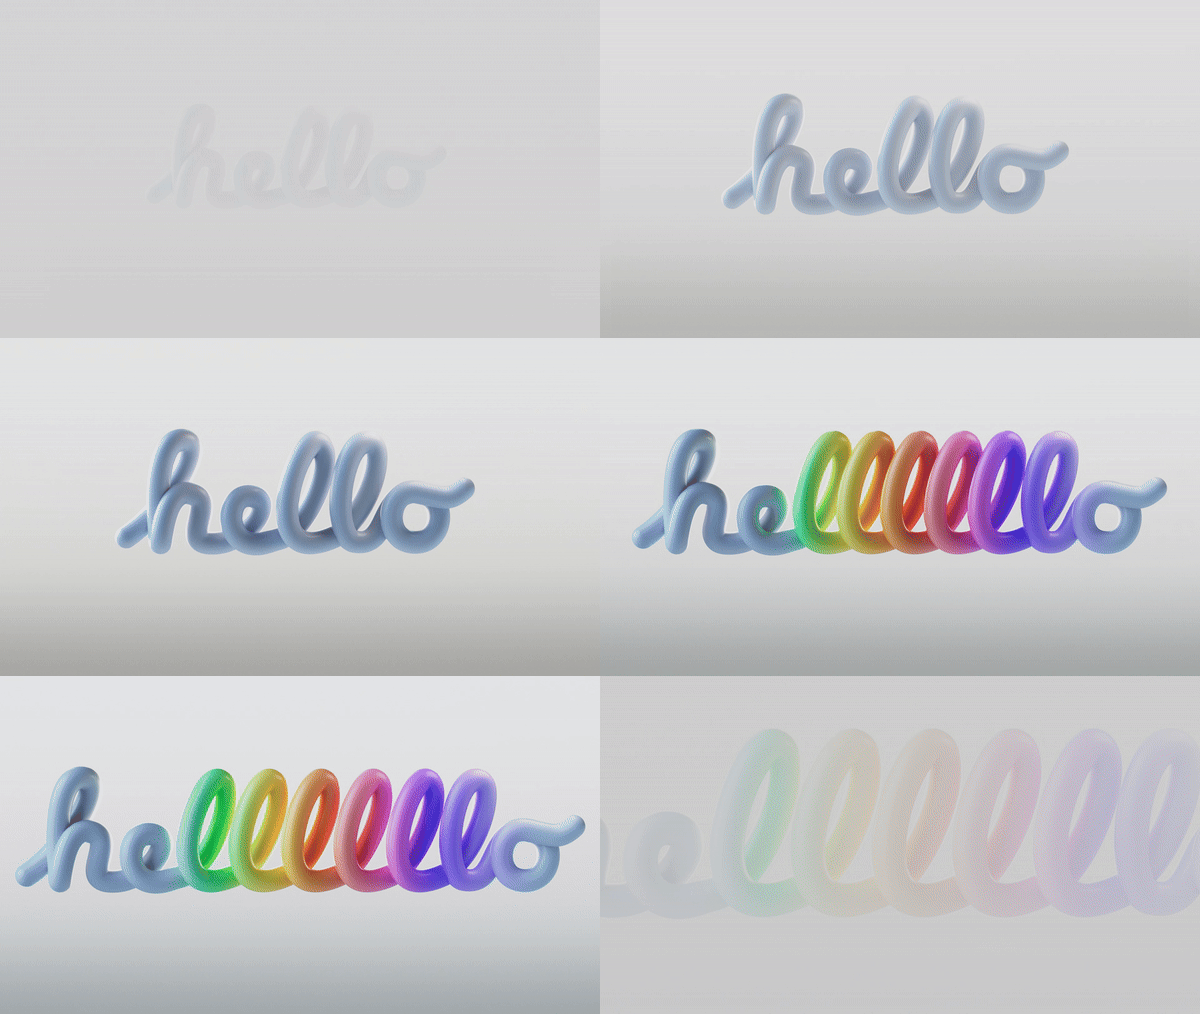
Recreate the Apple Hello 3D Text + Free Scene File
Well, hello! I was recently inspired by the latest Apple ad (you can see the full ad down below) and as soon as I saw the the opening animation, I knew I had to try to make it myself. Shoutout to all the artists who worked on this project! I knew the basics, hop into Cinema 4D with the spline pen tool and spell out hello but then what? Well I dont know how exactly they did it, but I knew I could find a way on my own. Creating the 3D text I started by tracing the hello reference text trying using as few spline points as possible. Then I jumped into an overhead mode to start separating the curves front to back so they werent touching, kind of the same technique youd use if you were working on writing out in neon letters. Next we need to break the script into pieces to create the L effect. Im certain they had a more elegant solution and more time, but Im going to cheat as much as I can here just to quickly get a similar look and feel. My hack was to clone the L shape and then animate it, relying on my camera meant any craziness in the back of the letters wouldnt be too visible. All the breaks in the letter are actually hidden by the transition, so it doesnt have to be perfect. Breaking 3D text into different parts and animating So we have our parts. The He are together as one element, and then the last lo are together as their own element. So the magic is all in the middle L. Here you can use a cloner and create a count of 5 that will expand out. Now you can certainly do this with keyframes, but Im going to use the Signal plugin to drive all of this. You can just set your in and out points, and then I used a linear ease effect so the L would duplicate really fast and then just slowly ease in to place. Whats super great is now I can just duplicate my Signal settings and apply them to the he and just make tiny tweaks to make it match. The lo doesnt have to do anything, so the he and l will do all the work moving. Now the next trick is to also make the camera move to it re-centers the animation. Guess what, its just Signal again. Now you can try different ease settings, I found that exponential out what the right fit for this project. Creating the rainbow color effect This was this trickiest part to figure out on the fly. What I settled on was creating a Redshift material and then using a few nodes to make a rainbow ramp. In a ramp node, you can go to the ramp and create a color effect. I added a different color for each l and then just adjusted the gradient ramp based on where the final l location was. Then how do we project that onto our hello text? Well the easiest solution was to use this as a flat projection. In your Material Tag editor, go to projection and change it from UV Mapping (which is usually the default) and change it to flat. Finally you just adjust your material scale and move it forward in front of your text. Then its just aligning the colors on your text. Lighting your 3D text For finishing touches its all about the lighting. First Im going to drop in and HDRI, and for this exact project I used the Church Entrance HDRI you can find in the Studio app. Again, I will use Signal and just add a slight rotation to the HDRI while it animates on. This HDRI is doing most of the work for lighting, but Im going to add a Rim Light to catch the text from the back. Its going to add a little bit of bounce light inside of the L. Then I put in a top light to drive some more reflection off the top of the letters. To get it looking even better, I added a couple bounce card. It keeps you from having to add more lights, and with a real photo studio trick you are just redirecting the existing lights and sending it back towards your text.


