Cinematic Post Processing Tips & Tricks in UE4: Part 2

Please be sure to read Part 1 of the blog post, found here.
VIGNETTING
Vignettes are a staple for achieving a believable cinematic look, and luckily there are several options to choose from.
First option is a custom Post Process Material I created to have more control over opacity and softness of vignettes in engine.
Custom Vignette Post Process Material
Here is what the Material looks like:
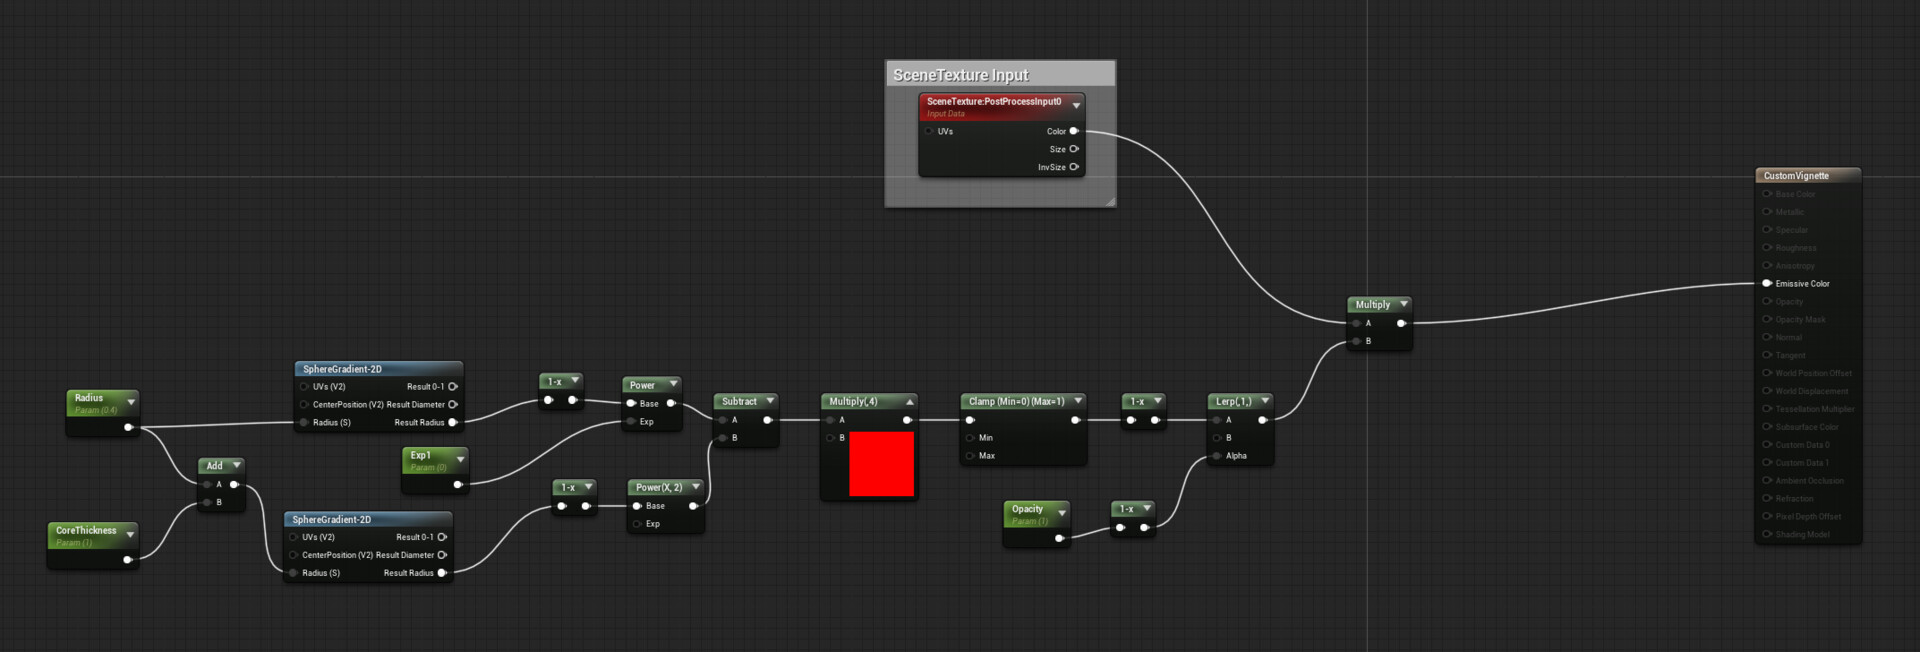
You have hardness, center, and opacity adjustments built in and I have gotten some good results with it so far! (if you don't push the values too far)
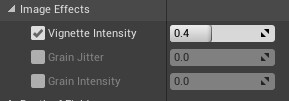
And we have the tried and true method. Post Process Volume vignette:
Post Process Volume Vignette
This is a solid method that yields good results, even if you have very little customizability, no need to cover this fully because it has plenty of documentation elsewhere.
It can be found here in either your Camera properties or your post process volume settings:
BARREL DISTORTION
Barrel Distortion Post Process Material
A staple for anamorphic emulation, barrel distortion gives your lenses a much more organic look that I personally adore. There is only one method inside of UE4 that I have discovered, which can be done through yet again a Post Process Material:
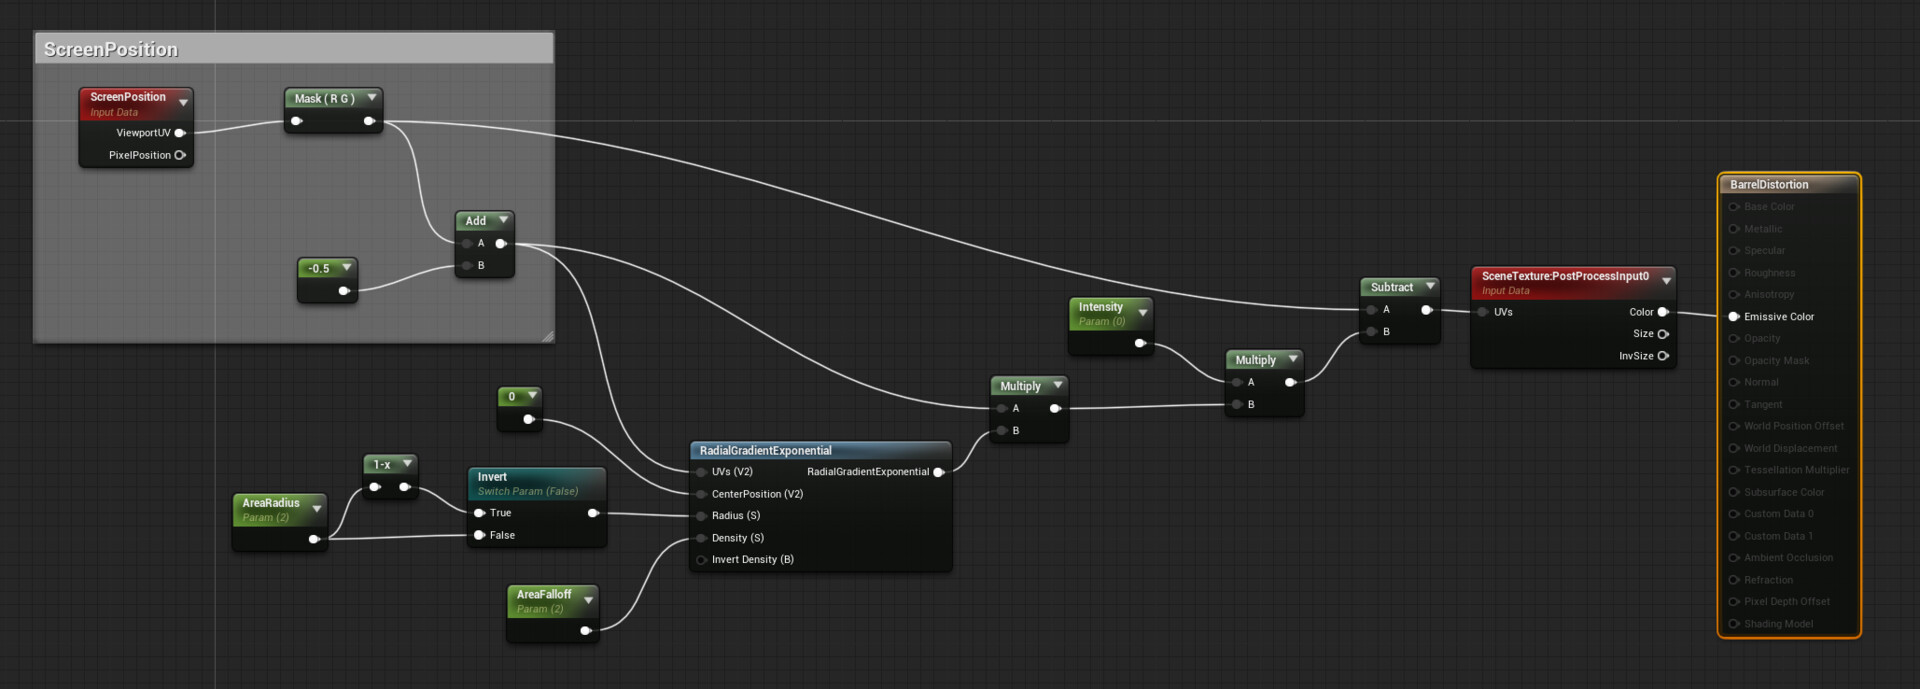
Here are what controls this material gives you:
BLOOM
Now for cinematic bloom that is not the default PPV bloom, we have two options.
Anamorphic Bloom
To add anamorphic bloom to your image, similar to what you would see using an anamorphic lens, all you need to do is type in this CVAR in your console. You do have to do this every session which can get annoying. This method was shown on a blog here, by Fabrice Piquet.
The CVAR that worked best for me was:
r.Bloom.Cross -1
Here is before the CVAR was in effect:
And after:
And here is how it reacts in motion:
Now, the other method of using bloom to make a frame more cinematic is to emulate film halation. While this is not technically a form of bloom it actually had to replace it entirely which is a drawback for sure, It uses the bloom controls in the Post Process Volume.
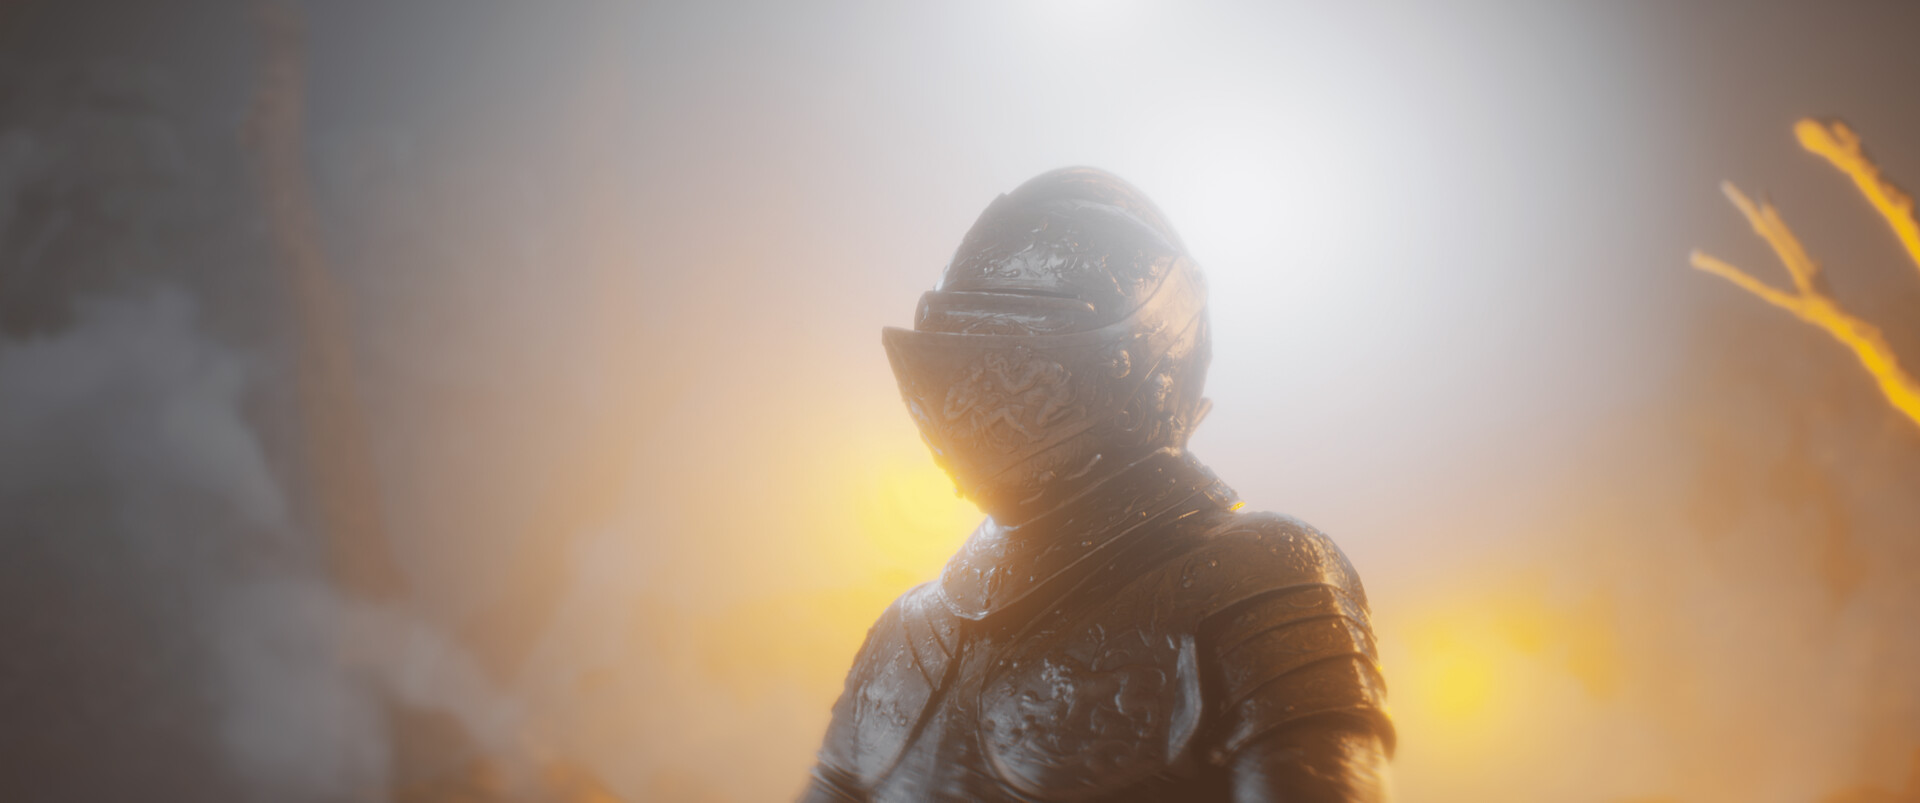
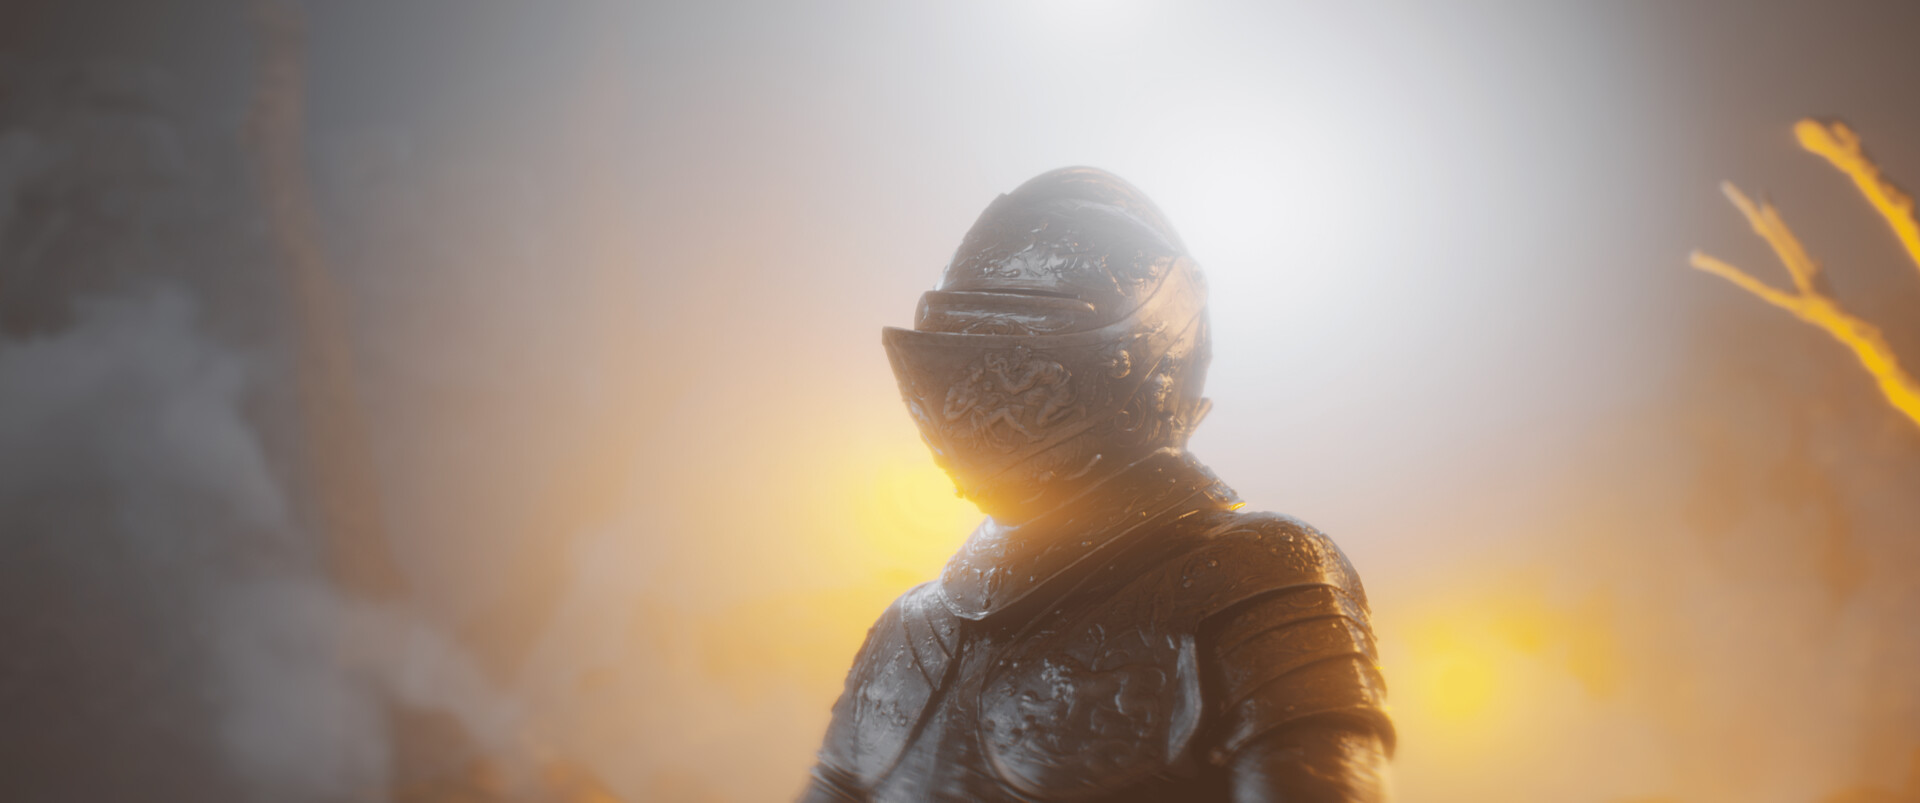
Film Halation
Without getting into it too far, film halation is a red glow around contrast points of a film negative that happens due to specific coatings of a negative.
You can learn about why it happens here:
https://prodigium-pictures.com/wp/insight09_halation-on-film-digitally-imitating-it/
Anyway, I like to emulate it sometimes in UE4, and it is remarkably easy to do.
All you need to do is open your PPV bloom settings, change every color to red but at the same brightness, and tweak your cutoff point.
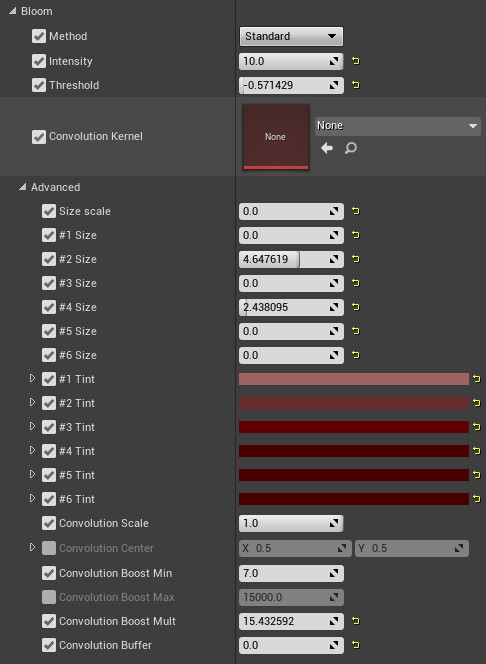
This can produce really satisfying halation to your image if you are not in need of traditional PPV bloom for your shots.
Halation off:
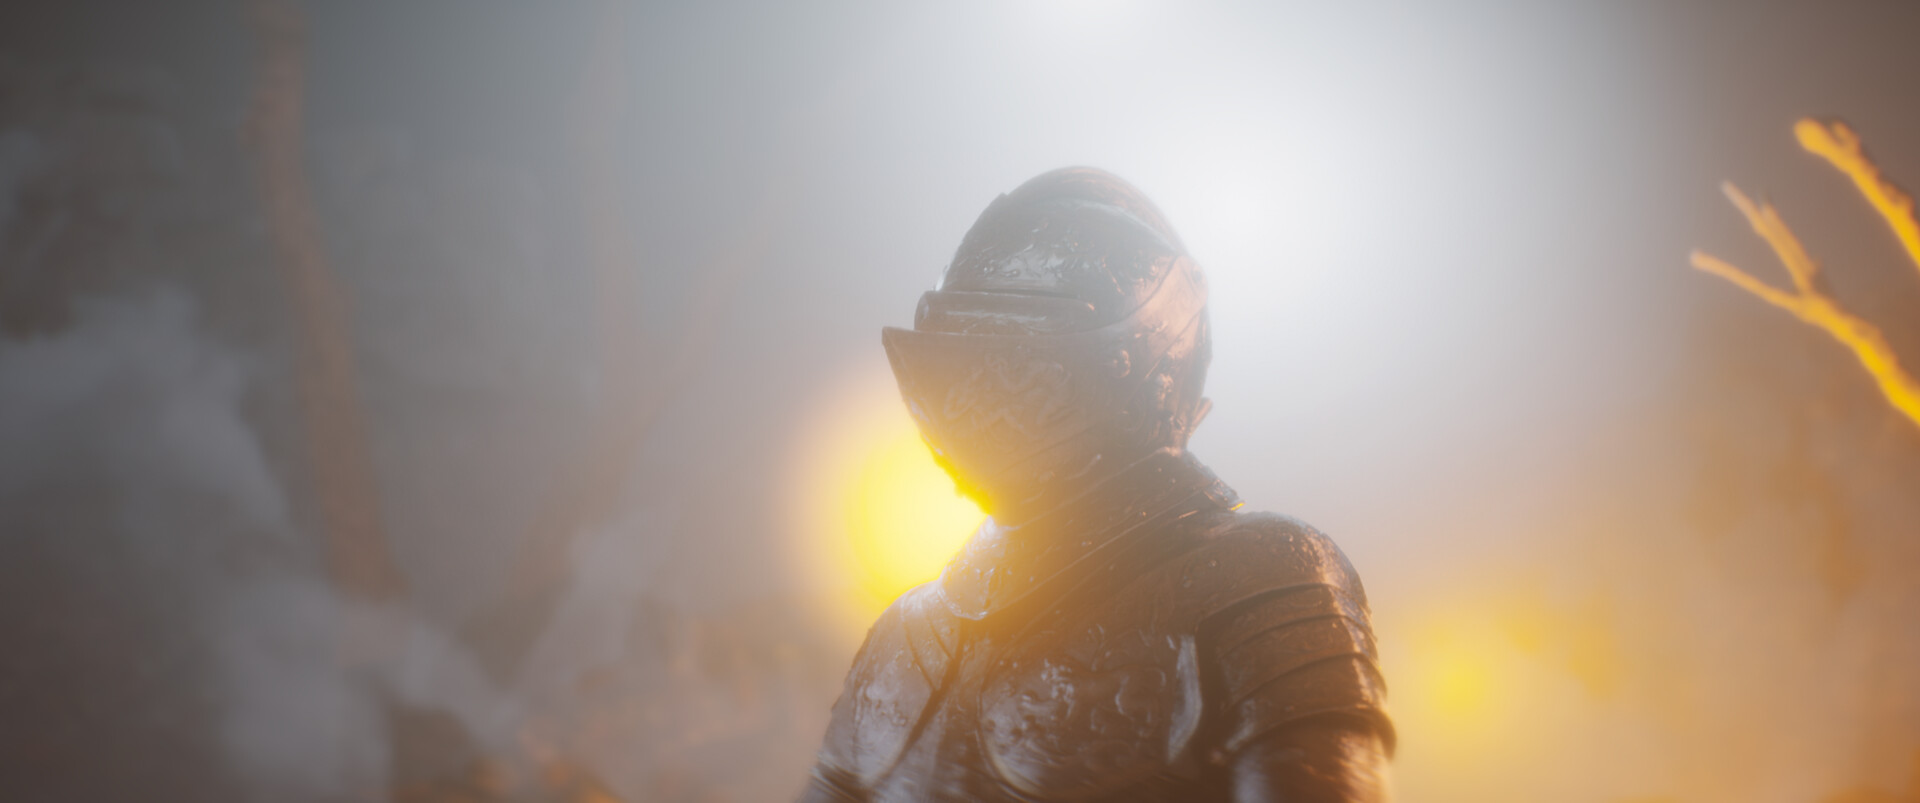
Halation on:
I made it more obvious than I normally make it, but you can fully customize it to get your desired look.
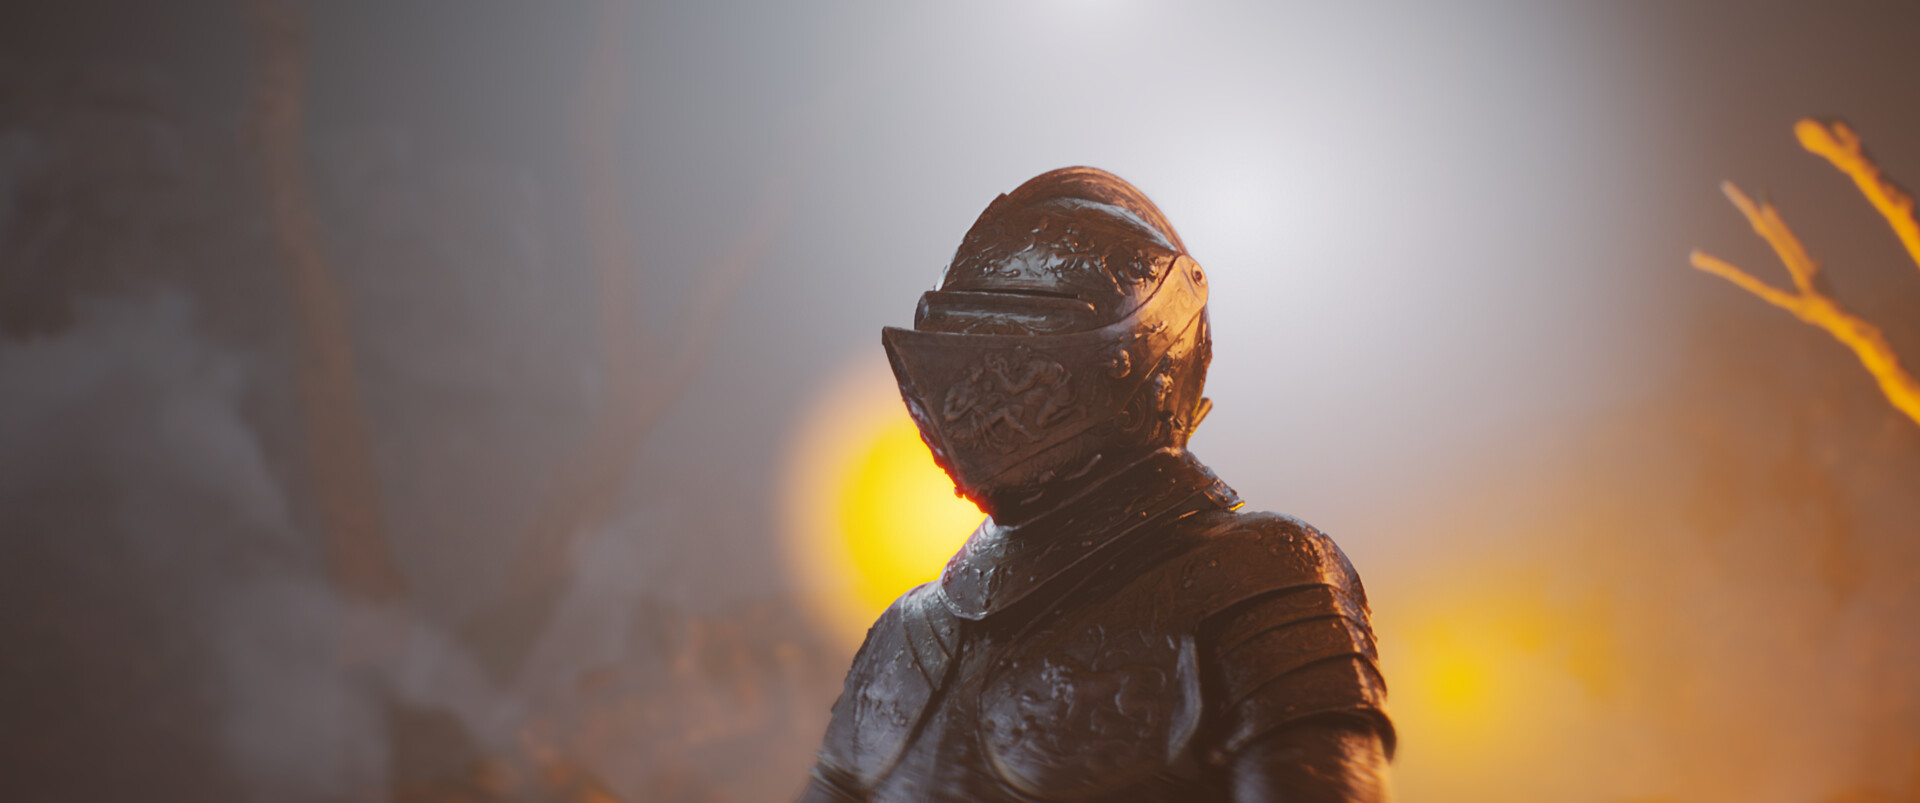
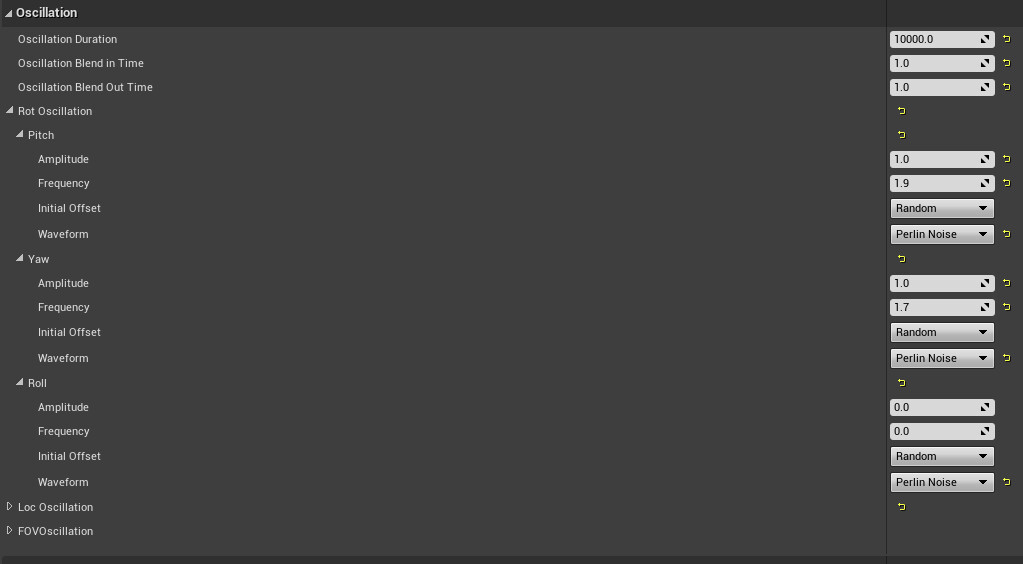
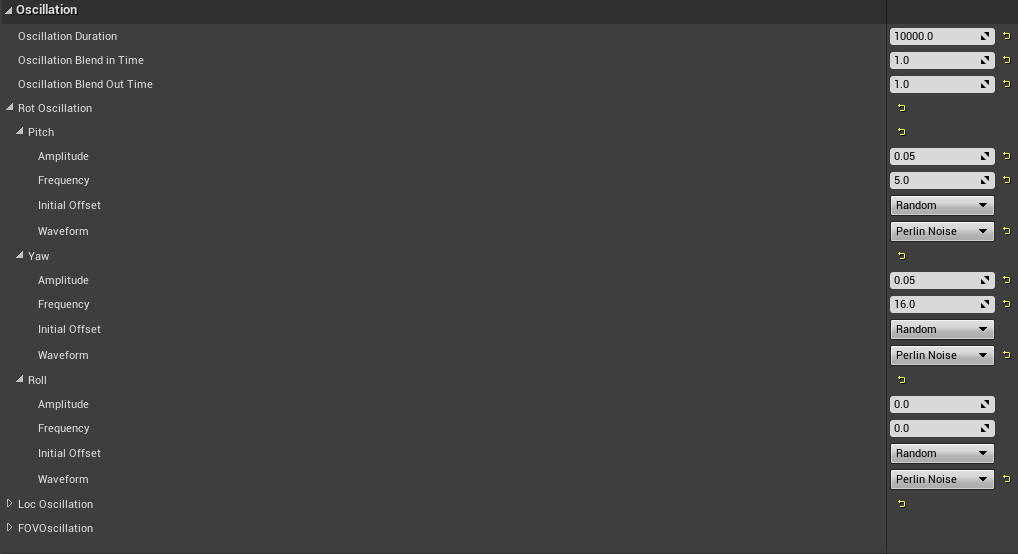
CAMERA SHAKE
Camera Shake BP Layering Method
Another cinematic factor that a lot of digital artists do not utilize in UE4 is realistic camera shake.
UE4’s camera shake BPs are hard to use, but can yield good results if you think of them modularly. What I mean is that in Sequencer in a shot, you can actually layer them over each other to create much more random and lifelike camera shake.
I like to break down each shot’s camera shake like this: Keep in mind these are exaggerated to be more clear.
- Base - Slow but large camera shake, almost like being on a boat.

- Mid - Regular speed camera shake, at different frequency to the base.
- Top - Micro jitters quick but very subtle camera jitters that emulate a persons hand shaking and any other bumps that would occur while moving a camera through a scene.
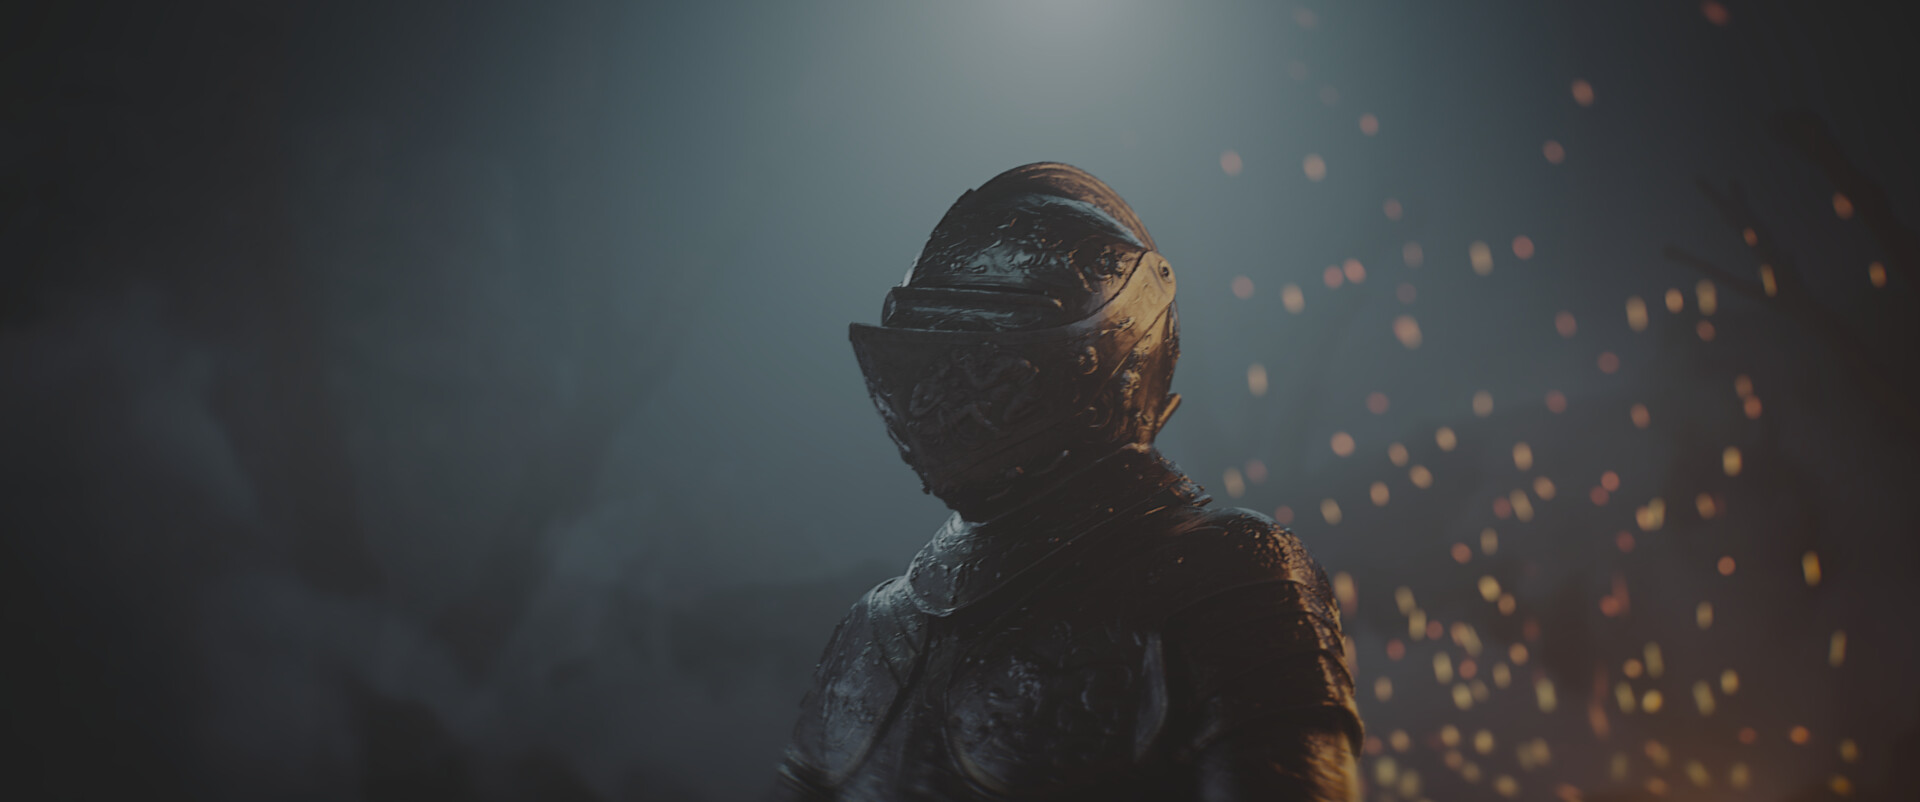
Camera Animation Camera Shake
One downfall of the previous Cam Shake method is that it is a repeating noise that does not differ from the set values. This means that it can appear repetitive and "tiling" for lack of a better word. A way to solve this is to use a camera animation in sequencer instead, or even in combination with the previous method. I bought this pack recently on the Unreal Markeplace and it is a life saver! It includes specific camera movements like pans, tilts, trucks, and just general stationary camera shakes. You can even animate the transform of your camera on top of this to create any camera movement you can think of.
The pack is called Cinemotion 2 Camera Anim pack, and you can find it here for $25.
Here's what a general stationary camera shake looks like:
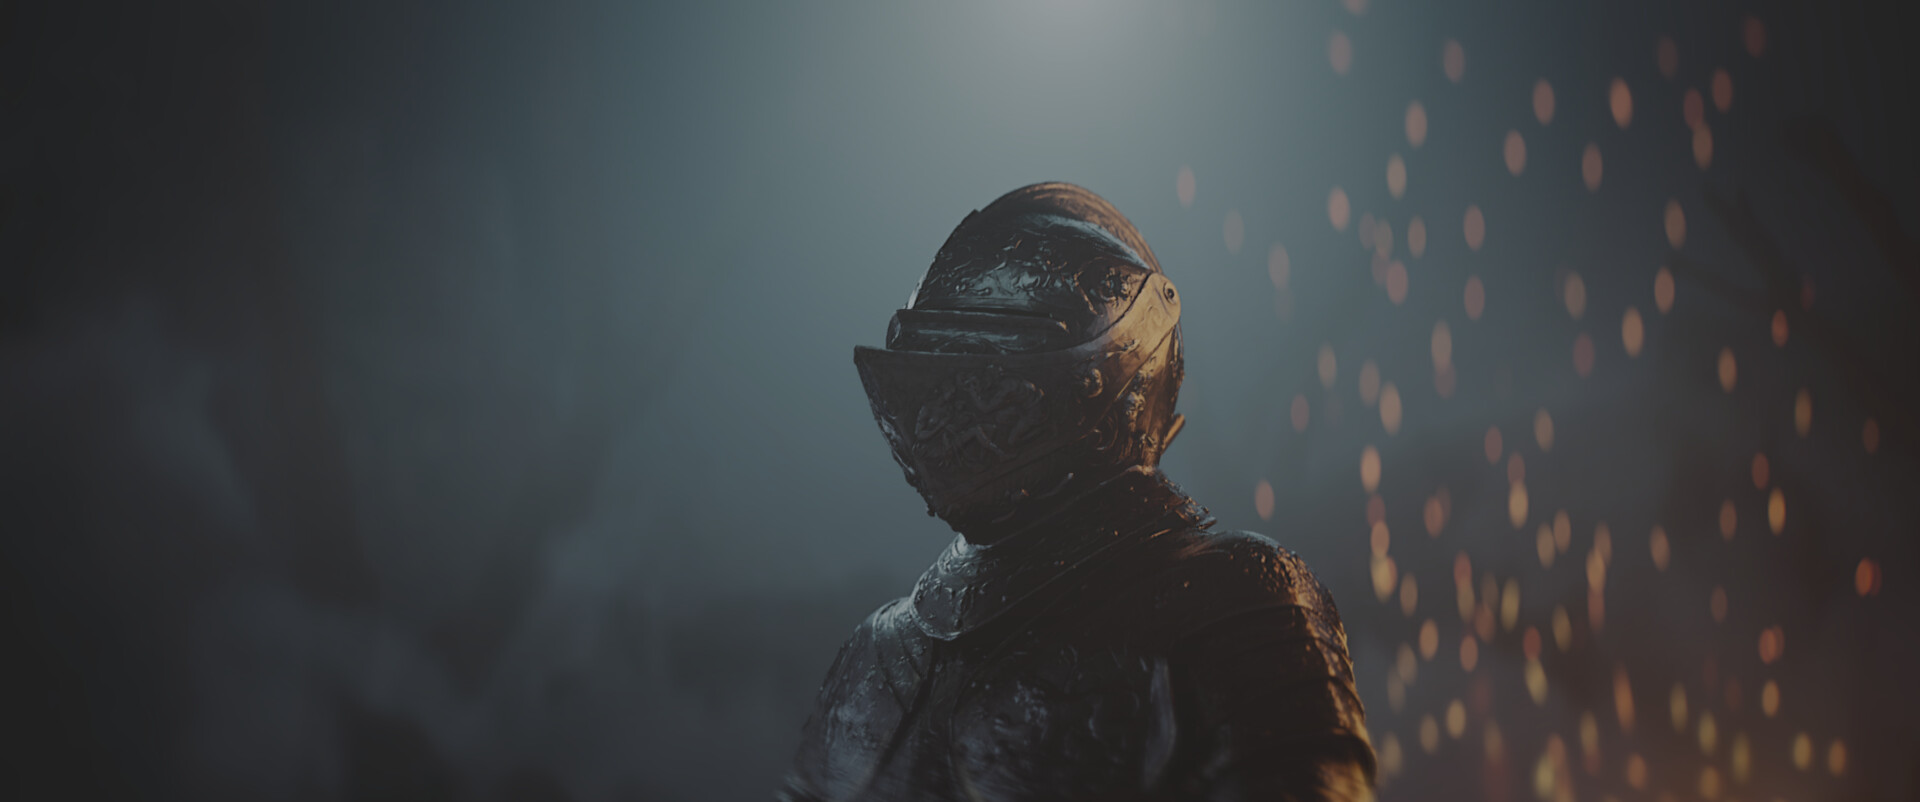
ANAMORPHIC DEPTH OF FIELD
Now for a big one that was recently able to be done, anamorphic bokeh!
I would explain how to do this but the wonderful William Faucher has already explained this process in great detail on how to achieve this effect in UE4.
Here are the two tutorials:
To show you the difference this can make for making something cinematic in Unreal, here is without:
And using this method:
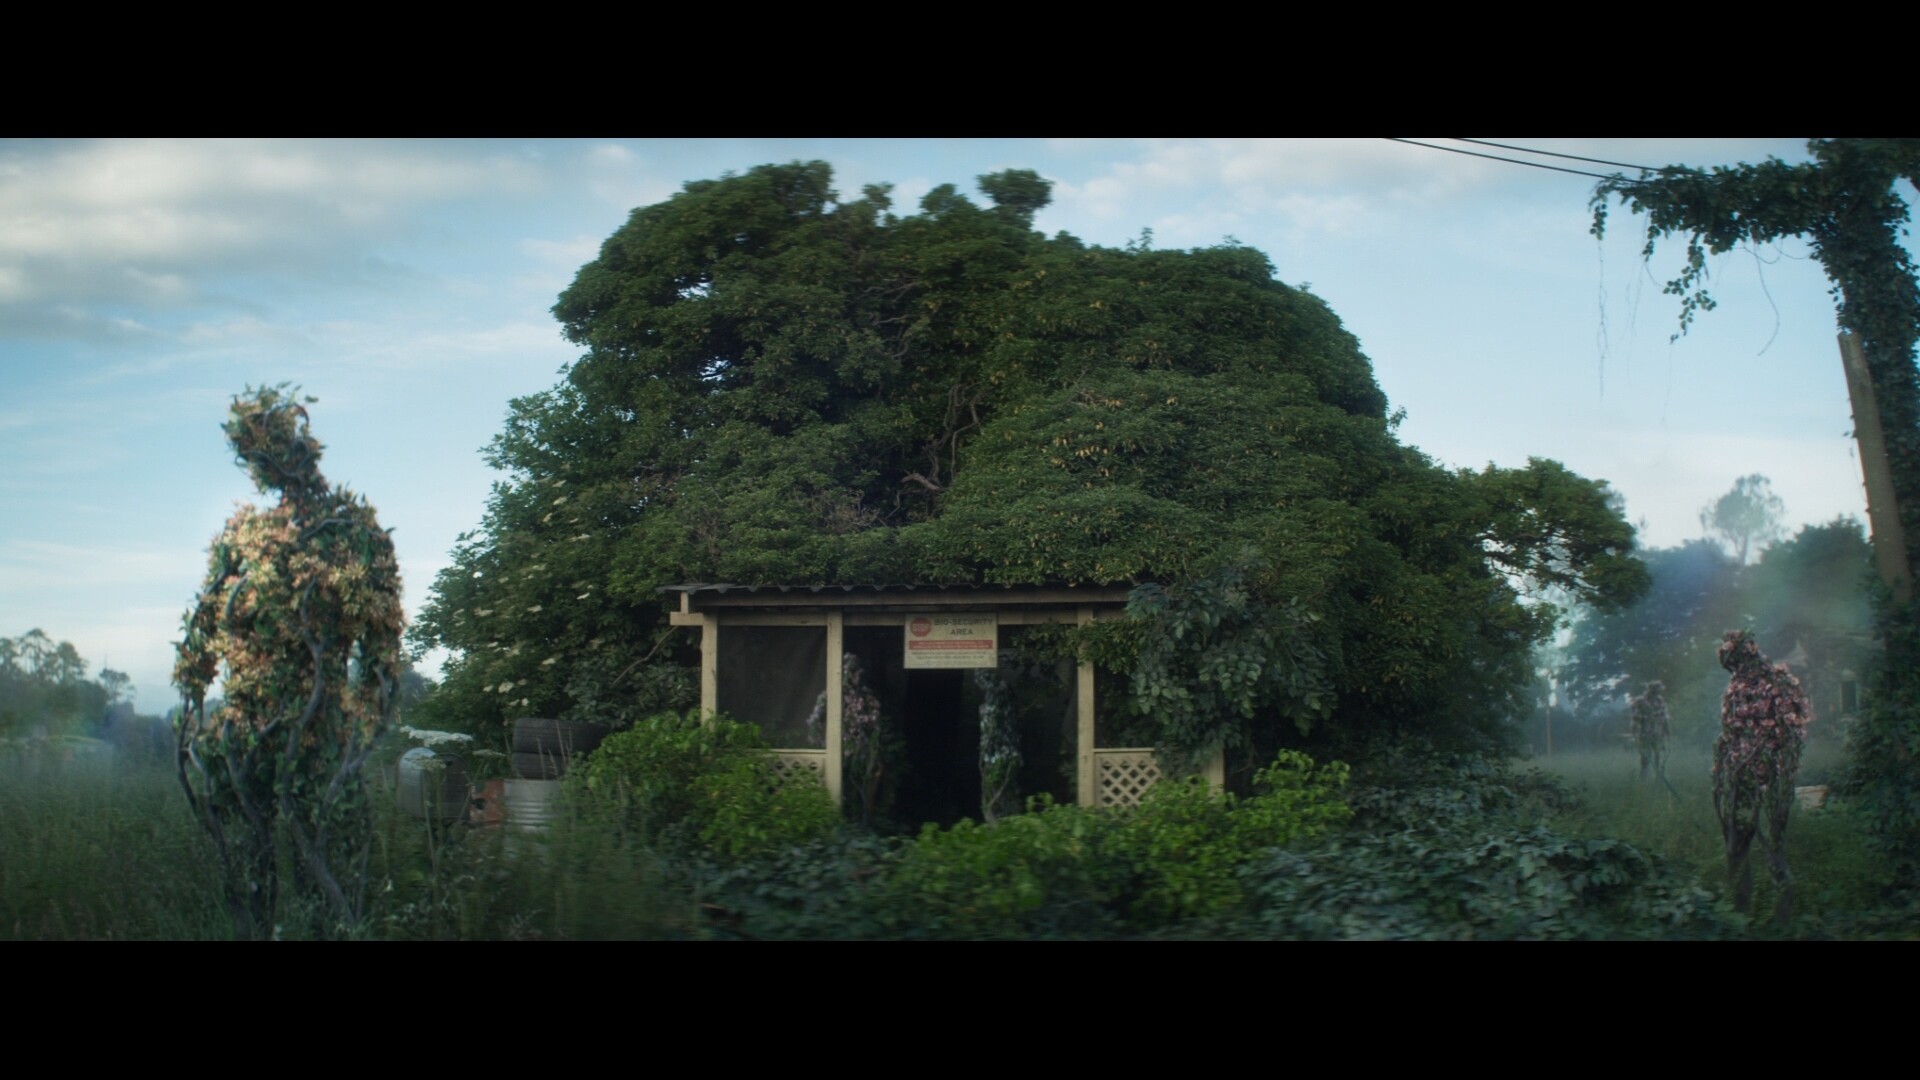
ANAMORPHIC EDGE FRINGING POST PROCESS MATERIAL
And finally, one of the most subtle but transformative Post Process Materials I choose to use to support the Anamorphic bokeh previously described. I recommend only using this if you use the Anamorphic Bokeh trick directly above this as this fringing only happens with Anamorphic lenses.
Annihilation (2018 Dir. Alex Garland)
The Darjeeling Limited (2007 Dir. Wes Anderson)
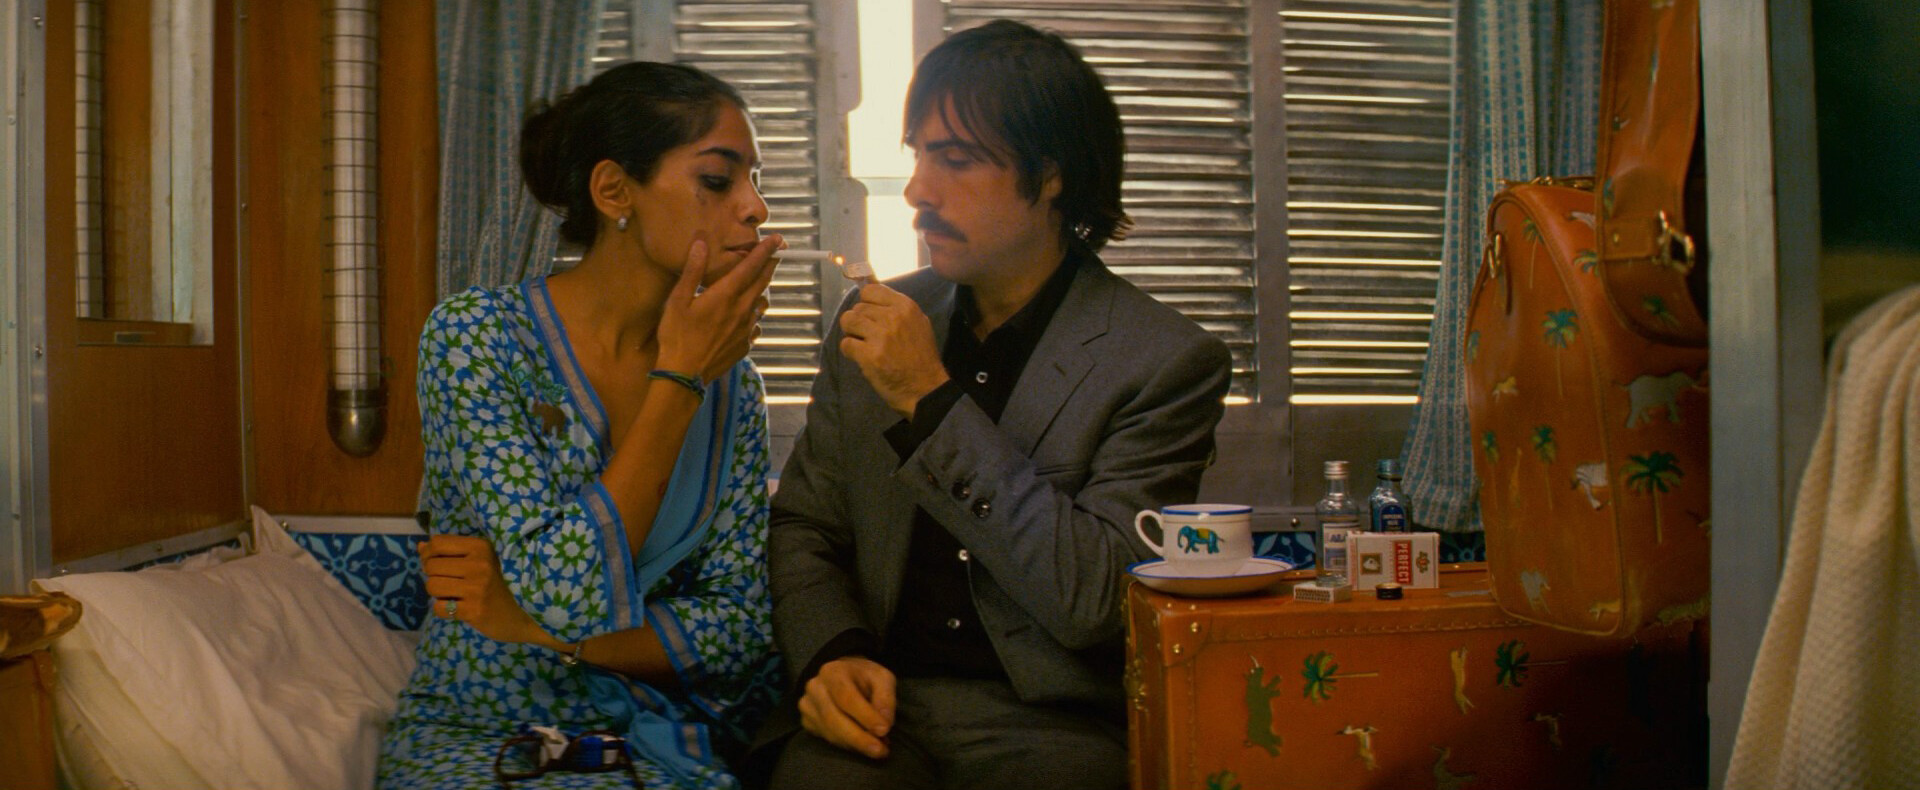
Notice the upper and lower edges blurring. That is what I am trying to replicate here.
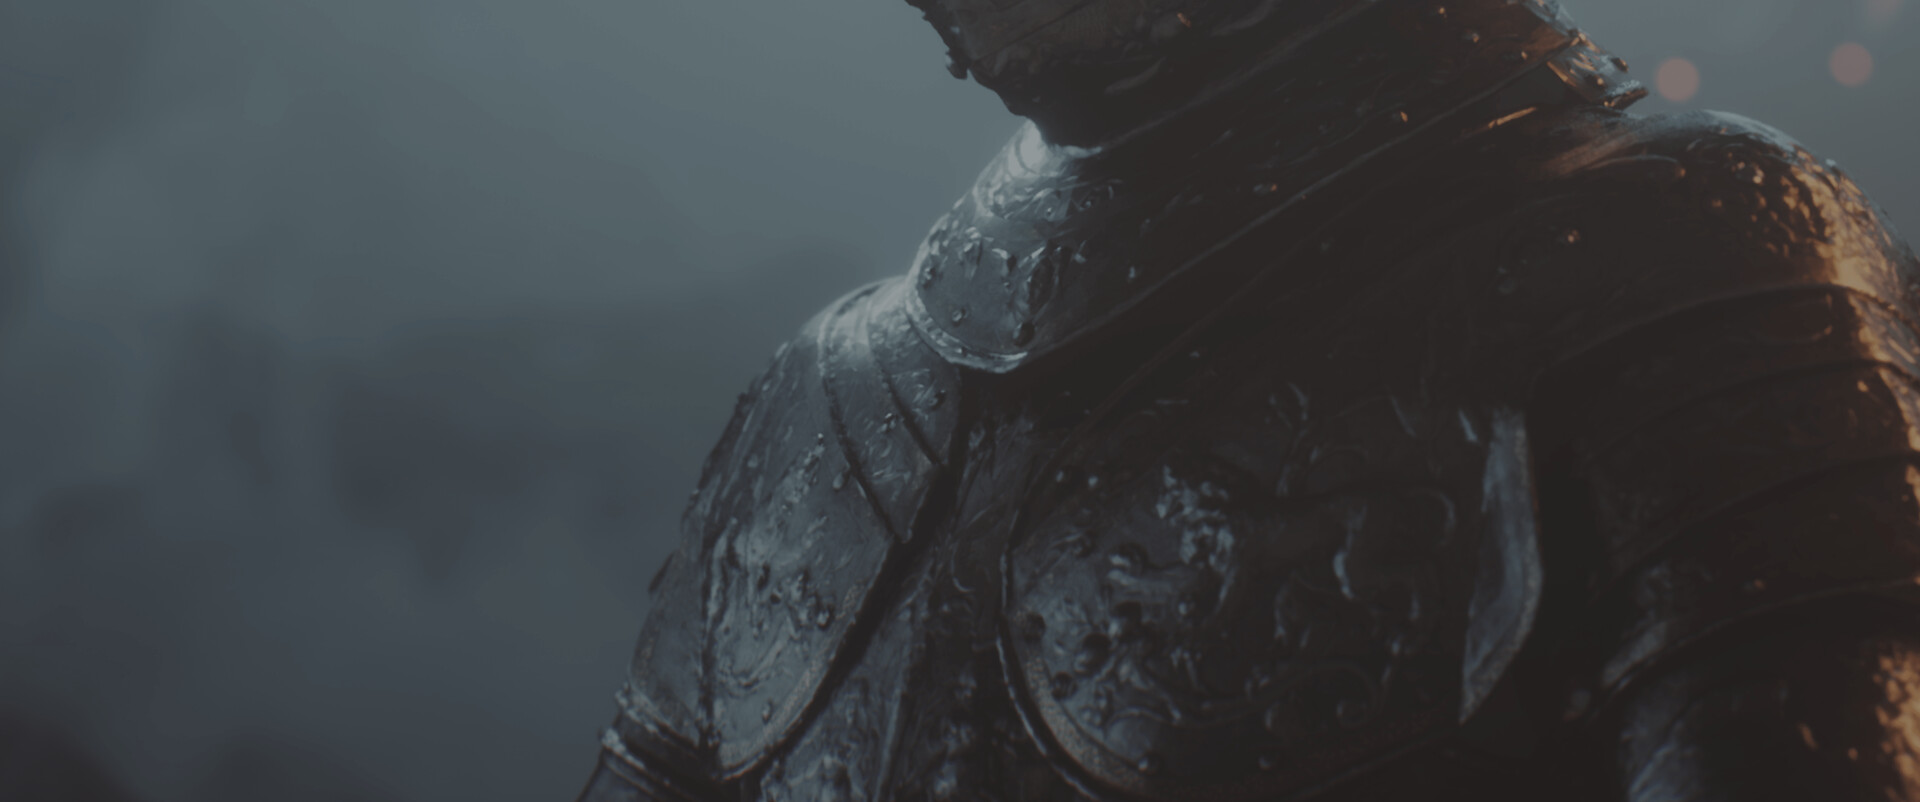
The material I came up with adds a subtle but good looking imperfection to your footage if you want it to look anamorphic and more organic. Here is an example of the effect on or off.
With edge fringing:


Without edge fringing:

Here is how I made it:
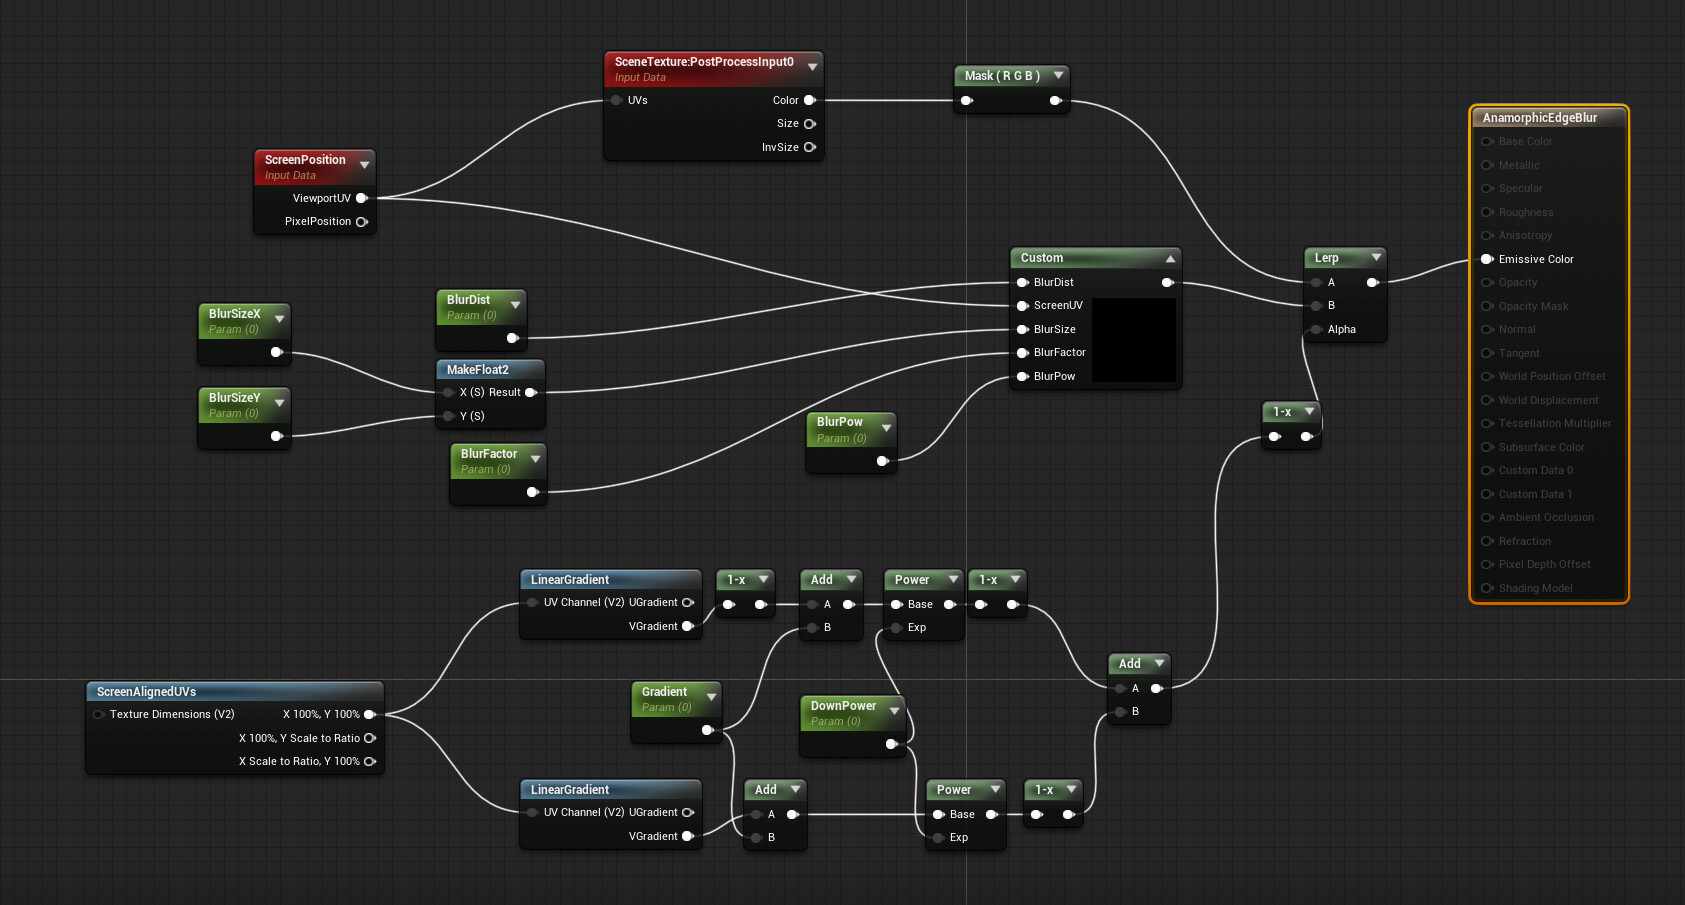
Inside of the custom node:
.jpg?1622218788)
And the code inside:
const float2 ScreenMult = View.ViewSizeAndInvSize.xy *
View.BufferSizeAndInvSize.zw;

const int TexIndex = 14;
const float Samples[11] =
{-0.08,-0.05,-0.03,-0.02,-0.01,0,0.01,0.02,0.03,0.05,0.08};

float2 dir = float2(0.5,0.5) - ScreenUV.y;
BlurDist = pow(BlurDist, BlurPow);
BlurDist *= BlurSize;
float4 sum = float4(0.0, 0.0, 0.0, 0.0);
for(int i = 0; i<11; i++)
{
float2 pos = ScreenUV + dir * Samples[i] * BlurDist;    pos = clamp(pos, float2(0.0,0.0), float2(1.0, 1.0));    sum += SceneTextureLookup(pos * ScreenMult, TexIndex, false);
}

return sum / 11.
And here is what my instance settings are:
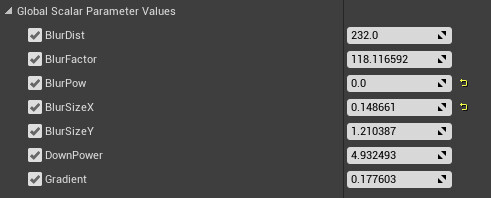
And that's it! I tried to include as much as I could to help others in these posts. Please let me know if there are other techniques worth trying as I am always trying to learn more!
If you want an extra tip - try using this handy Plugin by Ryan Jones that creates color scopes inside engine!
Link here: https://github.com/Polyrhythm/UE4_AdvancedMonitor
Knight Model by The Royal Armoury (Livrustkammaren) on Sketchfab found here:
https://sketchfab.com/3d-models/the-parade-armour-of-king-erik-xiv-of-sweden-bd189bba7d9e4924b12826a6d68200d9
As a bonus, here are some resources for learning more Cinematic techniques in UE4:
Quixel Youtube Channel - Environment Art, Cinematics, and Asset Texturing info
CinematographyDB - Virtual production in UE4, cinematography and more, run by Matt Workman
and most importantly, check out EXP Points! It's a great Discord community that I have learned tons from in the last few years.