Games Artist Article : CITROEN BX 1982
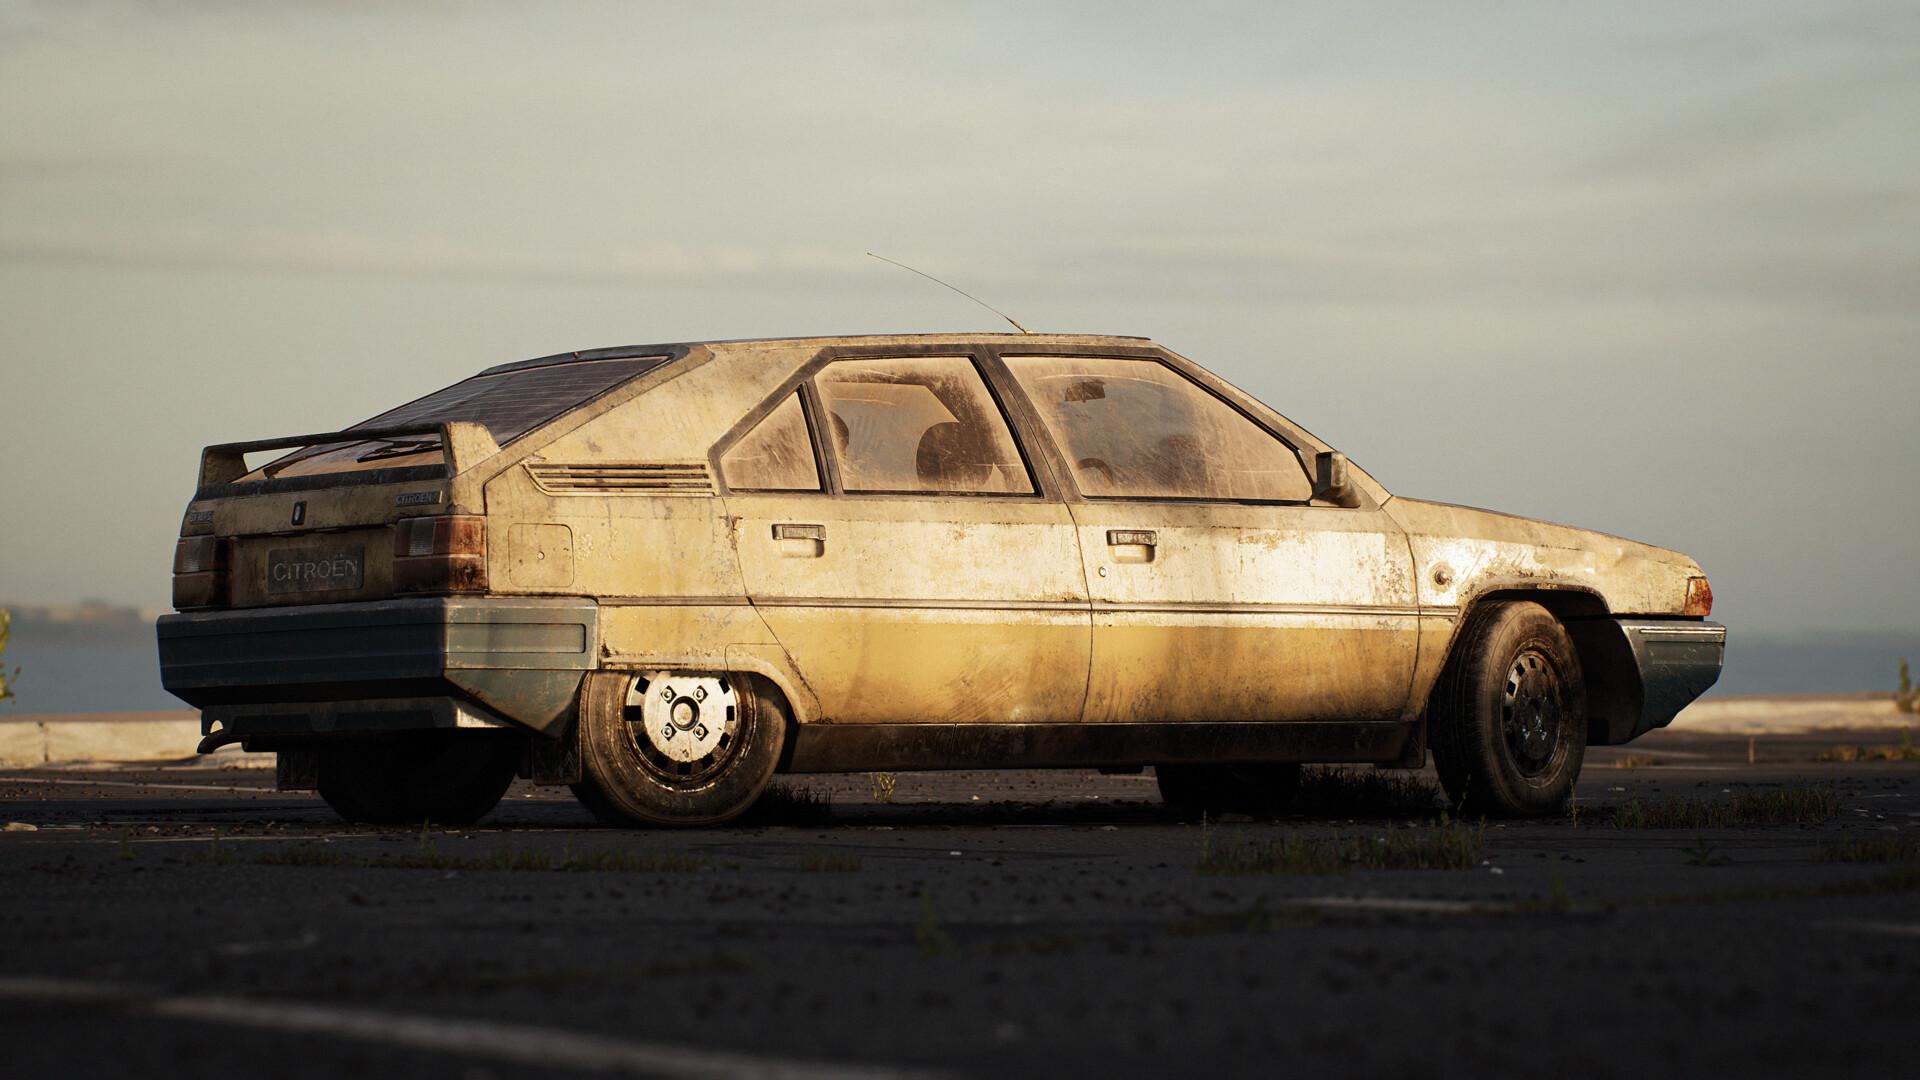
Introduction
Hello, my name is Thibaut Reimel, I am a Material and Environment artist working at Ubisoft. This project started when a good friend of mine, François Larrieu, and I started talking on our breaks about vehicle workflows, he showed me a cool modeling technique and I also have been interested by Naughty Dog’s vehicle workflow.
In addition, I always found that midpoly weighted normals combined with several other non-destructive techniques were always a really elegant way of doing things.
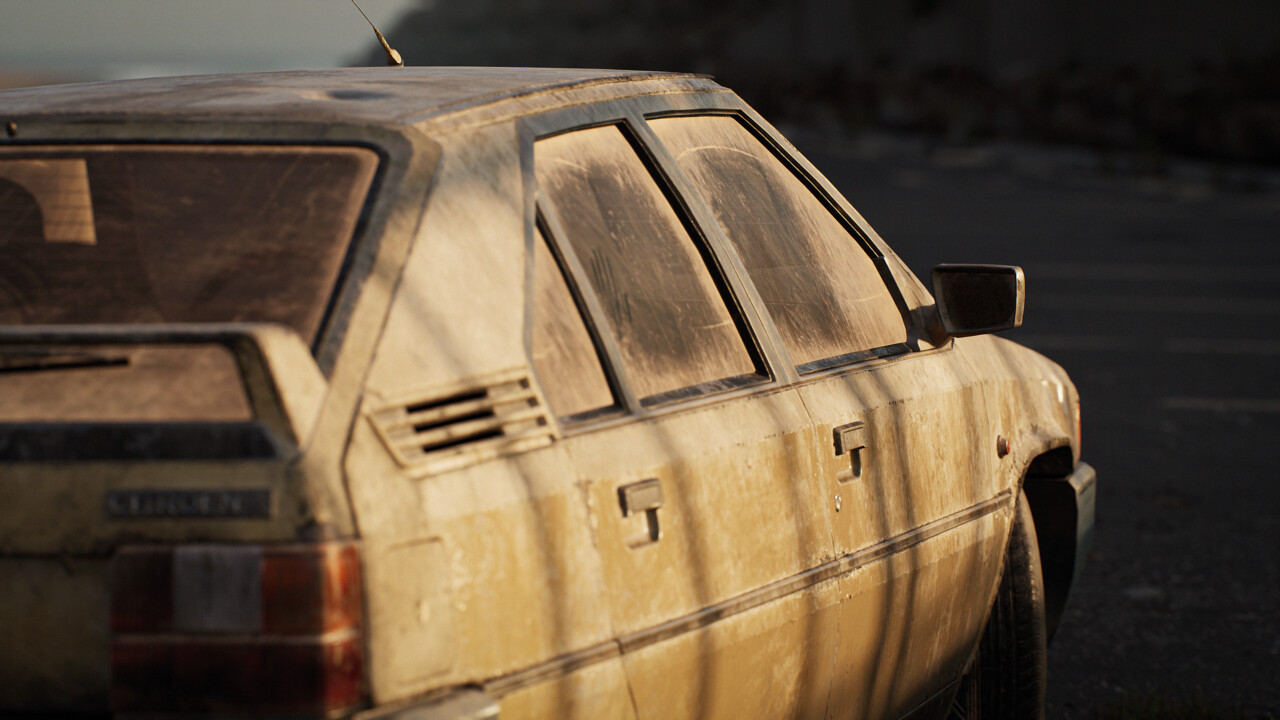
So I decided to set myself a challenge of recreating my dad’s old car: The Citroën BX.
Project, Reference and Inspiration
For this project the key word was : Simplicity, I wanted to go out of my comfort zone and try to achieve quality through simple materials and weathering while still telling a story.
Car 3D modeling is the best test you can do to yourself to improve your hardsurface skills.
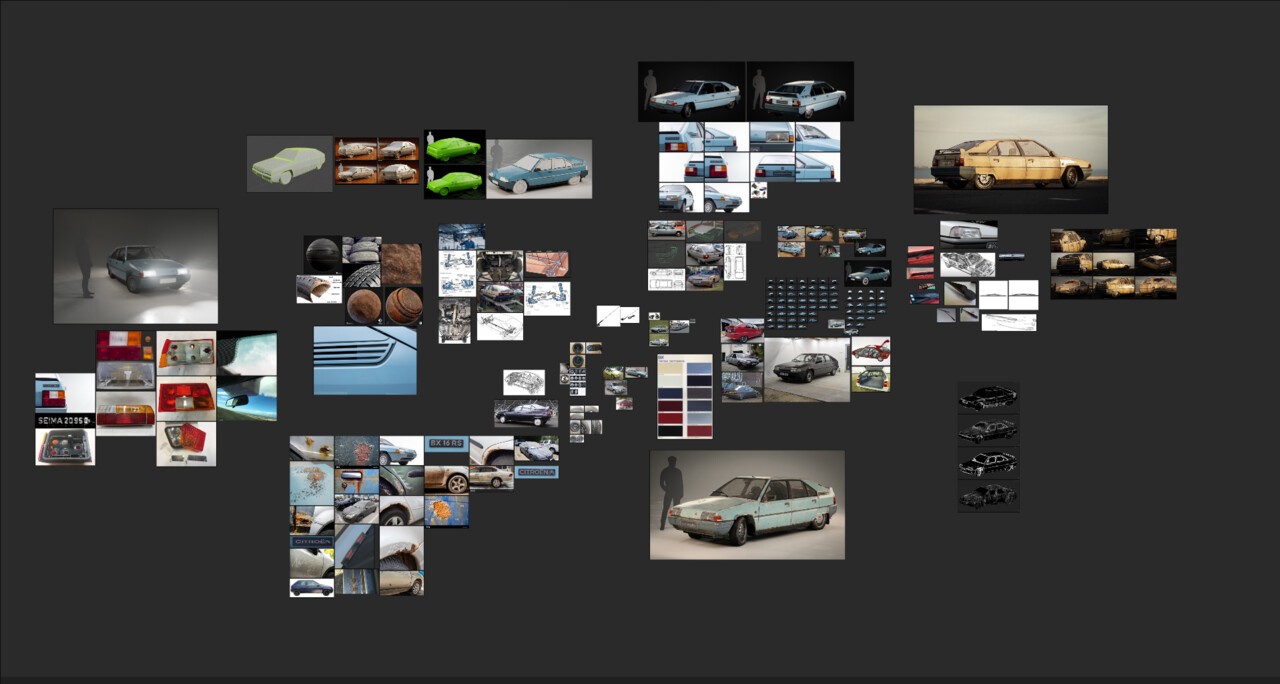
I started gathering references to help me understand the shapes of this vehicle as well as derelict cars, rust and materials references.
Tools
I choose Blender as my main DCC because it allows me to work fast and efficiently. In addition, I used Substance Designer, Substance Painter, Photoshop, for texturing, PureRef for references, Marmoset Toolbag for early lookdev and Unreal Engine for rendering.
Modeling
It's always good to start your project with an idea of the scale,. every aspect of your project depends on the scale, when you setup your scene in your DCC try to be as accurate as you can with your blueprints, for this car I started with a cube of the dimensions of the car, and layed out my blueprints so I could start working.
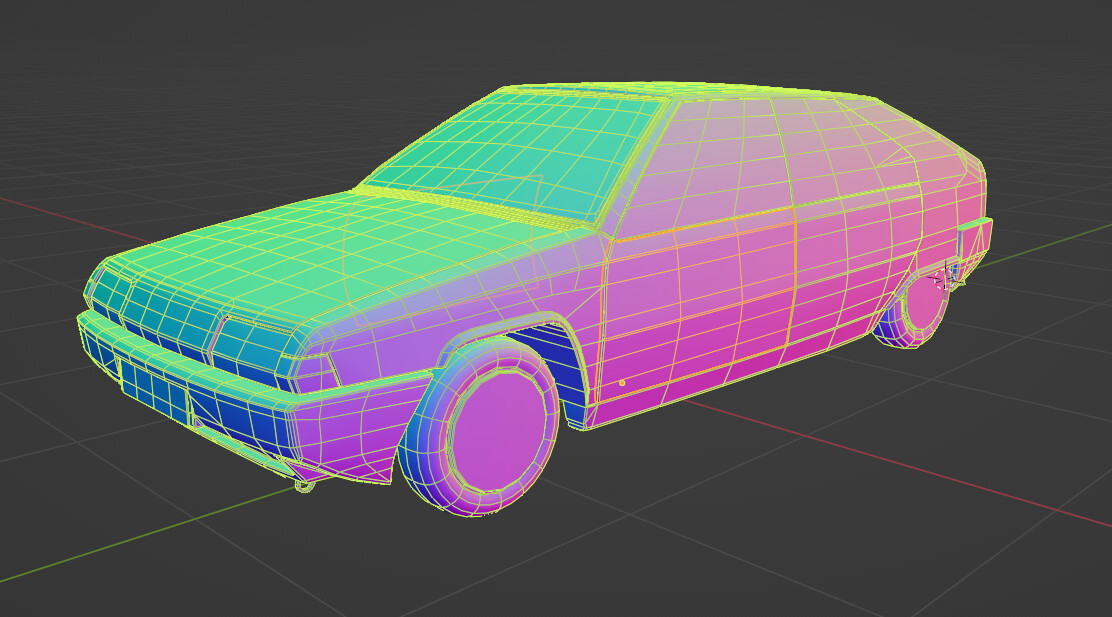
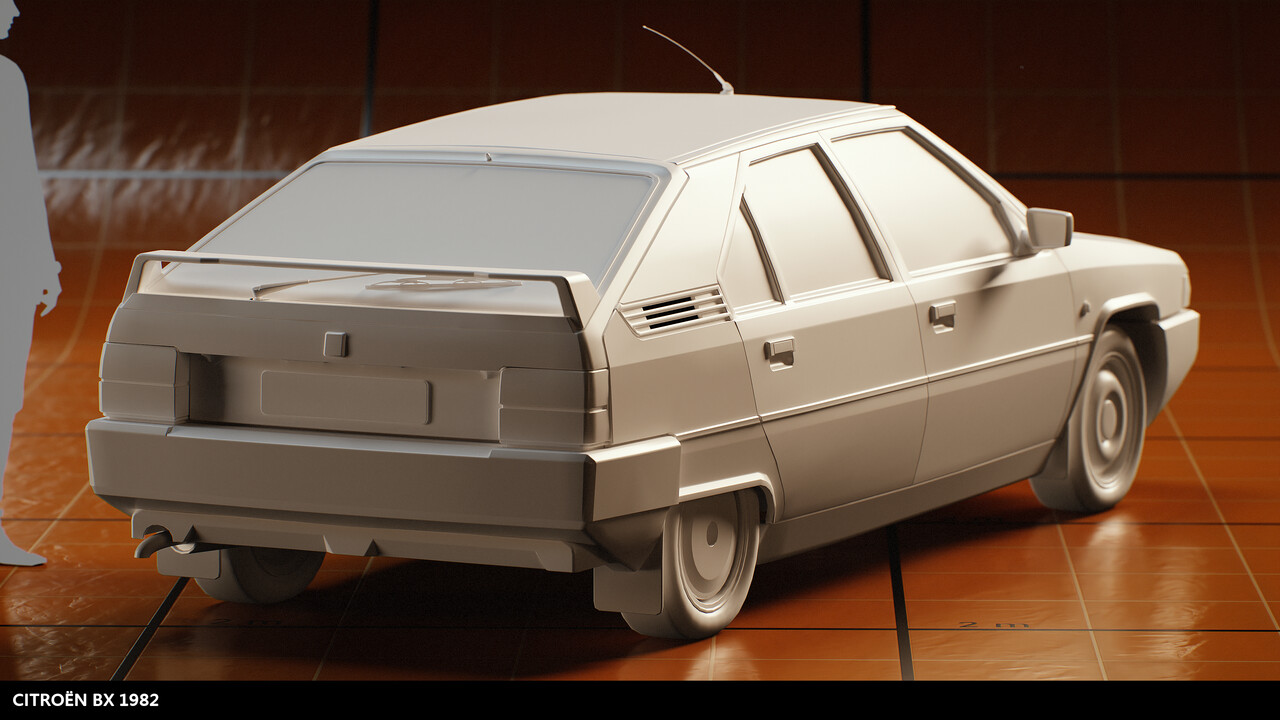
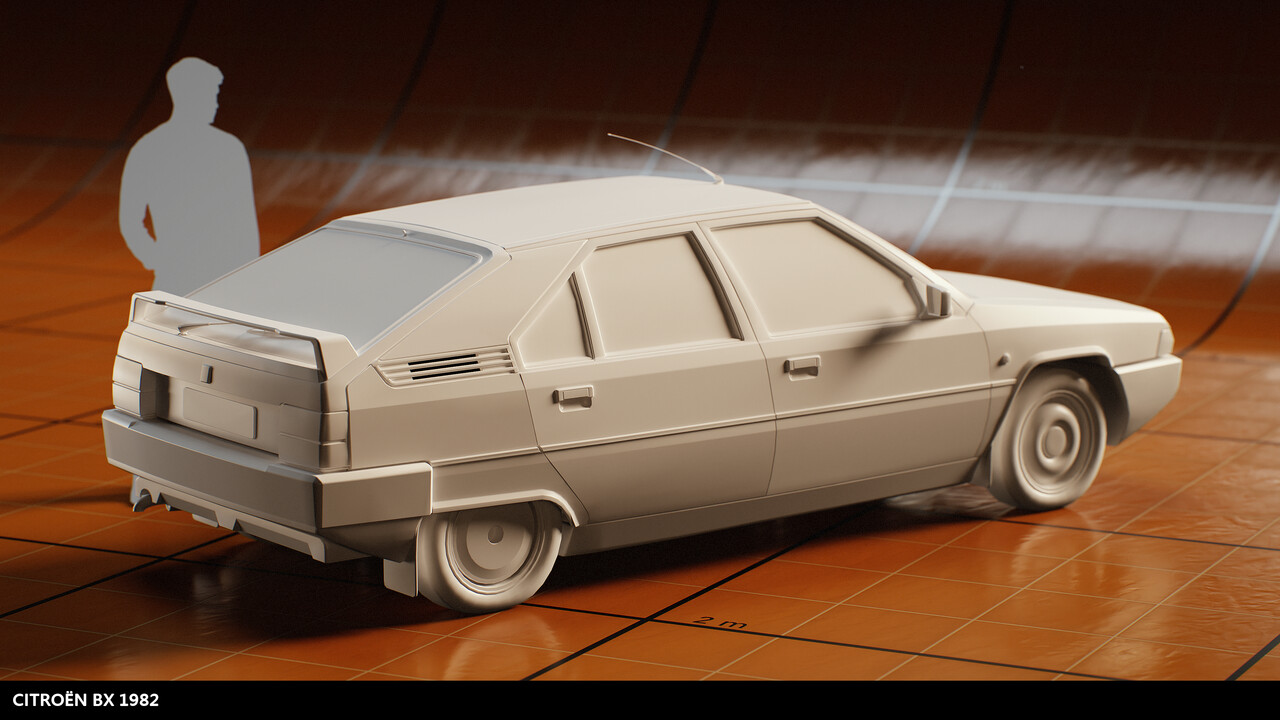
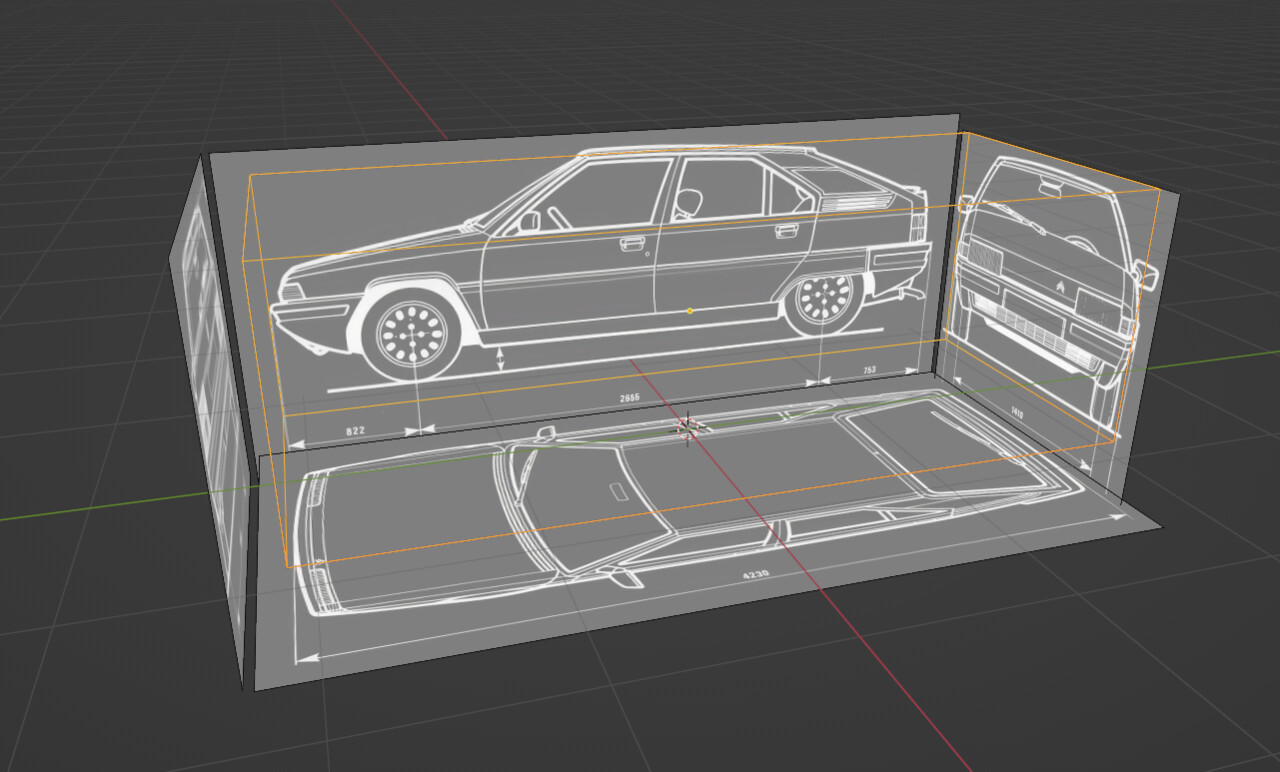 The main approach was to do most of the car vertex per vertex, building the curves similar to a nurbs workflow,. doing this allows the curves to be as clean as possible and it's perfect for the midpoly workflow I wanted to go for.
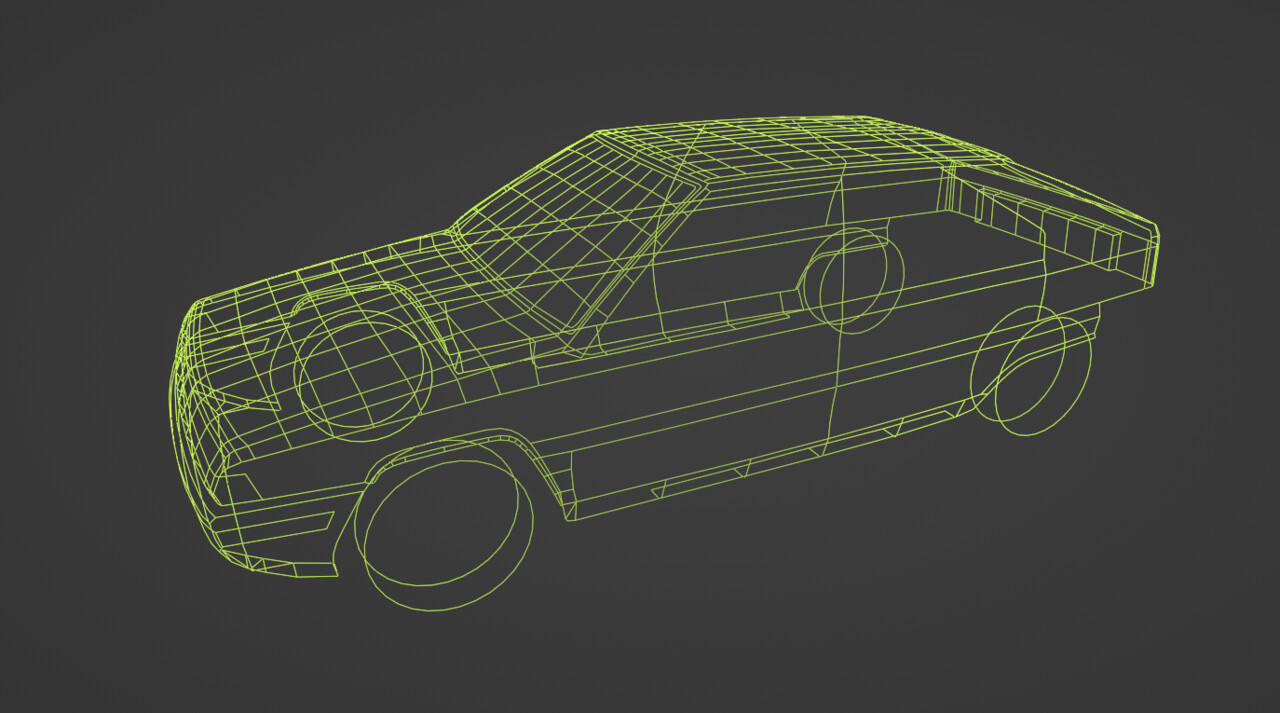 Now it is just a matter of building the car model, cutting the panels, adding non-destructive modifiers such as Solidify, Mirror and Bevel to keep the work iterative friendly and building the details from macro to micro shape, following the references.
Non-Destructive
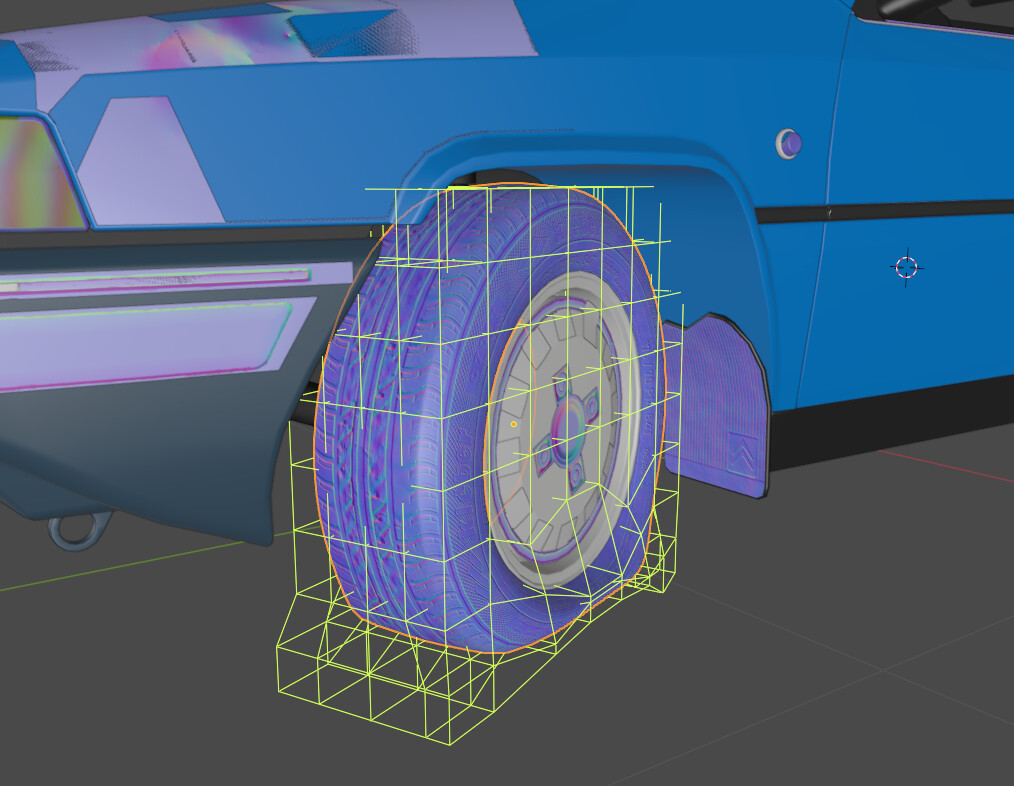
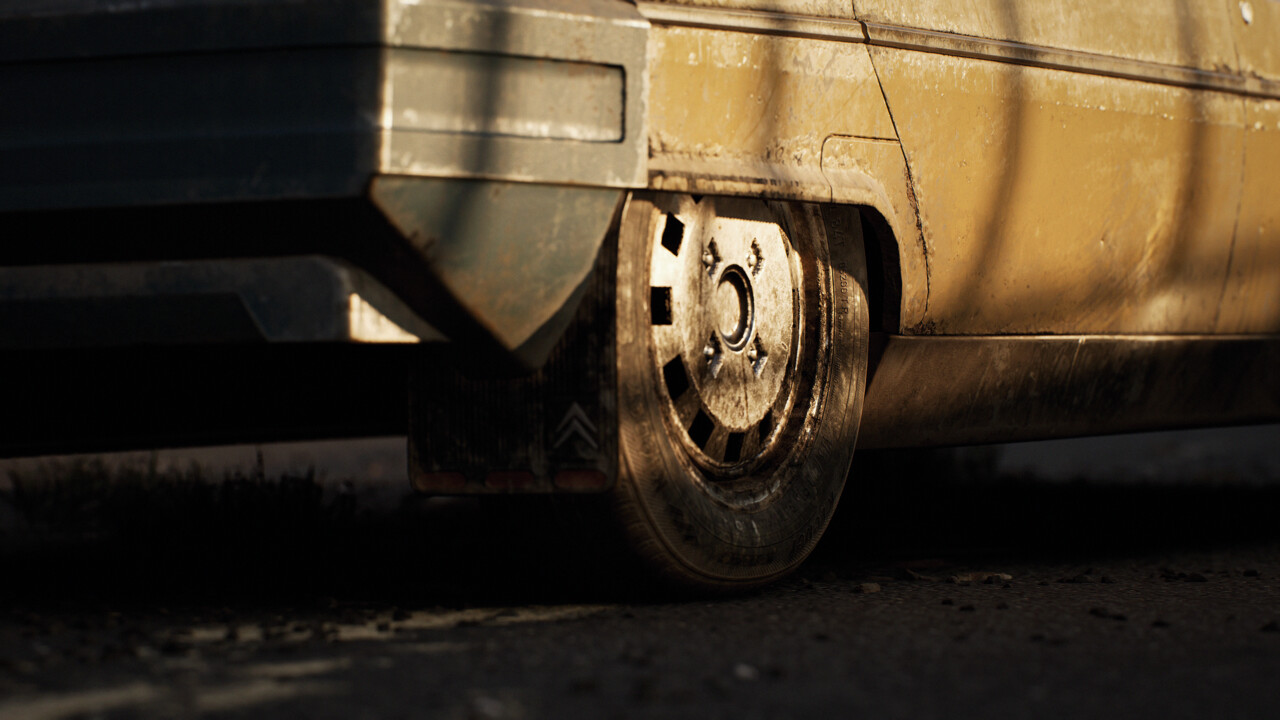
I always try to work non-destructively, for example I wanted to add a flat tire to the car, for that I used a Lattice Modifier so that I could preserve the main shape and change it later if I was not happy with the result. I keep most of my modifiers un-collapsed.
Ngons
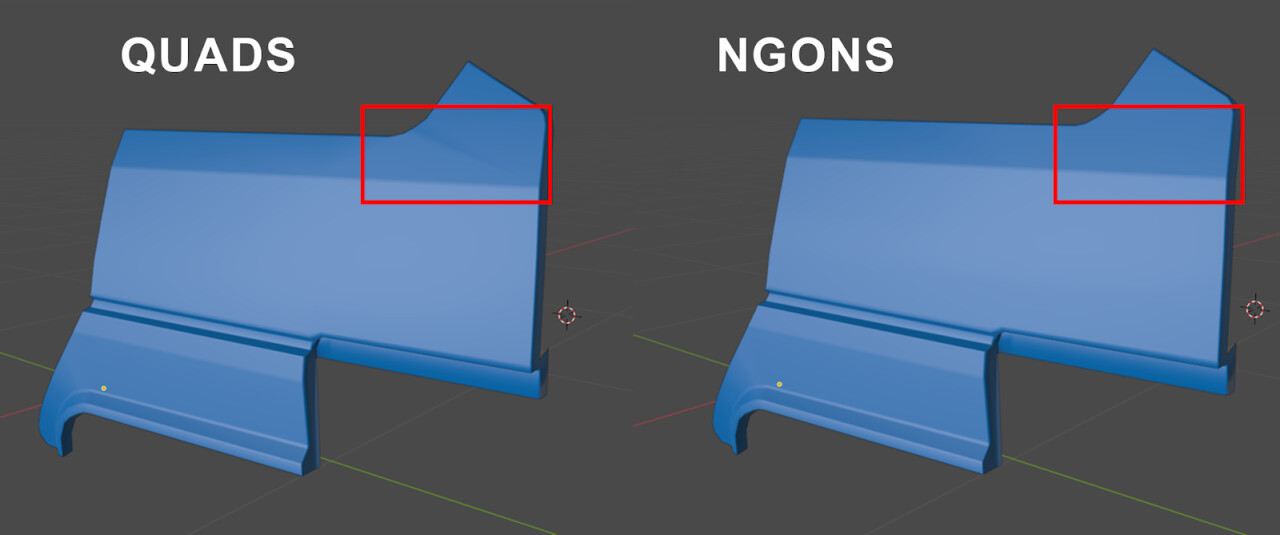
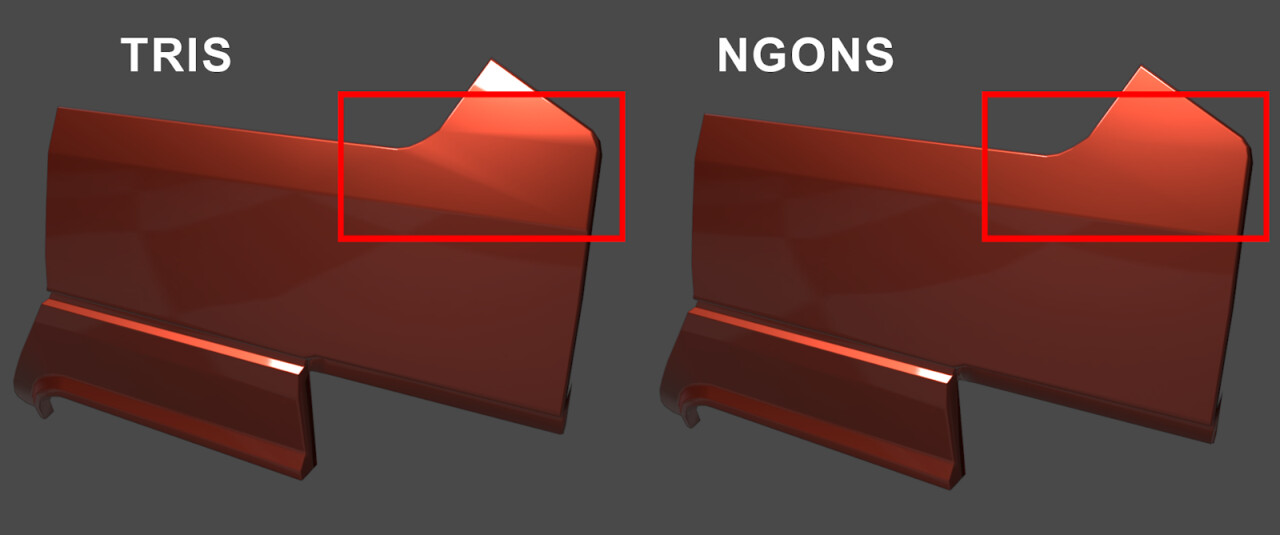
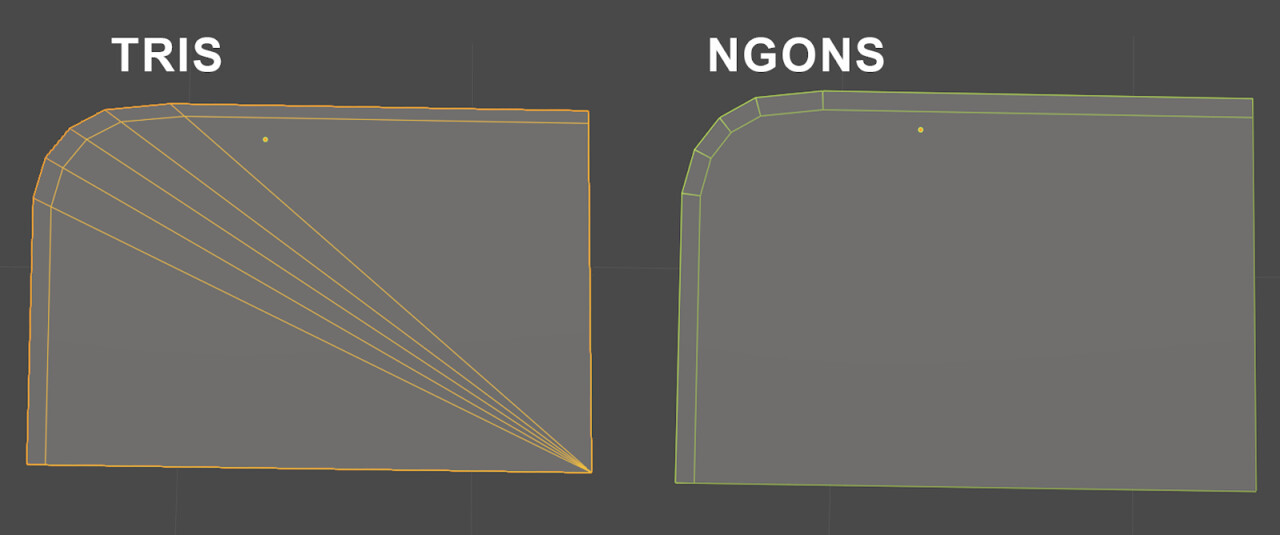
There is a misconception around ngons that they are always bad for modeling, that they always bring shading issues and bad topology.
Ngons can be useful, with the weighted normals and midpoly workflow as well as being a hardsurface object you would prefer ngons over tris or quad in many cases to avoid shading issues and unwanted topology.
It can also help maintain good edge flow when using the bevel modifier.
Furthermore, you could triangulate by hand in a final step but I prefer to let Unreal Engine triangulate my mesh. Unreal Engine keeps all my weighted normals intact and I can keep all my modifier stack intact and uncollapsed.
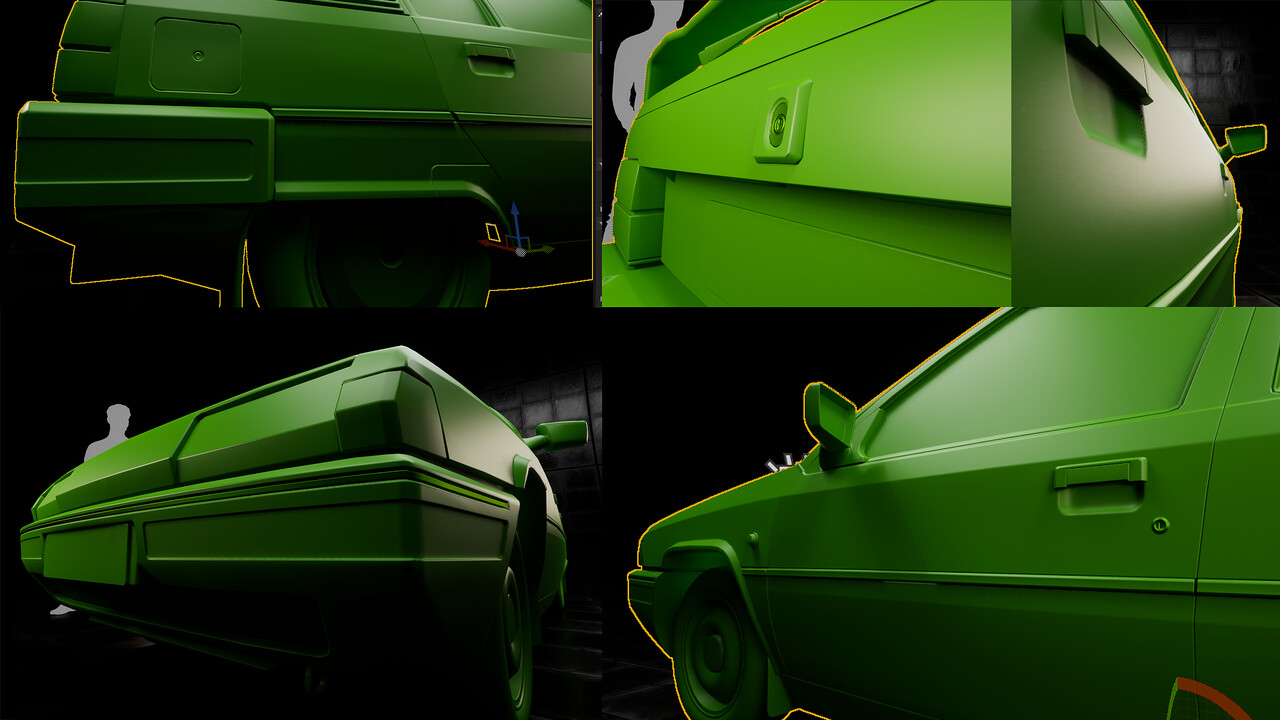
Finishing modeling I decided to make a quick marmoset toolbag scene to check issues.
During modeling I also kept in mind Texturing almost right from the beginning so that I knew what type of details I should add to my modeling. I knew I wanted floating POM decals for example, so adding small hardsurface details would be a waste of time.
Uvs, Textures and Materials
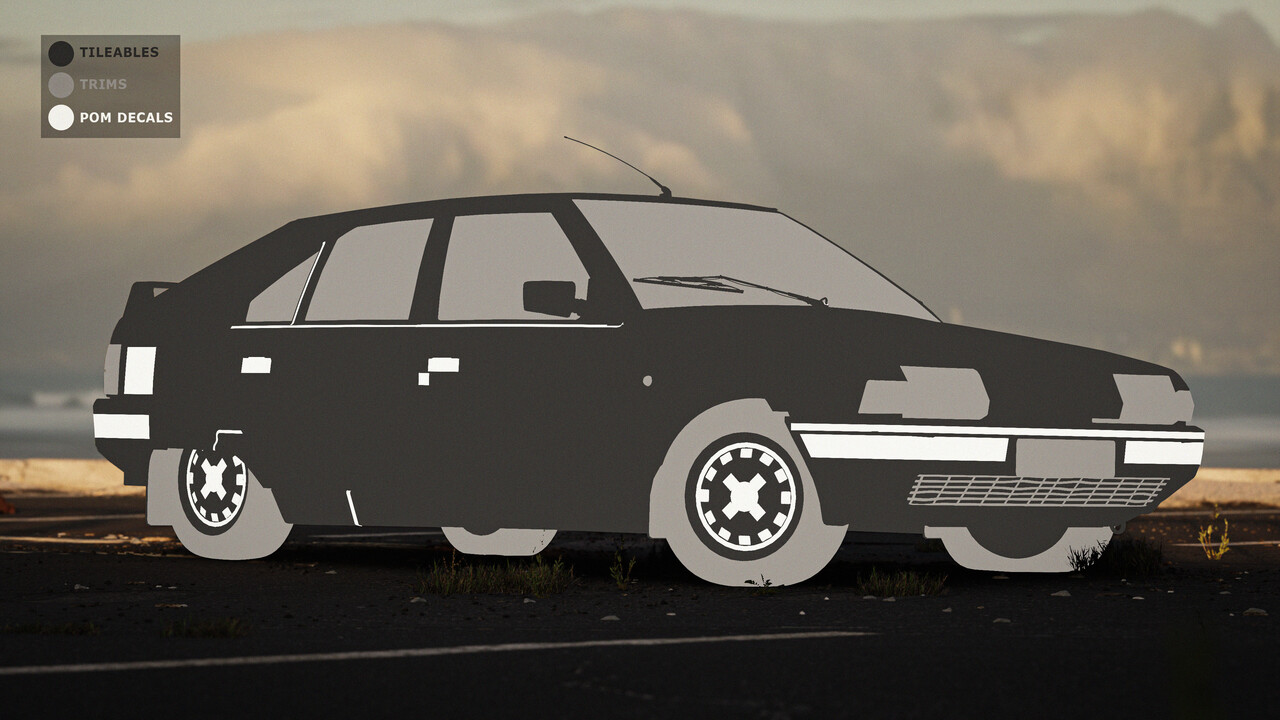
Most of my personal projects follow a texel density of 1024 ppm, it works well for closeups, for the quality I'm looking for and it is easy to remember. I Uv the car with this texel density, and use UVs to setup my materials, so I know whether to use a 1024, a 2048 or a 512. All of the texture sets have been calibrated according to PBR values.
Decals
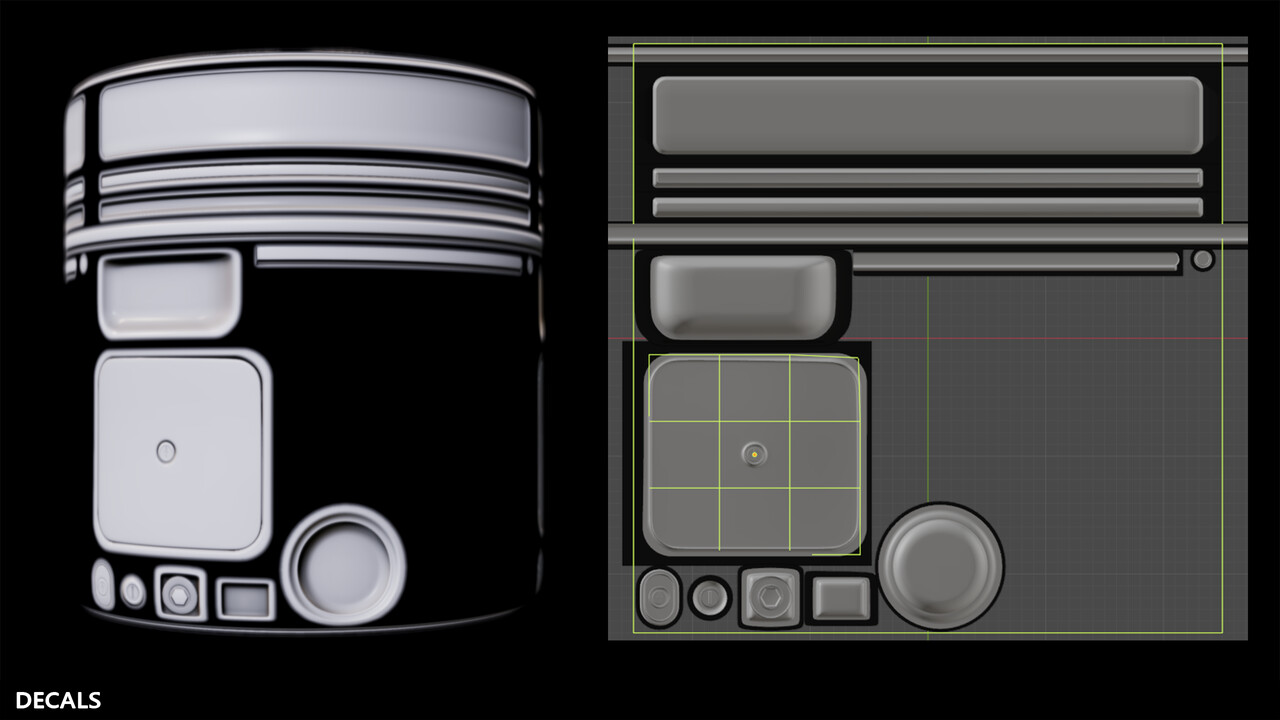
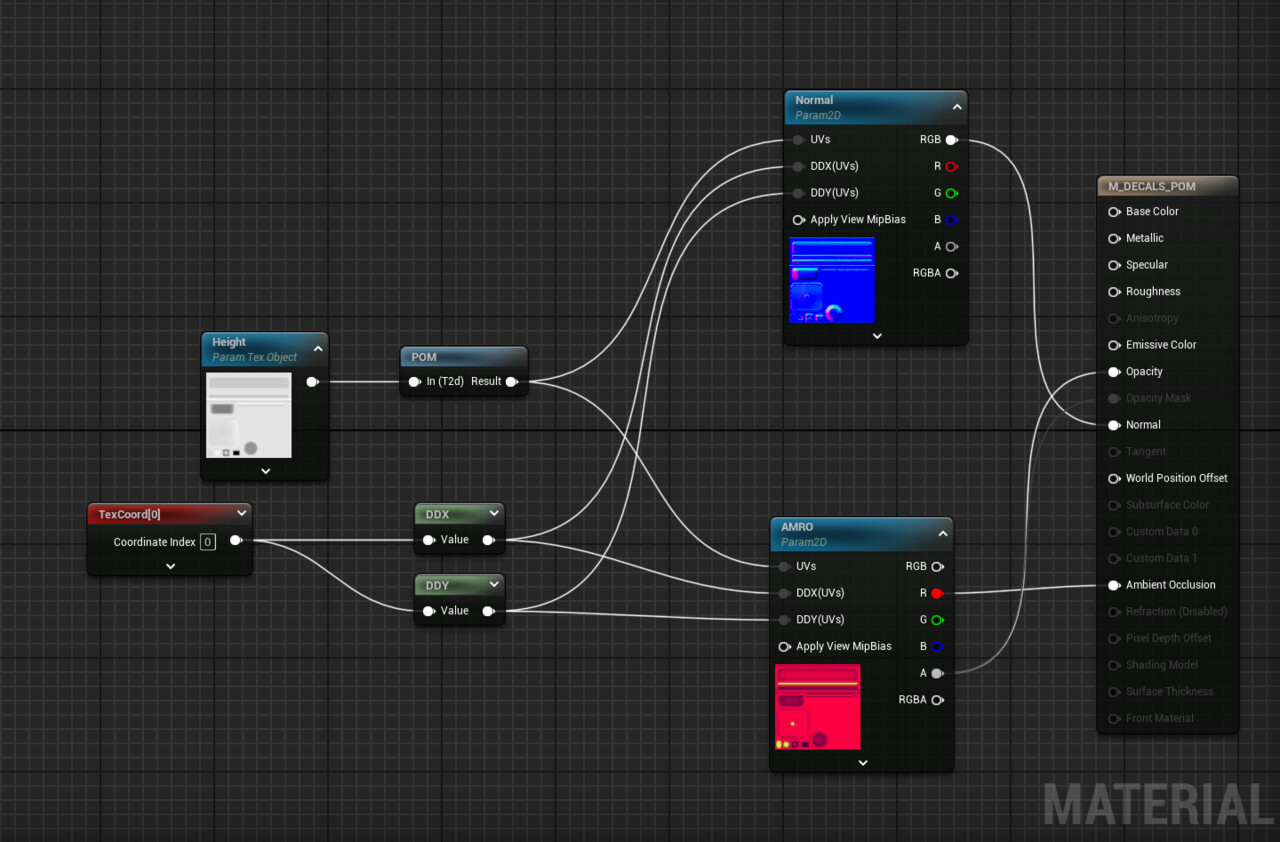
I usually do most of my materials entirely within Substance Designer, but for this project I wanted to be more accurate, so for example, the decal sheet was made in Blender and baked in SD, I wanted mesh decals that uses height and normal passes only as I get all the other material informations from the other texture sets.
For the dent details, I did a quick dent generator in SD, that I used to make a decal sheet.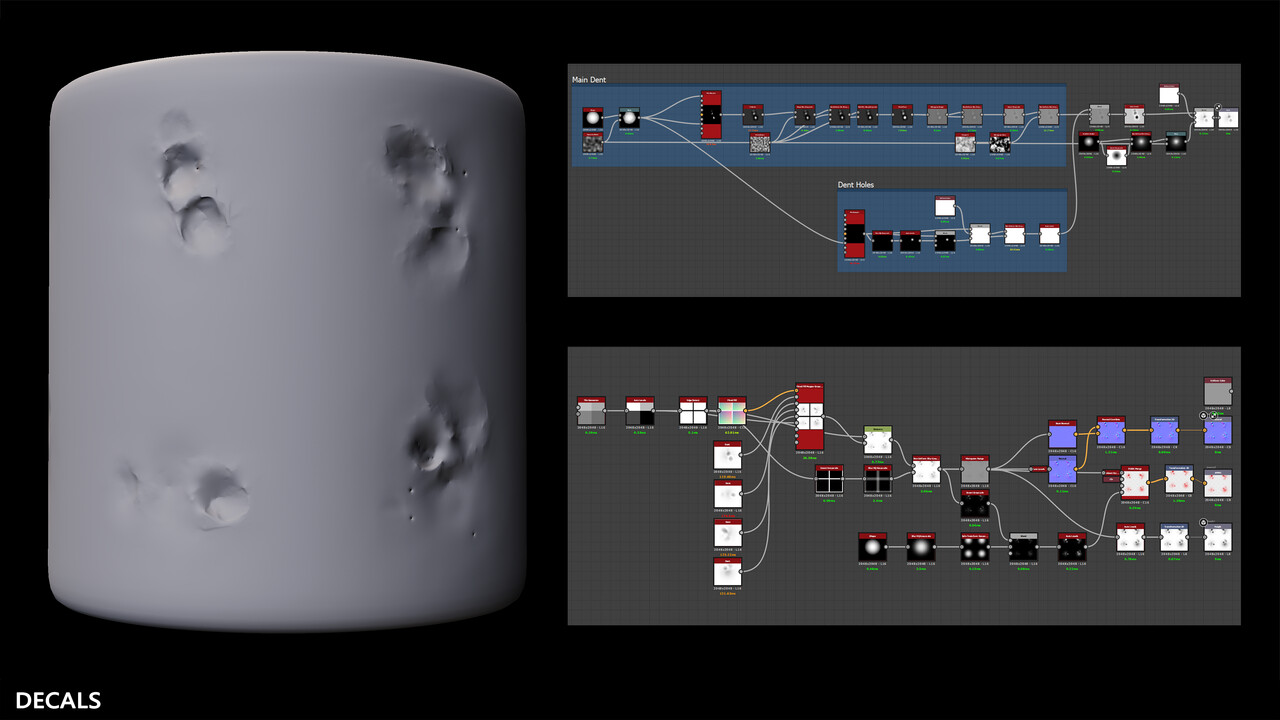
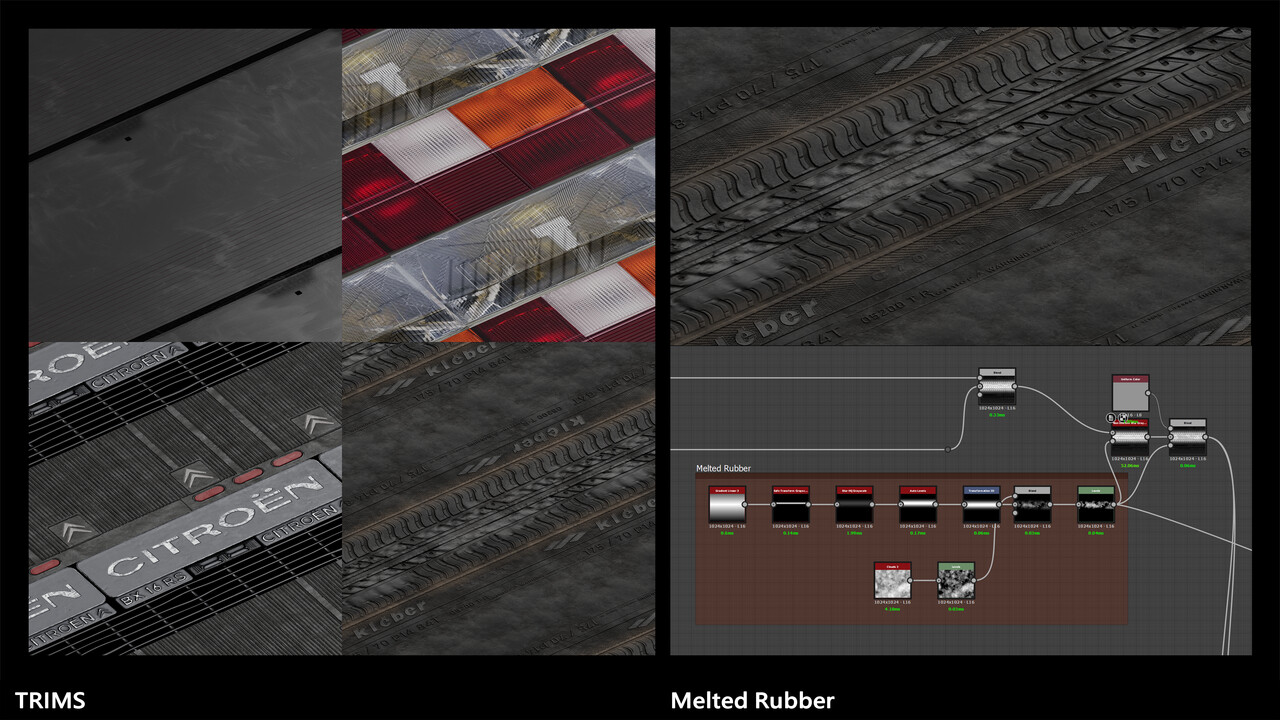
Trims
For the trims I mainly used SD, it allows me to add details easily such as melted rubber for the tires using simple nodes, for this effect I used the non-uniform blur node with the anisotropy feature of the node, which gives a direction to the weathering.
Tileables
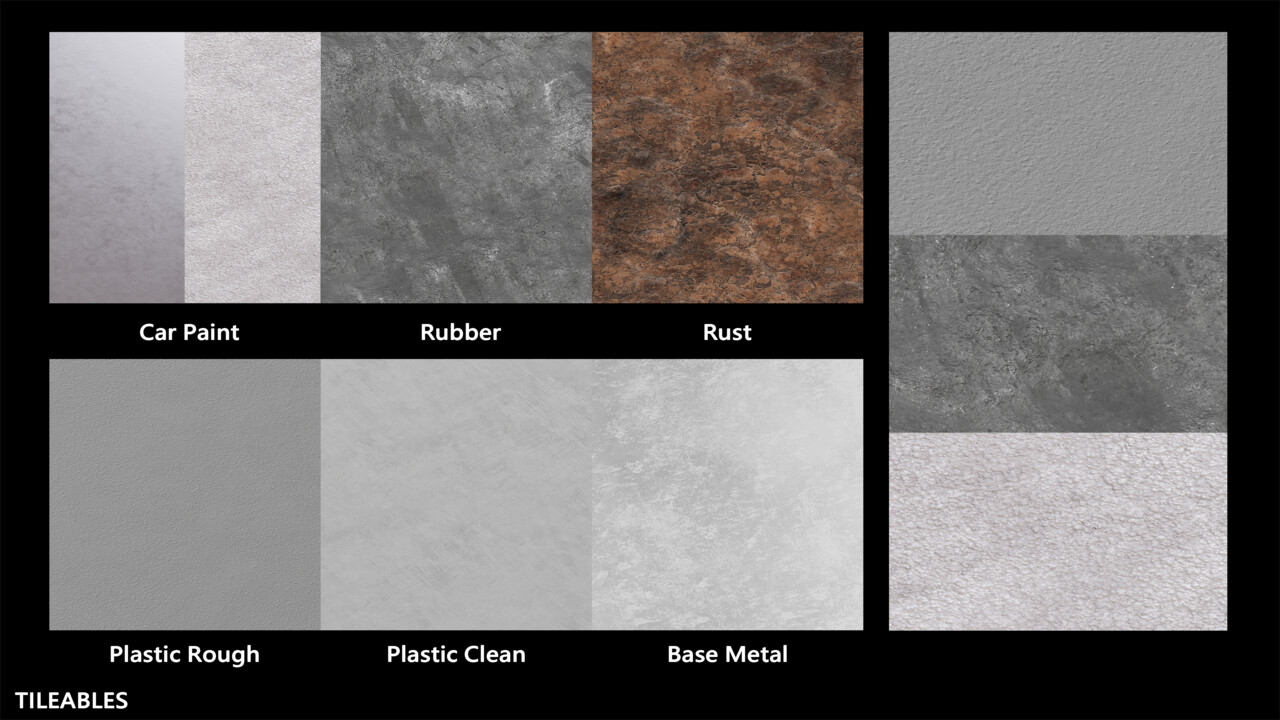
Tileables act as a library of base materials that I can later on change their properties like their base color in Unreal using a material graph. For that I am making subtle Albedo variations so that I can seamlessly change the color of the car for example.
As I will add macro details and weathering using RGBA masks later on I decided to keep my base materials as simple as possible, using only mid to micro shapes and weathering.
RGBA Masks
In addition to all the tileables, decals, and various blendings, I added an additional layer of realism.
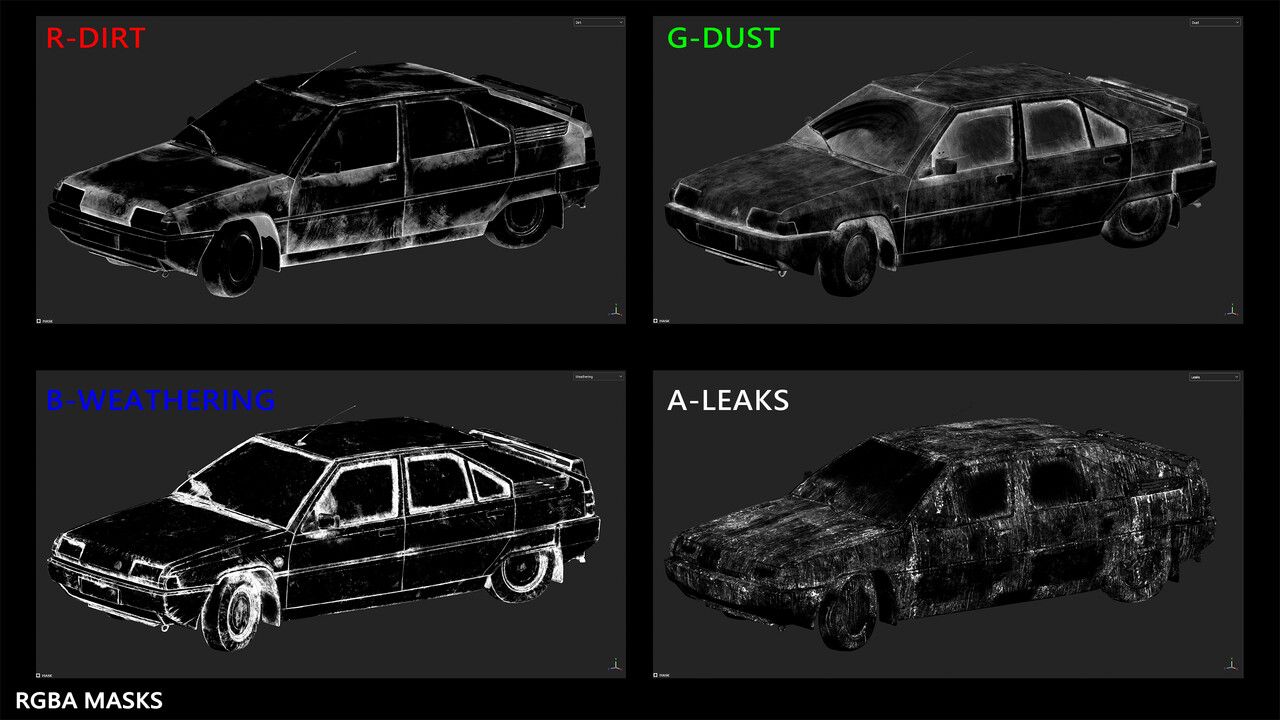
I simplified the weathering in my references into 4 major categories: Dirt, Dust, Weathering and Leaks. That way I could use a single RGBA texture to add all 4 categories of weathering.
Using some Uv2 and Substance Painter I made all 4 weathering categories, Red channel would be for Dirt, Green channel for Dust, Blue channel for weathering and Alpha channel for leaks. Using those masks and vertex paint to archive a convincing look into my albedo, roughness and metallic, similar to what you could do inside Substance Painter directly.
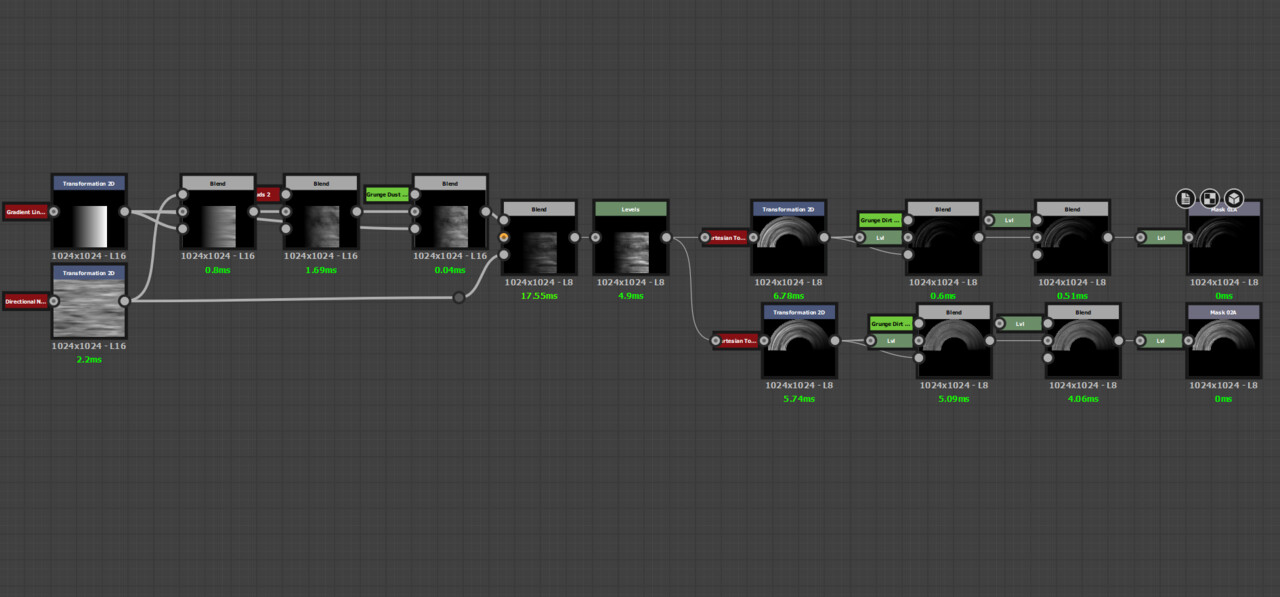
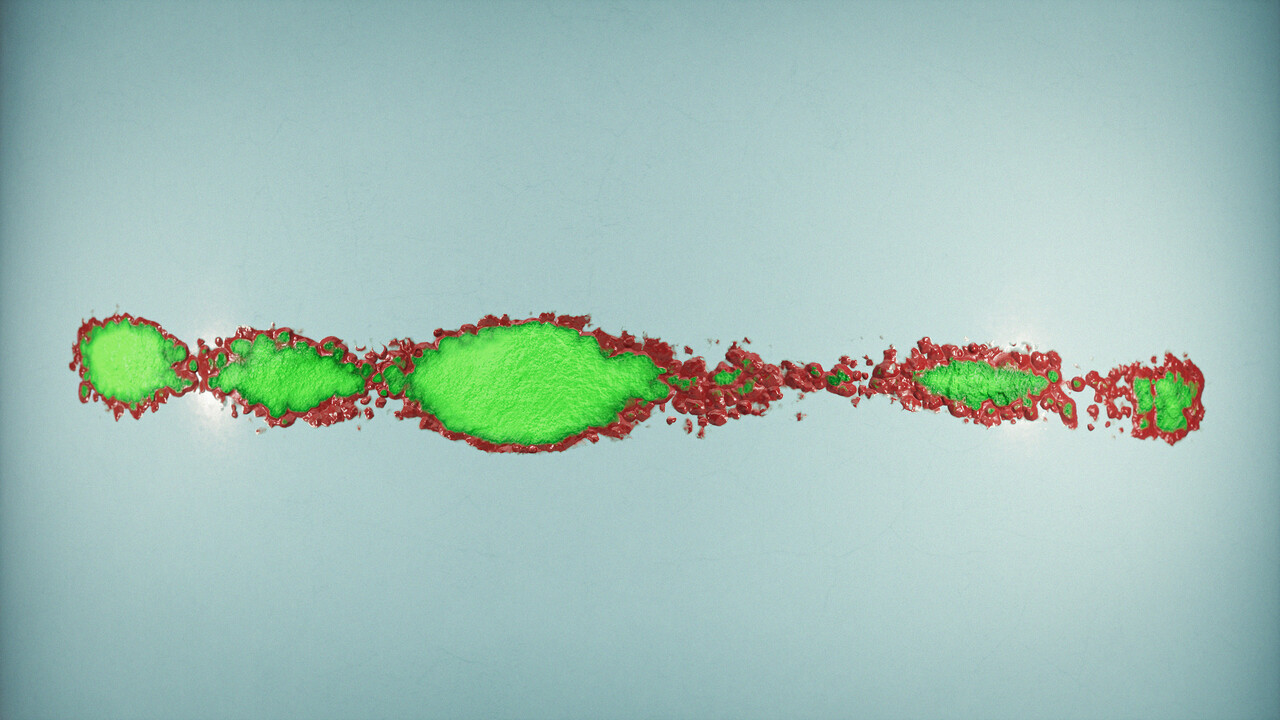
 I also created a set of Alphas like a wipe alpha using Substance Designer for the front windscreen.
 The main node that gives this effect is the cartesian to polar node.
Shaders
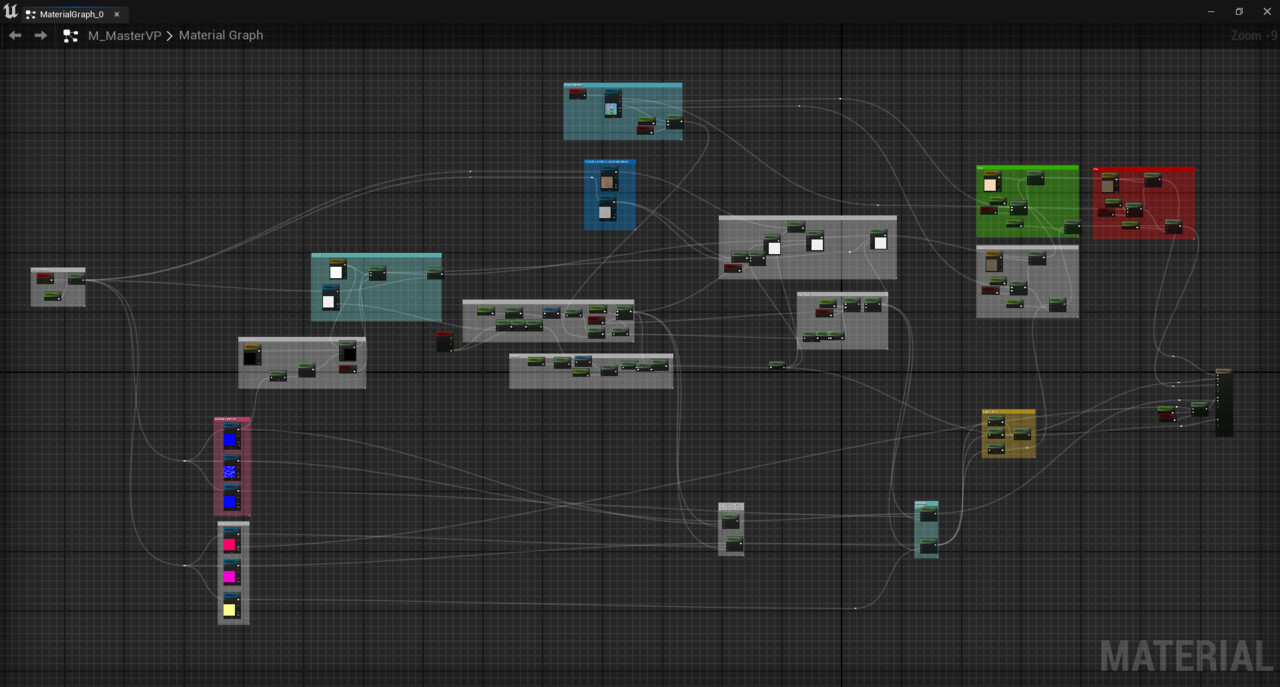
Main Master Material
This master material was the base for the car, 90% of all material are instances of the same master material.
Texture Sets Packing
I used multiple types of packing to reduce Texture samplers numbers, for this master material, a Blend Mask would be stored in the alpha channel of the Diffuse. AO, Metallic, Roughness and Height would be respectively stored in R G B and A of a single texture. Some compression settings can reduce the quality of some channels, to avoid issues I set for example the RGBA Masks to BC7.
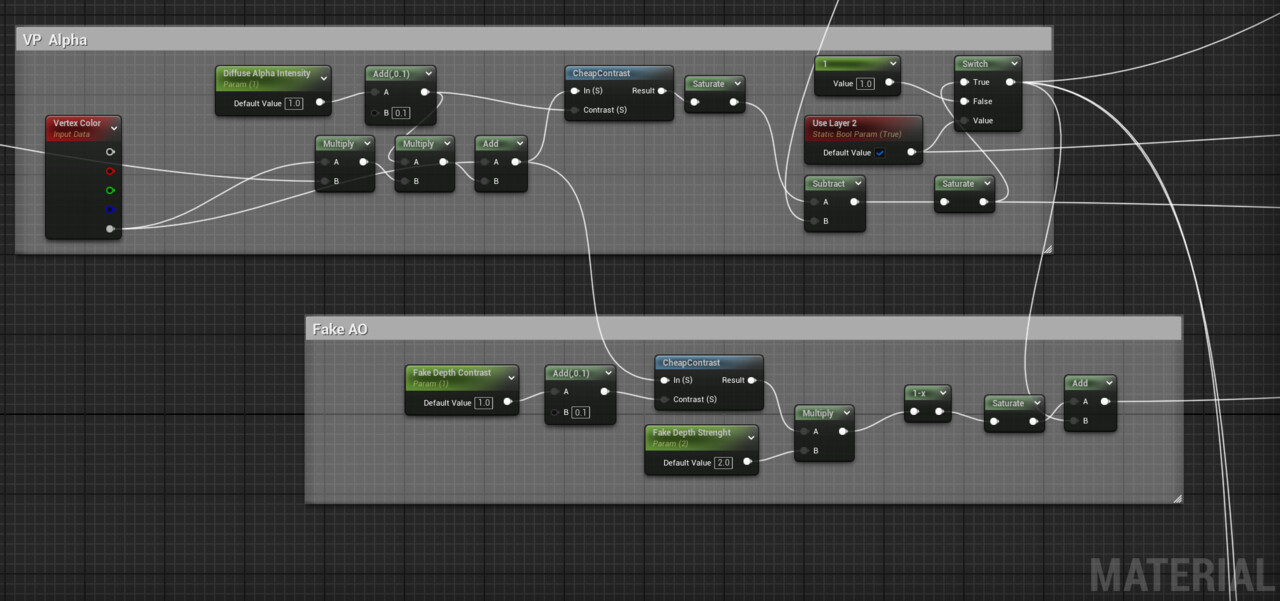
Vertex Paint Blend
I used a regular vertex paint setup to blend two layers of texture sets together. Pretty simple setup, really efficient. The Fake AO adds a subtle darkening that helps faking depth.
Edge Material
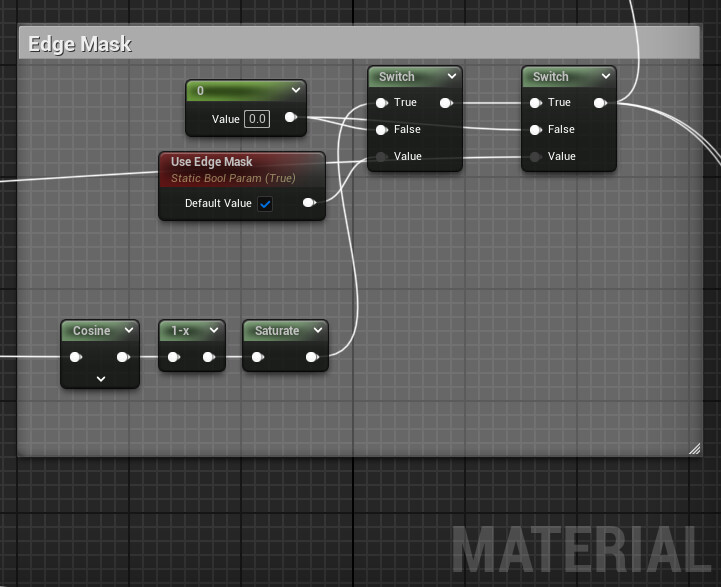
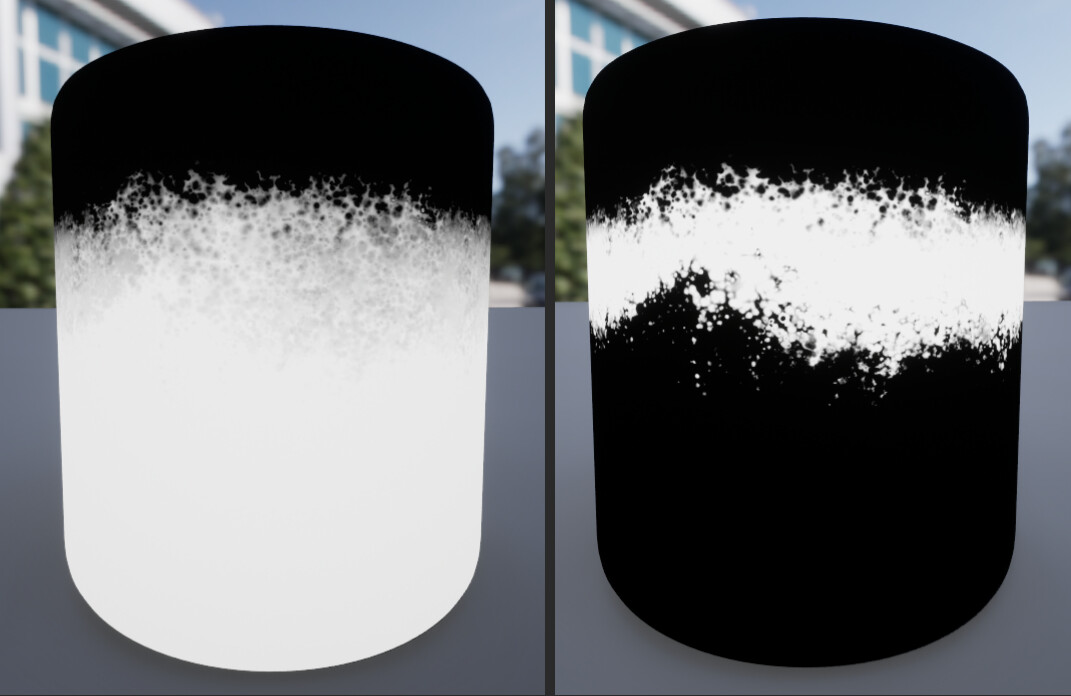
I made this master material with the intent of trying to reproduce the edge material similar to what Naughty Dog have been doing with The Last Of Us. The Edge Material is a mask based on the previous Vertex Paint Blend as well as the weathering mask from the RGBA Masks. It allows me to blend a third Texture set along the edges of layer 2 and layer 1.
 The setup is rather simple, once you have your mask in input you can use the falloff of it and a cosine node to extract the edges.
Everything comes with additional parameters to control various aspects of the blends.
RGBA Masks
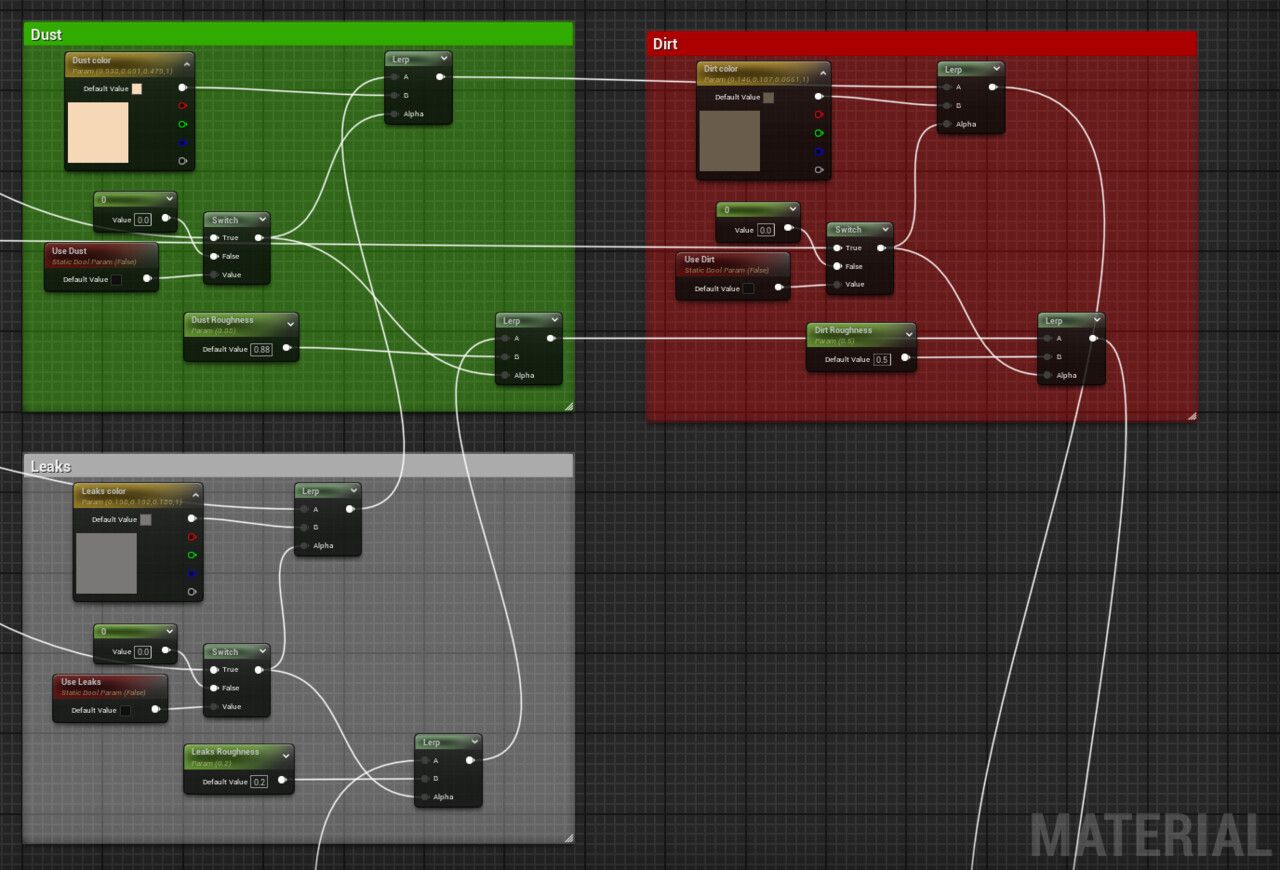
Like I explained it in the textures section, I added Dirt, Dust, Weathering and Leaks using masks.
To keep my material graph light, Dirt, Dust and Leaks masks affect only the color and roughness following a logical layering that can be changed.
The Weathering mask is used directly with the Vertex Paint Blend.
POM Decals
A really simple POM and deferred decal material domain setup, using the POM node available by default in Unreal Engine.
To keep this graph simple I just made a material function with some basic parameters.
Headlights
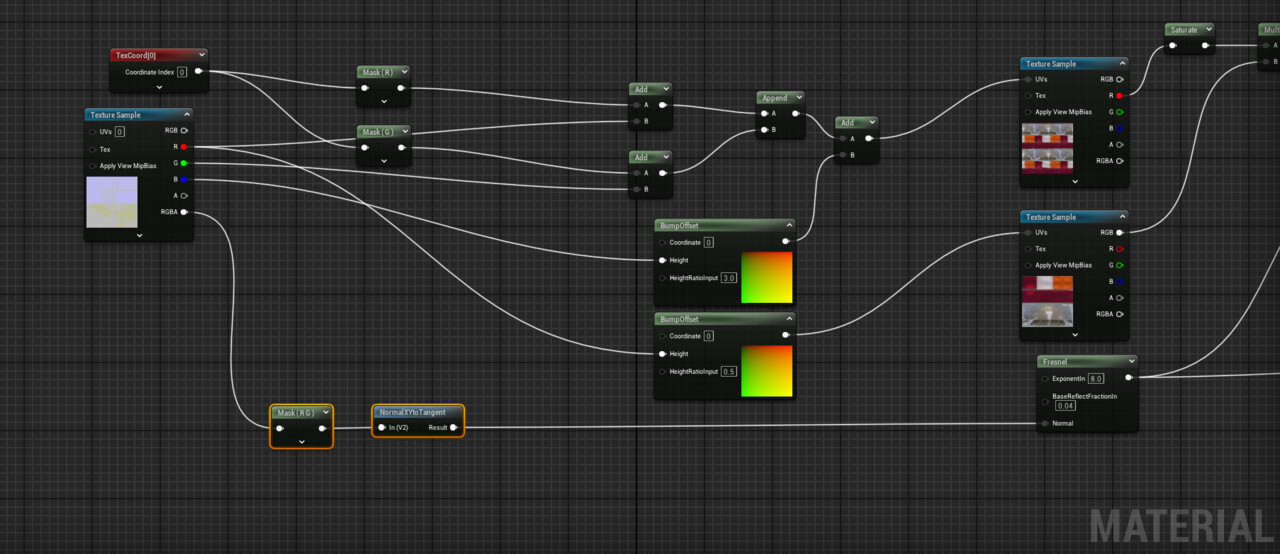
Headlights were a tricky one, I have tried multiple solutions, ranging from opacity/translucency objects, various normal maps, emissive and even faked an interior of the headlights. I finally remembered my old project on ice walls where I did a fake ice depth-like effect using bump offset and some other Uv based tricks. So I tried it on the headlights trying to achieve a parallax-like effect by deforming a color map based on some normal maps and height maps that I did in Substance Designer. This trick is also common in FX, using a normal map to deform Uvs coordinates acts a bit like a warp node inside SD, the bump offset creates the parallax effect / fake depth.
General
At the end I made some adjustments to the material graph, adding some control over everything and also cheaply mimicking a car surface using fresnel color.
Rendering and Composition
Studio
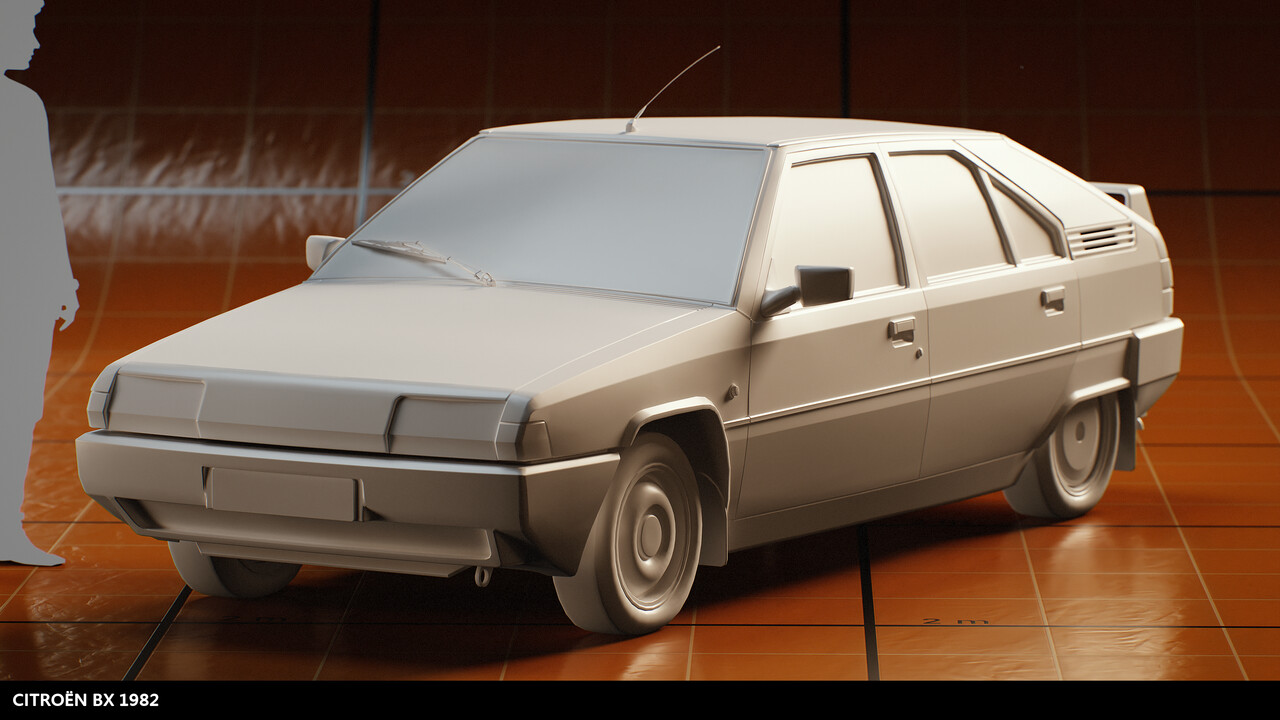
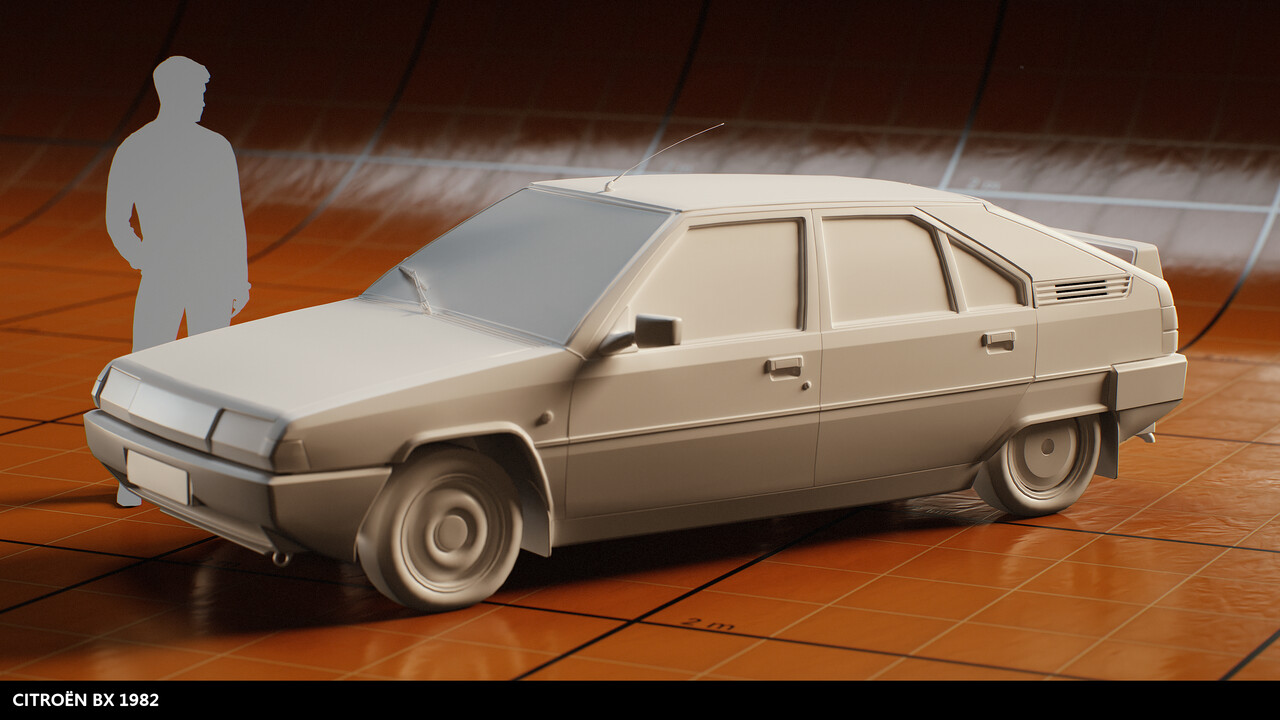
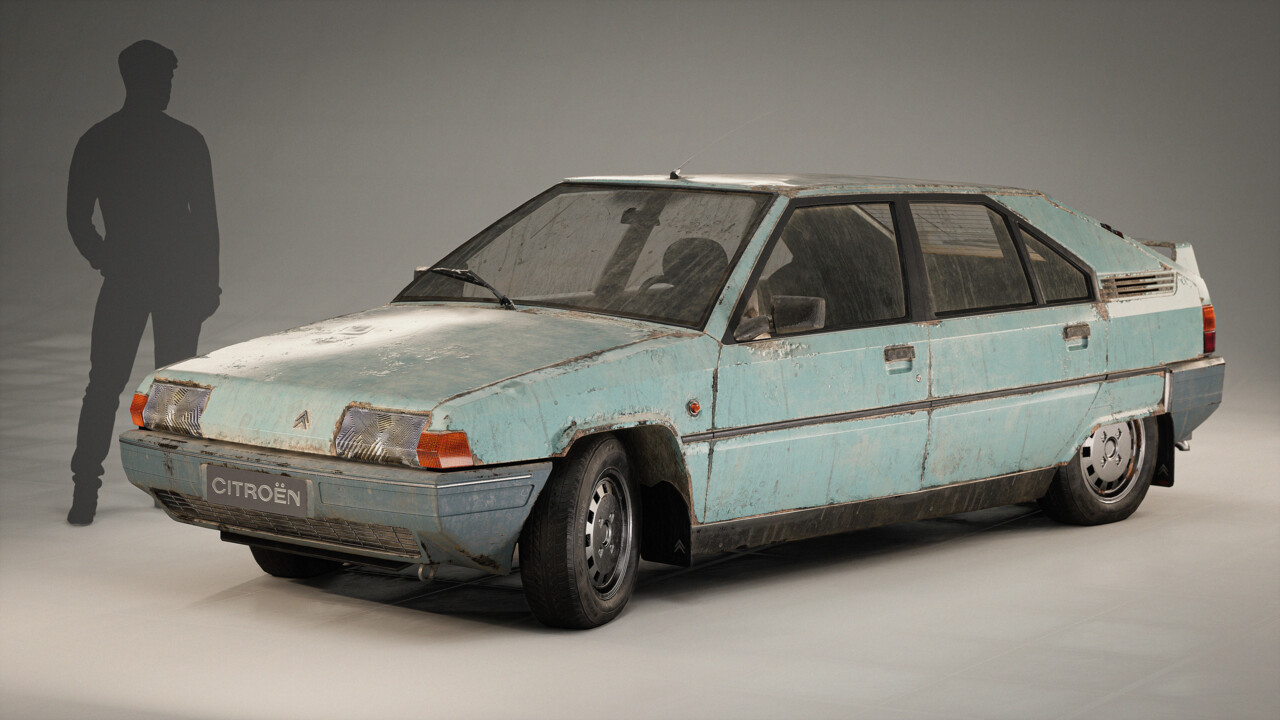
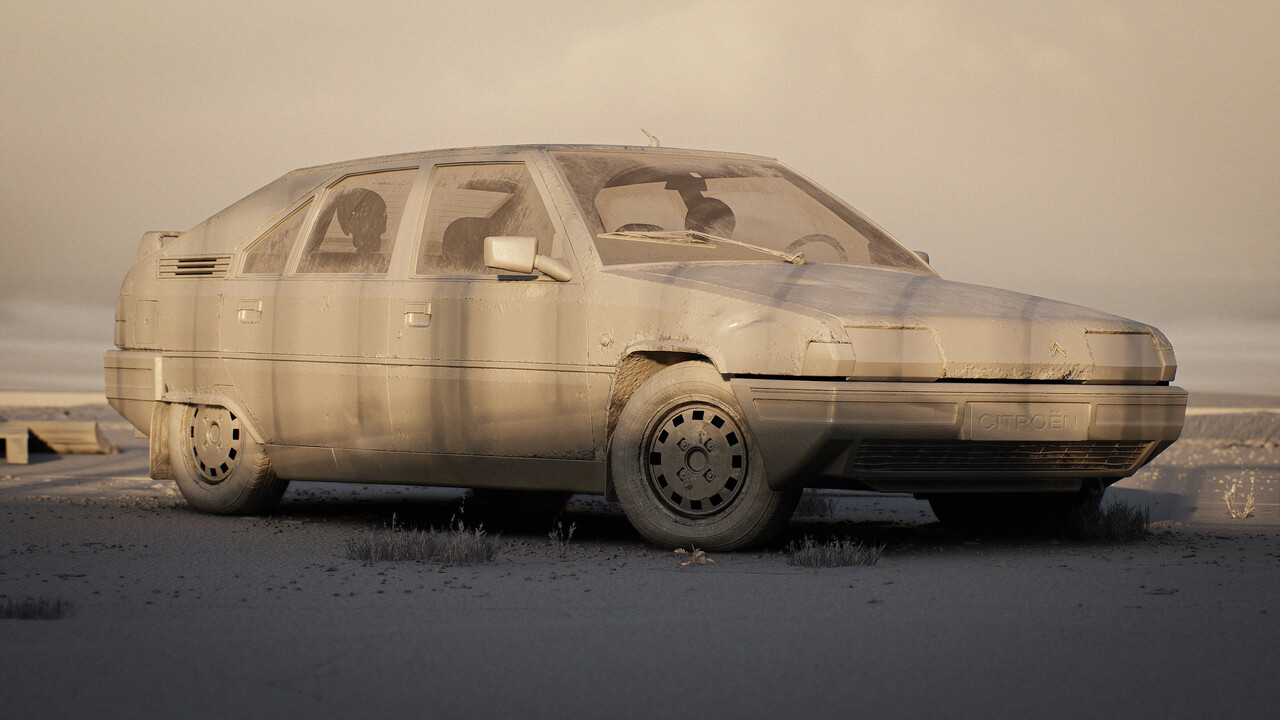
At first I did a quick studio to test my materials and the car in a neutral setup.
Composition
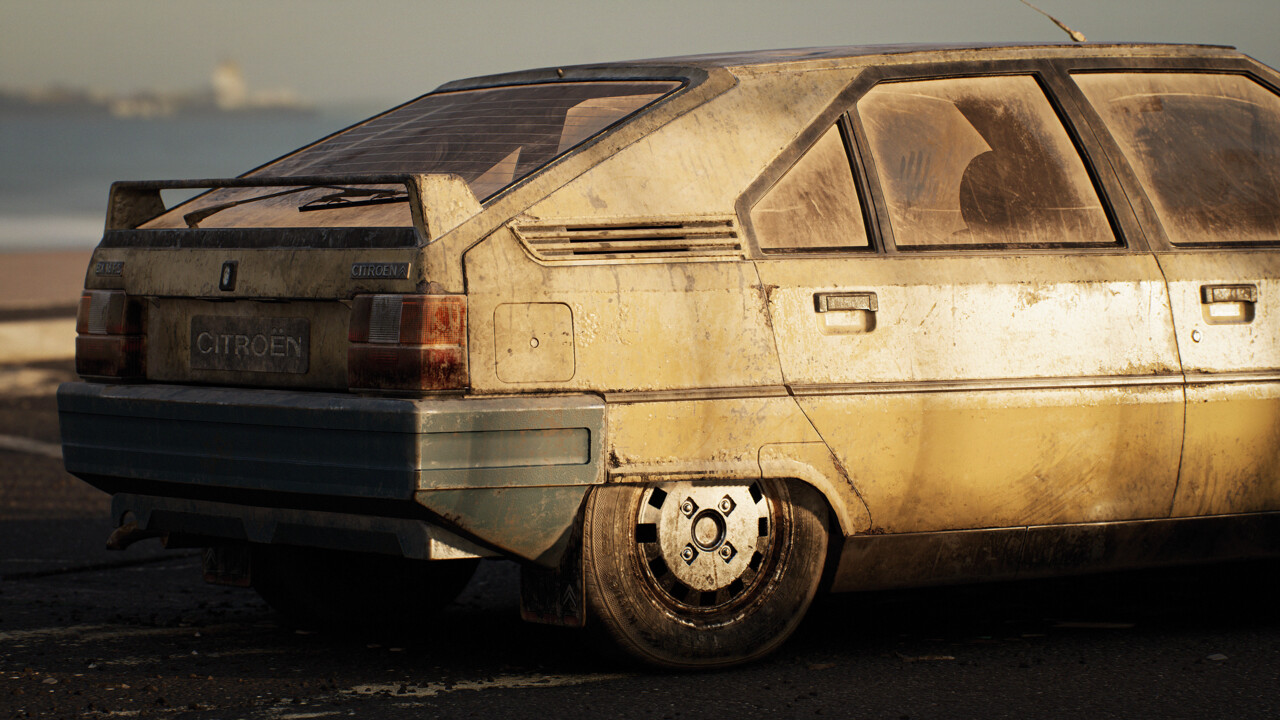
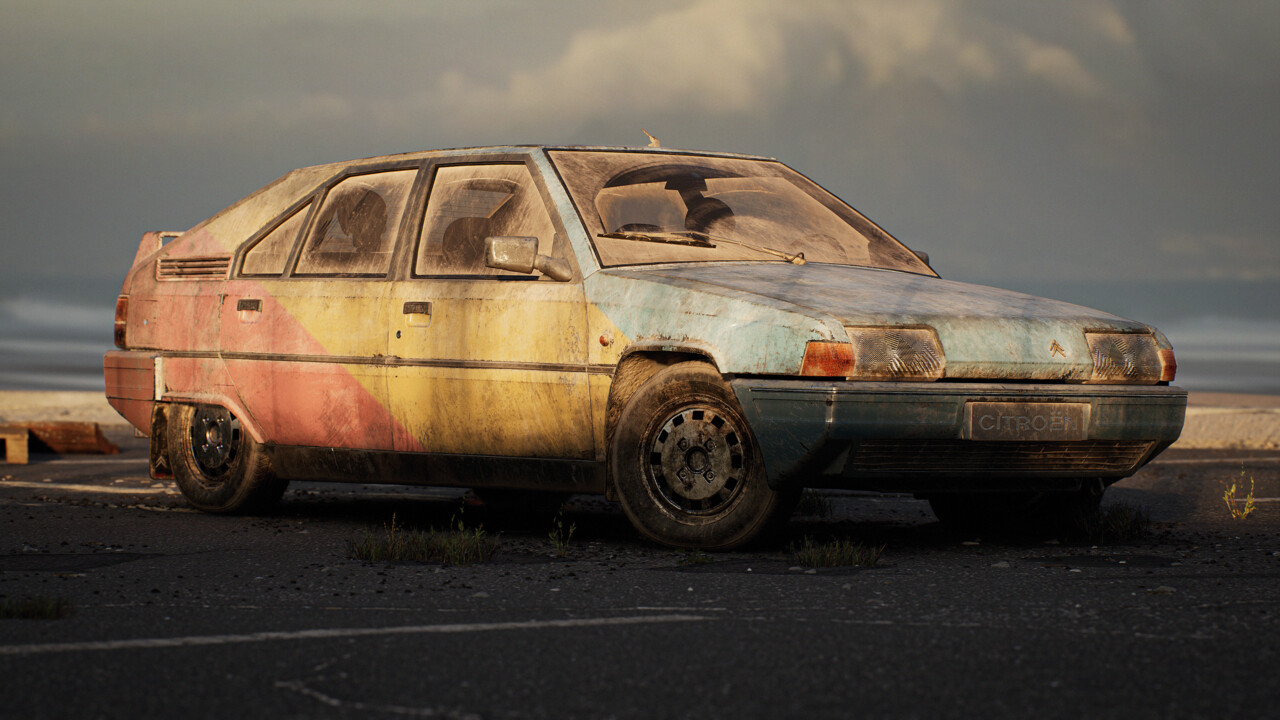
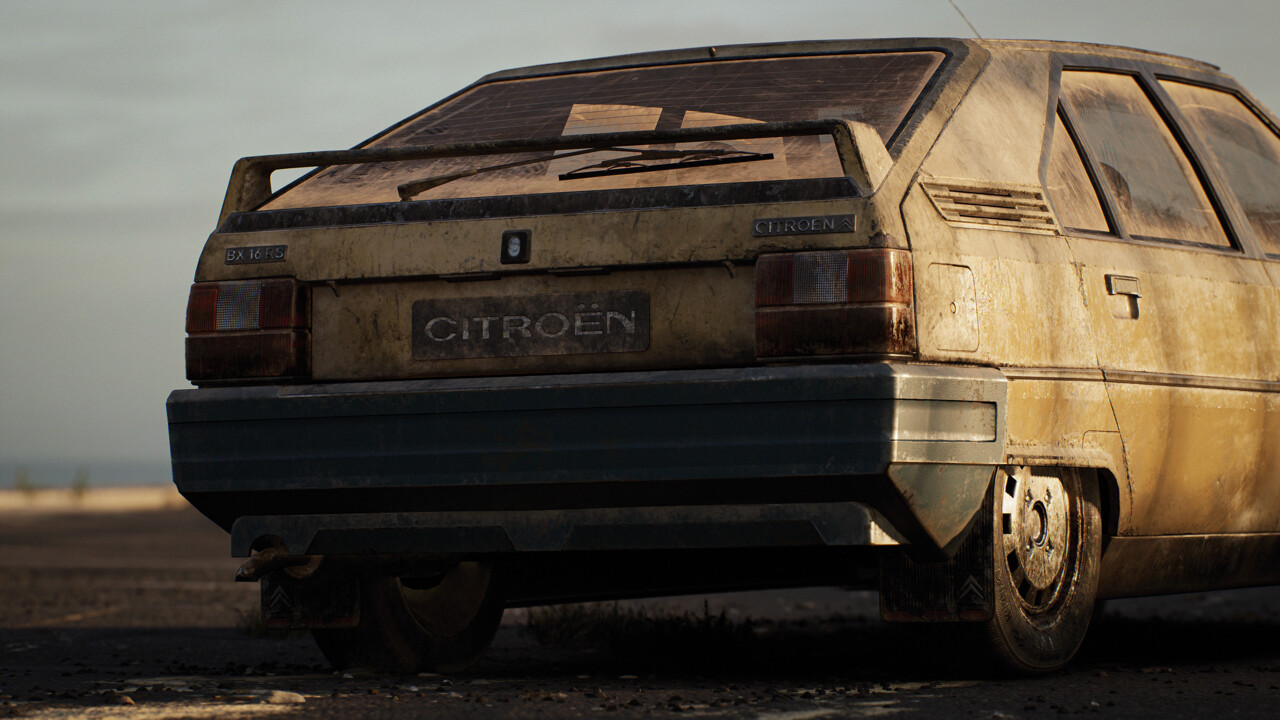
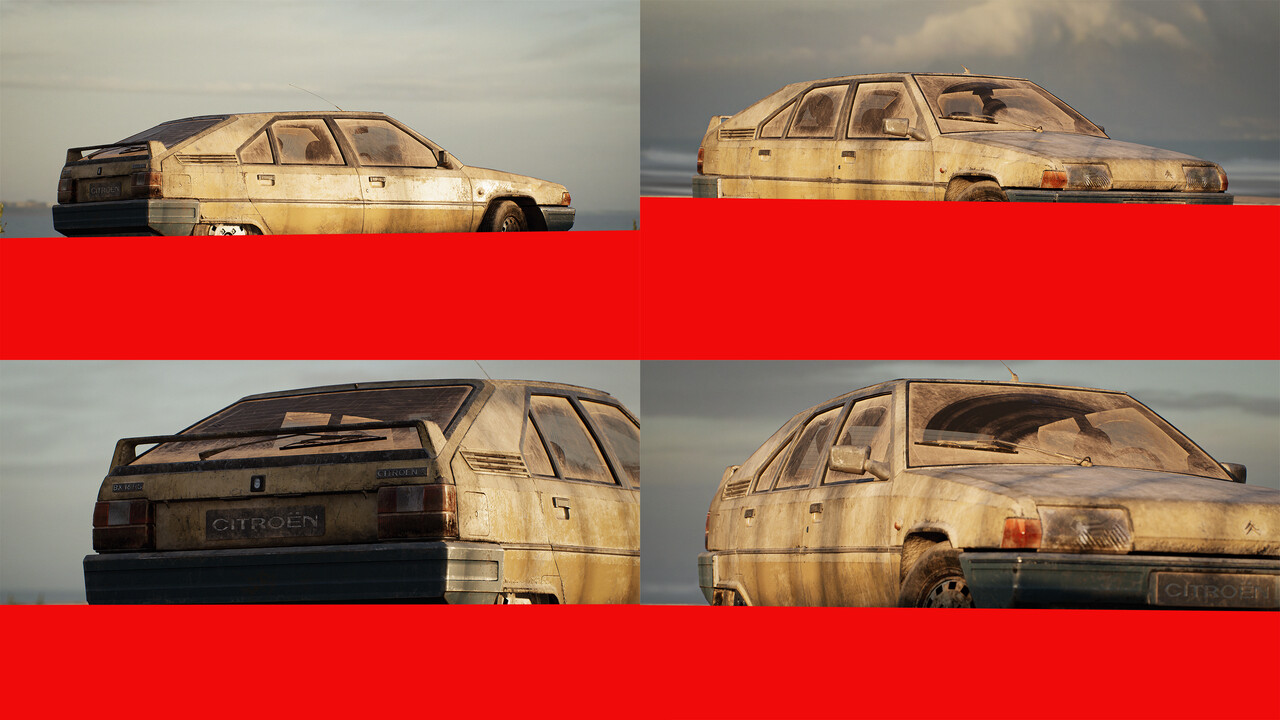
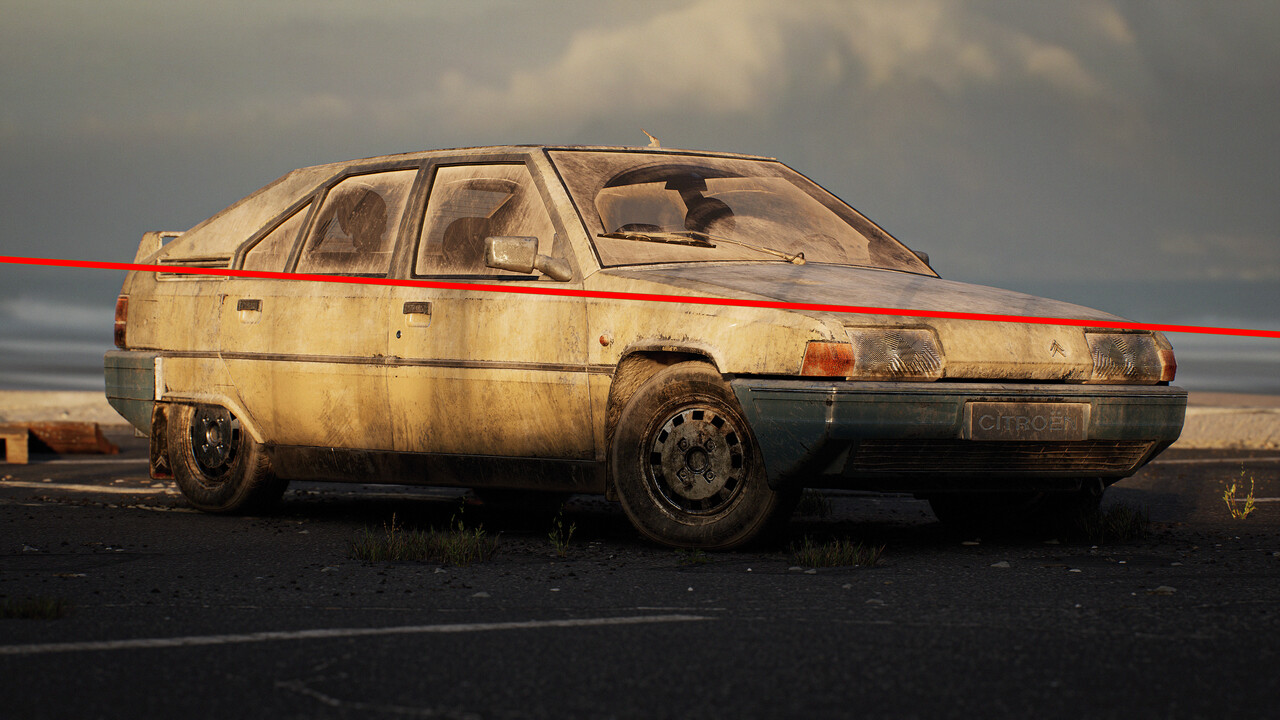
For the final composition, I decided to bring the car into the Automotive Beach Scene from Epic Games. With a little set dressing to resemble an abandoned parking lot and some story telling using Quixel, I could start planning the shots. For most of the shots I like to push the ground and the horizon up to ⅓ or more of the image giving the car more ground to sit on.
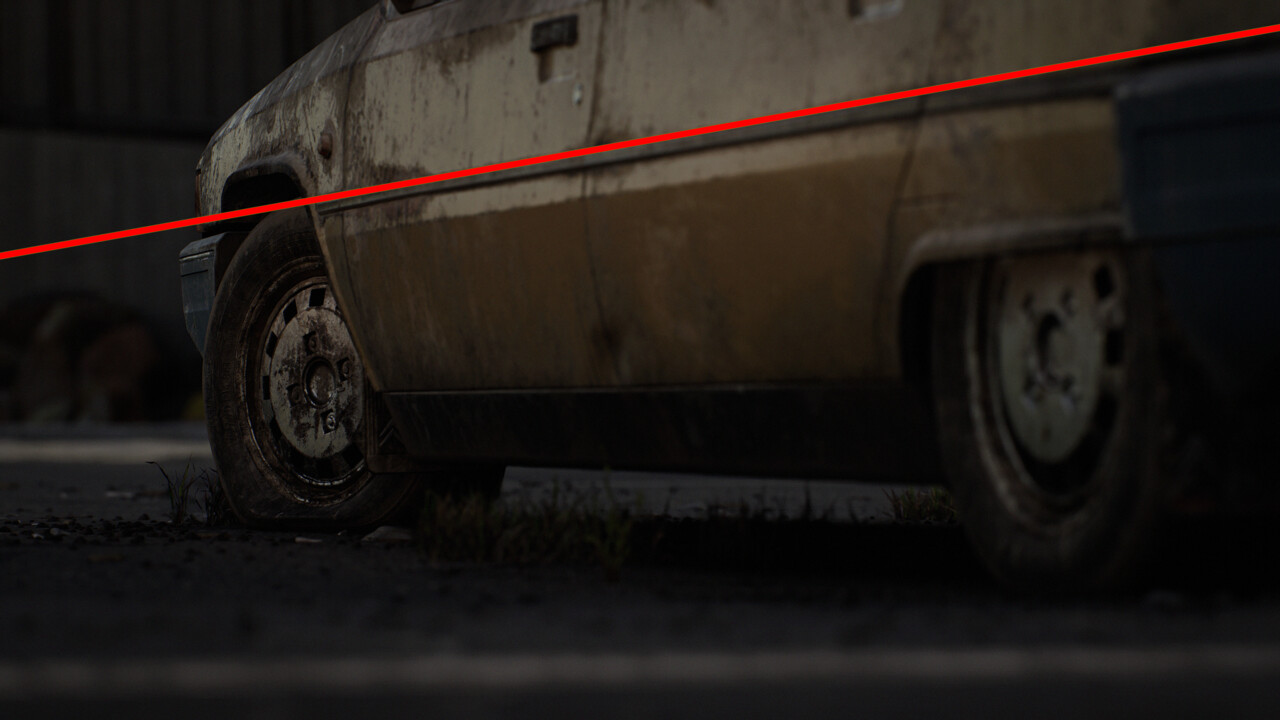
It is really subtle but the flat tire allowed me to create a small diagonal line, making the car lower to the front left, helping with dynamism.
I try to not overflow the scene with too many secondary assets, macro or micro so that the car keeps the focus. But adding a final micro pass of details to the ground helps a lot with realism.
Lighting
I wanted to frame the car using shadows, adding natural contrast, making sure the orange goes with its complementary blue, through the sky and the colors of the car. Finally, to add an additional layer of contrast, the ground is set in a darker tone.
Using some objects, like rails, behind the camera to cast additional shadows helps create a dramatic effect. It also breaks some horizontal lines.
Post
For finishing touches, I like to add some post-processing effects. I started by a light color grading then sharpening and as I was going for a Last Of Us / Walking dead feel I added photo grain noise. I usually add more effects like bloom but this time I wanted to stay simple.
Conclusion
I really love those types of personal projects,. they teach and help you more than you could even imagine, as well as being fun to experiment new ideas on. What helps me to start and to finish a project is setting a learning goal, for example, producing something you wanted to try or to experiment for a long time, or you got inspired by another artist or project. Don’t hesitate and start your journey !

