Creation process MECHA
Hello everyone!
Today I would like to tell you about the process of creating concept art for mecha project.
The first thing I always do is a little research. In this case I was doing pre-production for the whole project, so this process took a bit longer. When working I actively use all possible tools, but my favorite is mindmap. By working with associations and semantic components I can simplify the search for references and create a more meaningful design.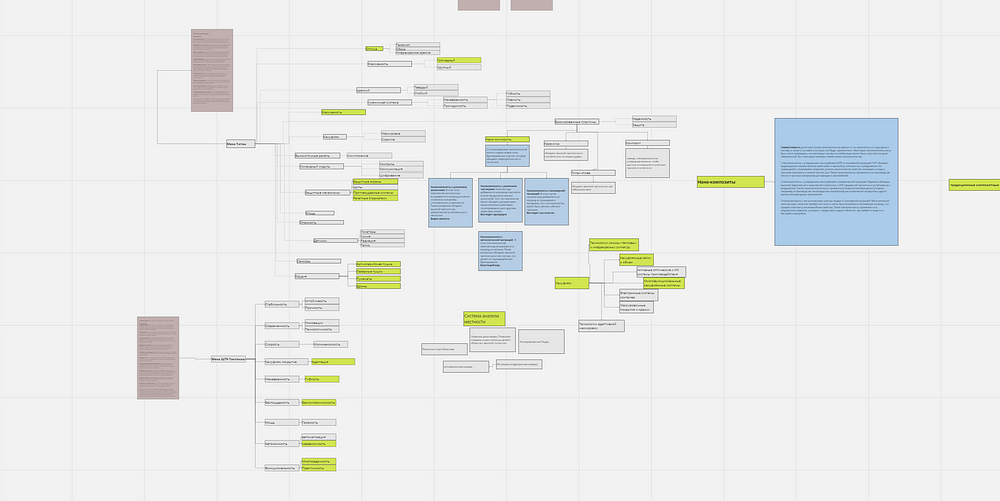
First of all, I form a synopsis of the project from which it becomes clear what elements are worth including and what elements are worth removing.
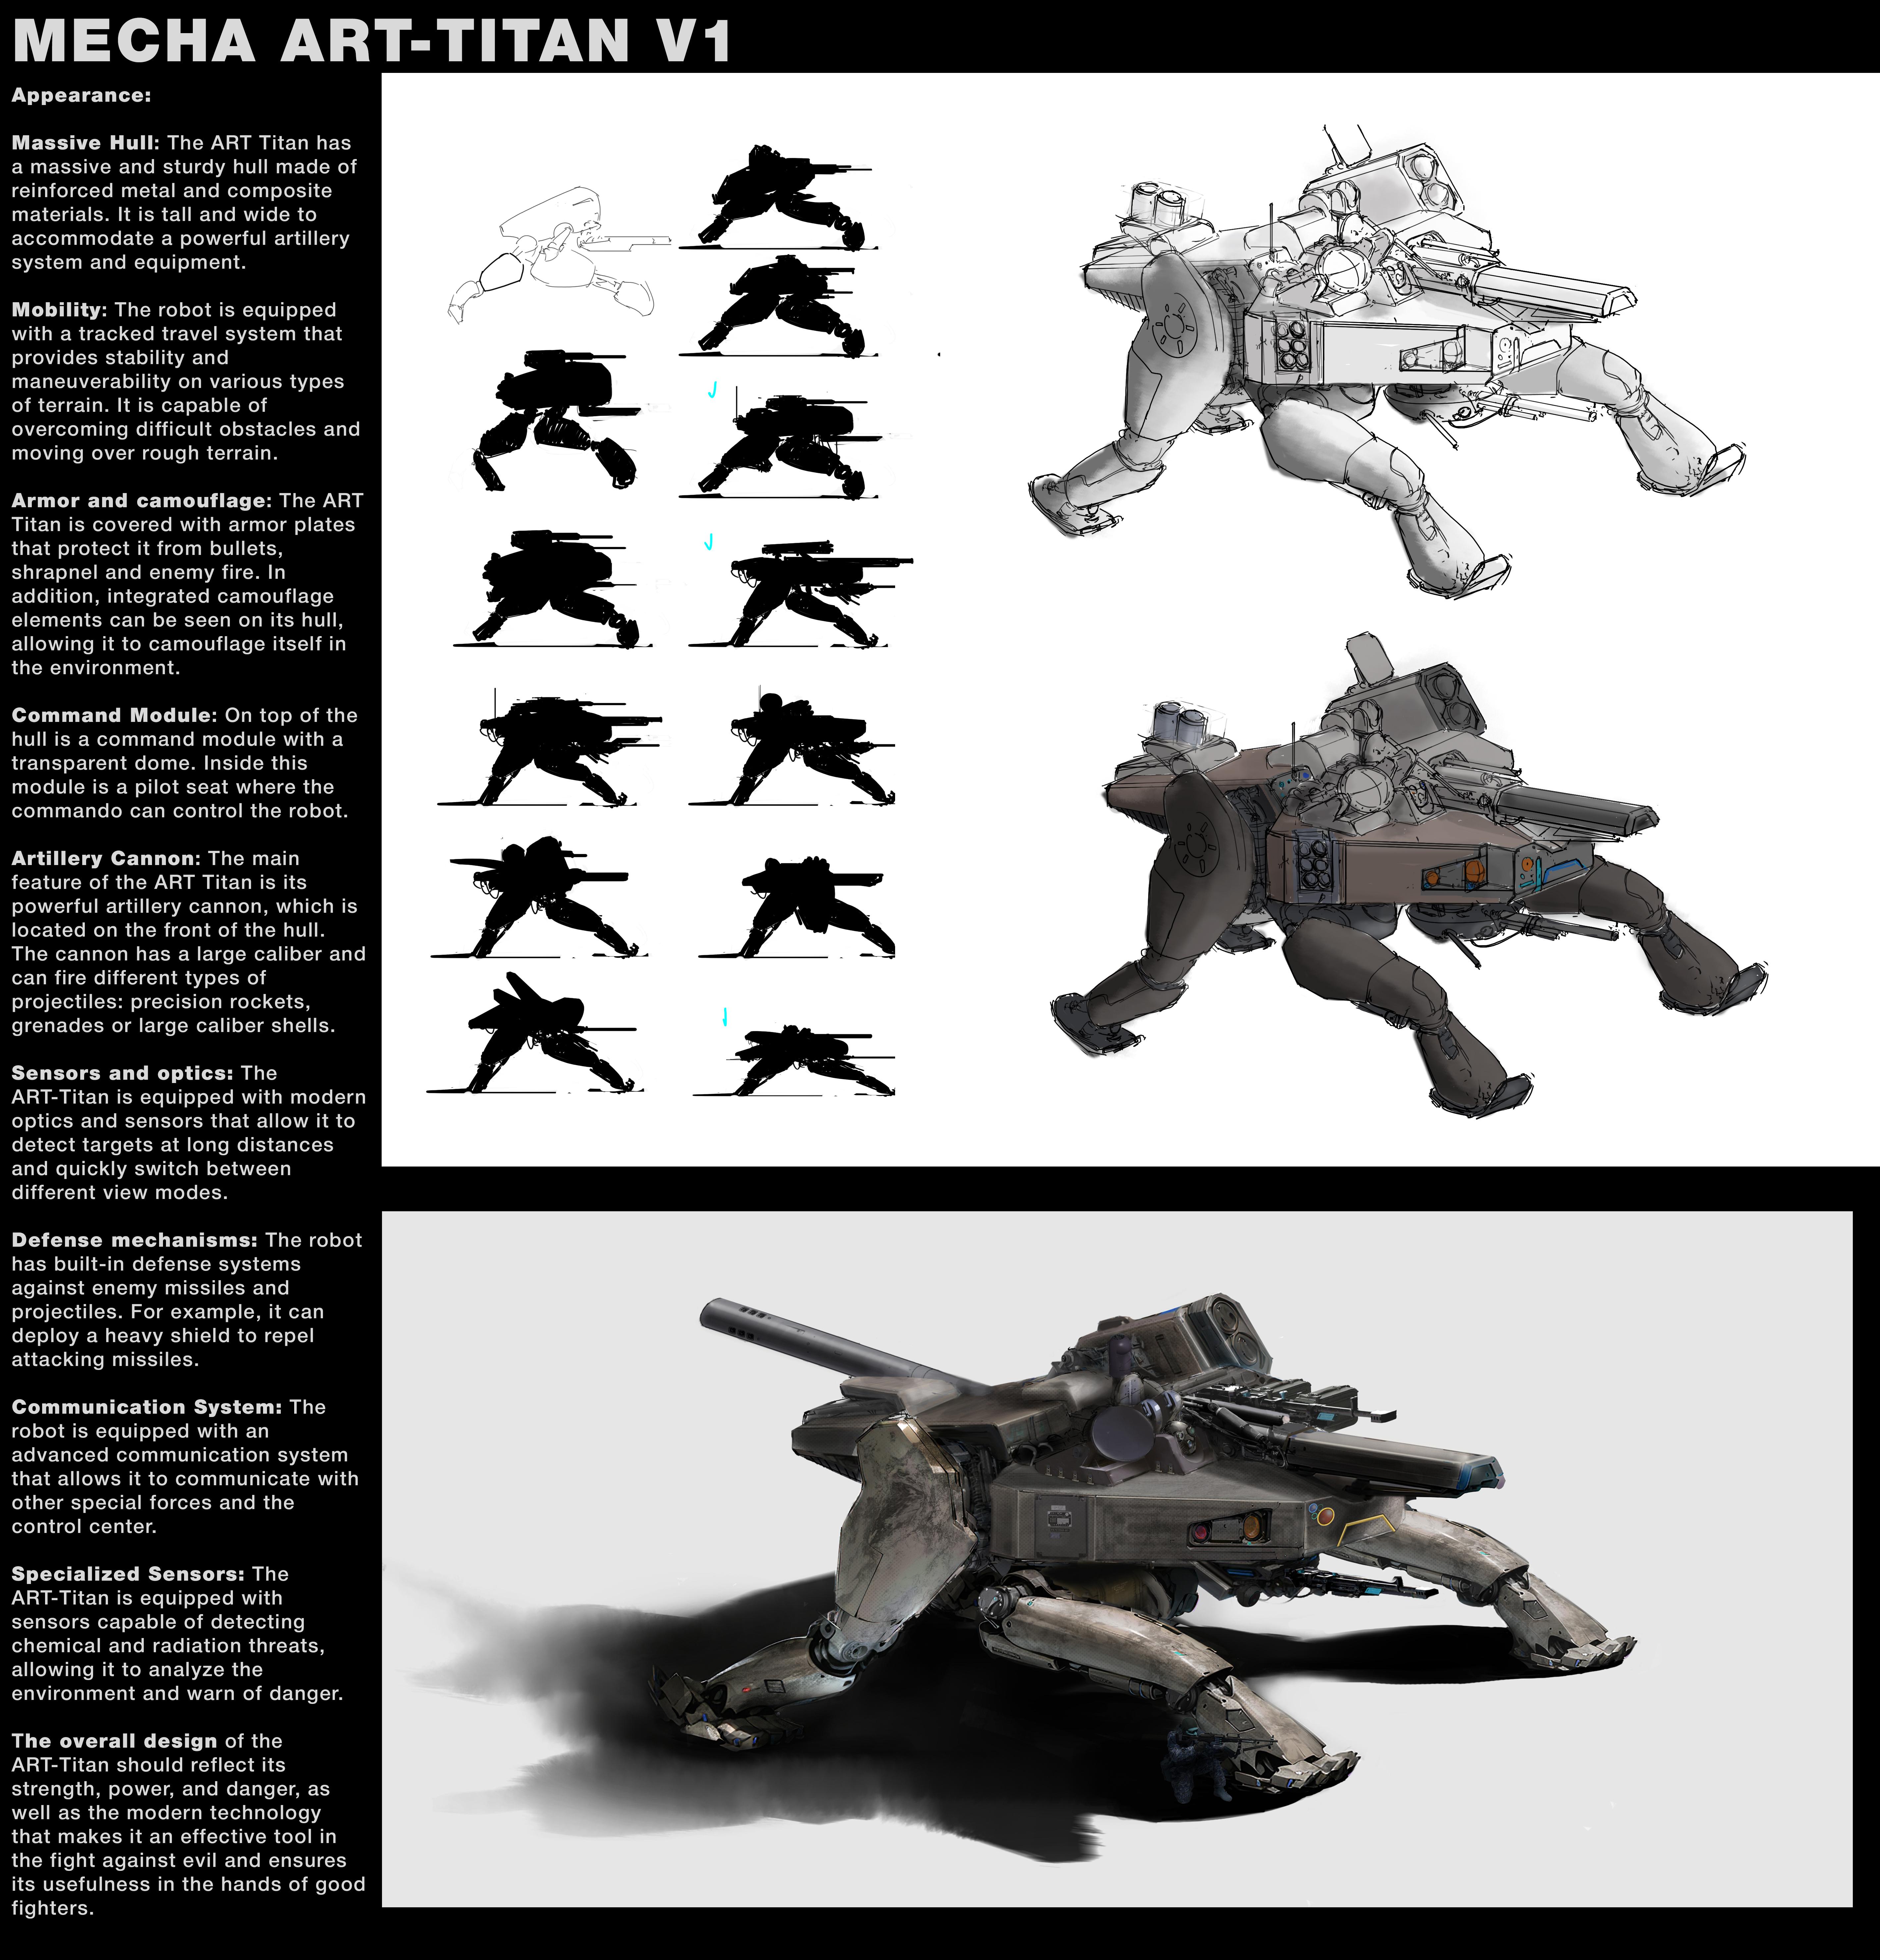
After that I can start thinking about the object. In this case, we are talking about the A.R.T. robot. Titan. The overall design of the A.R.T. Titan should reflect its strength, power and danger, as well as modern technology that makes it an effective tool in the fight against evil and ensures its usefulness in the hands of good fighters.
I identified the main categories of military hardware elements and began researching
It’s looks like this. I’ll highlight keywords and start researching
After a short research, I proceed to collect keyword references. As a rule I already have a couple of ideas, they are formed in the process of working with the mindmap.
After collecting references, I start to study the design and make sketches. I prefer to use sketchbook instead of photoshop.
Depending on the time I have, I can either go into this process in depth or do things fairly quickly. In this case, I wanted to study the designs and mechanisms in detail so that I could use the lessons learned in future projects
It took me about one day to learn the elements for the three types of robot. Another day to find the shape and one day for the concept itself. The pre-production work took about three days. If you allocate an average production time from scratch, it’s about 2–3 days for a concept of this quality. But my tasks are broader, so I spent more time, also preproduction was for the whole project, not just for the mechs.
The next step is to select one of the two shapes and further elaborate. I made several silhouettes and after selecting the best ones I started working on the concept.
The next step is to put our object in perspective
After I made a few color choices and settling on one, I proceeded to the next step.
In the process of refining the parts and working at the photobash level, I realized that some parts didn’t work well and I had to abandon them.
At this stage, I put all the elements together.
Originally the version of my robot was blue, but I liked it better in shades of red.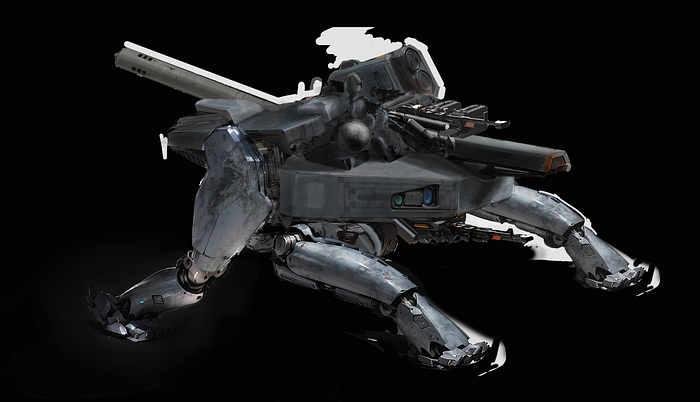
Added some dirt textures
Refined a couple details, added shadows and flattened the image to more pleasing proportions for me.
That’s it. See you in the next post about the other two concepts I created for this type of robot.
And yes, I would be extremely happy to see your support on artstation!
Thank you!!!
https://www.artstation.com/artwork/Zazw1X
Full project with another mecha on Behance
https://www.behance.net/gallery/187126993/OUROBORUS-Sci-fi-mech-concept-art-for-cinematic

