Rite Aid is closing 95 more stores after selling assets to CVS and others: See the full list of locations across 6 states
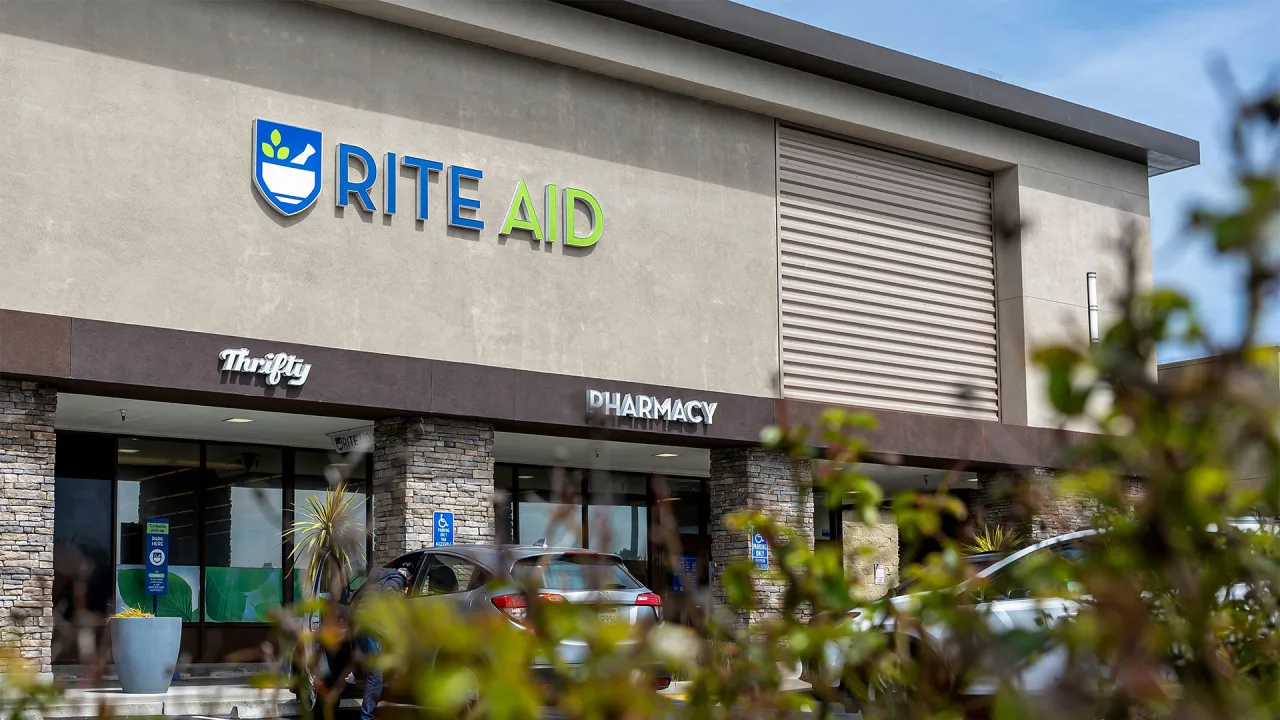
Rite Aid is moving quickly to close additional store locations after selling a substantial chunk of its pharmacy business to other companies last week.
The drugstore chain, which is winding down operations after seeking Chapter 11 bankruptcy protection for a second time earlier this month, has listed 95 store locations that it wants to close as it continues to seek buyers for its retail operations. The locations span six states, with Rite Aid’s home state of Pennsylvania being hit hardest. The list includes more than 70 Pennsylvania stores.
Competitors scoop up Rite Aid’s pharmacy assets
The move to close additional locations was disclosed in a court filing one day after Rite Aid announced that it has reached agreements to sell its prescription files for more than 1,000 pharmacy locations, most of Rite Aid’s fleet. CVS Pharmacy, Walgreens, Albertsons, Kroger, and Giant Eagle were among the successful bidders, the company said. The sale agreements still need to be approved by a court.
Rite Aid also said that CVS will take over “many” pharmacy locations in Washington state, Oregon, and Idaho, although it did not name the locations. CVS, in its own announcement, said it planned to buy prescription files for 625 locations but that it was only taking over 64 physical Rite Aid stores.
That leaves the immediate fate of many Rite Aid locations uncertain. Although all locations will cease to be Rite Aid stores eventually, Rite Aid is still seeking to sell some of them to other retailers. An auction is planned for June.
In the meantime, expect the 95 stores listed below to close soon. Fast Company reached out to Rite Aid for a more specific timeline.
The shuttering of these locations comes after previous Rite Aid filings revealed that it would close 47 initial stores followed by 68 additional stores last week, for a total of 210 closures so far. At the time of its bankruptcy filing, Rite Aid revealed that it had 1,277 pharmacies, three distribution centers, and more than 24,000 employees across 15 states.
Rite Aid closures revealed on May 16:
California
1583 Highway 99, Gridley, CA 95948
2140 Contra Costa Boulevard, Pleasant Hill, CA 94523
3105 Rancho Vista Boulevard, Palmdale, CA 93551
37435 Main Street, Burney, CA 96013
Delaware
38169 Dupont Boulevard, Selbyville, DE 19975
Maryland
2801 Foster Avenue, Baltimore, MD 21224
101 Marlboro Ave Ste 15, Easton, MD 21601
25 Jones Station Road West, Severna Park, MD 21146
Oregon
1900 Mcloughlin Blvd., Oregon City, OR 97045
16261 South Highway 101, Harbor, OR 97415
2336 North Coast Highway, Newport, OR 97365
4500 Commercial Street, S.E., Salem, OR 97302
1430 NW Garden Valley Blvd, Roseburg, OR 97471
Pennsylvania
1701 Duncan Avenue, Allison Park, PA 15101
2302 Sheffield Road, Aliquippa, PA 15001
3331 Pleasant Valley Blvd., Altoona, PA 16602
4400 Pennell Road, Aston, PA 19014
1799 Third Street, Beaver, PA 15009
5100 Library Road, Bethel Park, PA 15102
503 Clifton Road, Bethel Park, PA 15102
417 Chartiers Street, Bridgeville, PA 15017
139 South Main Street, Butler, PA 16001
1520 N Main Street Ext, Butler, PA 16001
200 Greater Butler Mart, Butler, PA 16001
3434 William Penn Highway, Churchill, PA 15235
412 Broadway Street, Coraopolis, PA 15108
20480 Route 19, Cranberry TWP, PA 16066
101 5th Street, Charleroi, PA 15022
300 Market Street, Elizabeth, PA 15037
4606 Admiral Peary Highway, Ebensburg, PA 15931
5430 Peach Street, Erie, PA 16509
4145 Buffalo Road, Erie, PA 16510
925 West Erie Plaza, Erie, PA 16505
700 Sharon New Castle Rd., Farrell, PA 16121
1020 Liberty Street, Franklin, PA 16323
335 Main Street, Greenville, PA 16125
9141 Ridge Road, Girard, PA 16417
1710 Mount Royal Blvd., Glenshaw, PA 15116
4155 Ewalt Road, Gibsonia, PA 15044
3730 Brighton Road, Pittsburgh, PA 15212
5633 Baum Boulevard, Pittsburgh, PA 15206
1800-1814 Morningside Avenue, Pittsburgh, PA 15206
1700 Murray Avenue, Pittsburgh, PA 15217
3210 Banksville Road, Pittsburgh, PA 15216
5504 Walnut Street, Pittsburgh, PA 15232
410 Cooke Lane, Pittsburgh, PA 15234
568 Caste Village, Pittsburgh, PA 15236
1130 Perry Highway Ste 35, Pittsburgh, PA 15237
1125 Freeport Road, Pittsburgh, PA 15238
2336 Ardmore Boulevard, Pittsburgh, PA 15221
7345 Saltsburg Road, Penn Hills, PA 15235
3434 William Penn Highway, Pittsburgh, PA 15235
1700 Pine Hollow Road, McKees Rocks, PA 15136
4185 Washington Road, McMurray, PA 15317
975 Market Street, Meadville, PA 16335
109 Allegheny River Blvd., Oakmont, PA 15139
3730 Brighton Road, Pittsburgh, PA 15212
300 Market Street, Elizabeth, PA 15037
135 South Market Street, New Wilmington, PA 16142
1501 Scalp Avenue, Johnstown, PA 15904
407 Central Avenue, Johnstown, PA 15902
4960 Bedford Street, Johnstown, PA 15904
113 West Main Street, West Newton, PA 15089
1236 Long Run Road, White Oak, PA 15131
6375 Library Road, South Park, PA 15129
2655 E Carson Street, Pittsburgh, PA 15203
1200 Pittsburgh Street, Cheswick, PA 15024
517 Beaver Street, Sewickley, PA 15143
221 Grove City Road, Slippery Rock, PA 16057
446 West Main Street, Monongahela, PA 15063
4111 William Penn Hwy., Monroeville, PA 15146
600 William Marks Drive, Munhall, PA 15120
1120 Philadelphia Avenue, Northern Cambria, PA 15714
8775 Norwin Avenue, North Huntingdon, PA 15642
3550 Route 130, Irwin, PA 15642
1440 East High Street, Waynesburg, PA 15370
201 Devine Drive, Wexford, PA 15090
100 Seven Fields Blvd, Seven Fields, PA 16046
334 Main Street, Greenville, PA 16125
1851 East State Street, Hermitage, PA 16148
811 East State Street, Sharon, PA 16146
802 Pennsylvania Avenue, Pittsburgh, PA 15233
880 Butler Street, Pittsburgh, PA 15223
900 Mount Royal Blvd., Pittsburgh, PA 15223
25 Jones Station Road West, Severna Park, MD 21146
1800-1814 Morningside Avenue, Pittsburgh, PA 15206
139 South Main Street, Butler, PA 16001
Virginia
2600 Weir Place, Chester, VA 23831
520 West Broad Street, Richmond, VA 23220
Warwick Shopping Center, Newport News, VA 23601
3701 Kecoughtan Road, Hampton, VA 23669
421 Wythe Creek Road, Poquoson, VA 23662
Cape Henry SC, Virginia Beach, VA 23451
#rite #aid #closing #more #storesRite Aid is closing 95 more stores after selling assets to CVS and others: See the full list of locations across 6 states
Rite Aid is moving quickly to close additional store locations after selling a substantial chunk of its pharmacy business to other companies last week.
The drugstore chain, which is winding down operations after seeking Chapter 11 bankruptcy protection for a second time earlier this month, has listed 95 store locations that it wants to close as it continues to seek buyers for its retail operations. The locations span six states, with Rite Aid’s home state of Pennsylvania being hit hardest. The list includes more than 70 Pennsylvania stores.
Competitors scoop up Rite Aid’s pharmacy assets
The move to close additional locations was disclosed in a court filing one day after Rite Aid announced that it has reached agreements to sell its prescription files for more than 1,000 pharmacy locations, most of Rite Aid’s fleet. CVS Pharmacy, Walgreens, Albertsons, Kroger, and Giant Eagle were among the successful bidders, the company said. The sale agreements still need to be approved by a court.
Rite Aid also said that CVS will take over “many” pharmacy locations in Washington state, Oregon, and Idaho, although it did not name the locations. CVS, in its own announcement, said it planned to buy prescription files for 625 locations but that it was only taking over 64 physical Rite Aid stores.
That leaves the immediate fate of many Rite Aid locations uncertain. Although all locations will cease to be Rite Aid stores eventually, Rite Aid is still seeking to sell some of them to other retailers. An auction is planned for June.
In the meantime, expect the 95 stores listed below to close soon. Fast Company reached out to Rite Aid for a more specific timeline.
The shuttering of these locations comes after previous Rite Aid filings revealed that it would close 47 initial stores followed by 68 additional stores last week, for a total of 210 closures so far. At the time of its bankruptcy filing, Rite Aid revealed that it had 1,277 pharmacies, three distribution centers, and more than 24,000 employees across 15 states.
Rite Aid closures revealed on May 16:
California
1583 Highway 99, Gridley, CA 95948
2140 Contra Costa Boulevard, Pleasant Hill, CA 94523
3105 Rancho Vista Boulevard, Palmdale, CA 93551
37435 Main Street, Burney, CA 96013
Delaware
38169 Dupont Boulevard, Selbyville, DE 19975
Maryland
2801 Foster Avenue, Baltimore, MD 21224
101 Marlboro Ave Ste 15, Easton, MD 21601
25 Jones Station Road West, Severna Park, MD 21146
Oregon
1900 Mcloughlin Blvd., Oregon City, OR 97045
16261 South Highway 101, Harbor, OR 97415
2336 North Coast Highway, Newport, OR 97365
4500 Commercial Street, S.E., Salem, OR 97302
1430 NW Garden Valley Blvd, Roseburg, OR 97471
Pennsylvania
1701 Duncan Avenue, Allison Park, PA 15101
2302 Sheffield Road, Aliquippa, PA 15001
3331 Pleasant Valley Blvd., Altoona, PA 16602
4400 Pennell Road, Aston, PA 19014
1799 Third Street, Beaver, PA 15009
5100 Library Road, Bethel Park, PA 15102
503 Clifton Road, Bethel Park, PA 15102
417 Chartiers Street, Bridgeville, PA 15017
139 South Main Street, Butler, PA 16001
1520 N Main Street Ext, Butler, PA 16001
200 Greater Butler Mart, Butler, PA 16001
3434 William Penn Highway, Churchill, PA 15235
412 Broadway Street, Coraopolis, PA 15108
20480 Route 19, Cranberry TWP, PA 16066
101 5th Street, Charleroi, PA 15022
300 Market Street, Elizabeth, PA 15037
4606 Admiral Peary Highway, Ebensburg, PA 15931
5430 Peach Street, Erie, PA 16509
4145 Buffalo Road, Erie, PA 16510
925 West Erie Plaza, Erie, PA 16505
700 Sharon New Castle Rd., Farrell, PA 16121
1020 Liberty Street, Franklin, PA 16323
335 Main Street, Greenville, PA 16125
9141 Ridge Road, Girard, PA 16417
1710 Mount Royal Blvd., Glenshaw, PA 15116
4155 Ewalt Road, Gibsonia, PA 15044
3730 Brighton Road, Pittsburgh, PA 15212
5633 Baum Boulevard, Pittsburgh, PA 15206
1800-1814 Morningside Avenue, Pittsburgh, PA 15206
1700 Murray Avenue, Pittsburgh, PA 15217
3210 Banksville Road, Pittsburgh, PA 15216
5504 Walnut Street, Pittsburgh, PA 15232
410 Cooke Lane, Pittsburgh, PA 15234
568 Caste Village, Pittsburgh, PA 15236
1130 Perry Highway Ste 35, Pittsburgh, PA 15237
1125 Freeport Road, Pittsburgh, PA 15238
2336 Ardmore Boulevard, Pittsburgh, PA 15221
7345 Saltsburg Road, Penn Hills, PA 15235
3434 William Penn Highway, Pittsburgh, PA 15235
1700 Pine Hollow Road, McKees Rocks, PA 15136
4185 Washington Road, McMurray, PA 15317
975 Market Street, Meadville, PA 16335
109 Allegheny River Blvd., Oakmont, PA 15139
3730 Brighton Road, Pittsburgh, PA 15212
300 Market Street, Elizabeth, PA 15037
135 South Market Street, New Wilmington, PA 16142
1501 Scalp Avenue, Johnstown, PA 15904
407 Central Avenue, Johnstown, PA 15902
4960 Bedford Street, Johnstown, PA 15904
113 West Main Street, West Newton, PA 15089
1236 Long Run Road, White Oak, PA 15131
6375 Library Road, South Park, PA 15129
2655 E Carson Street, Pittsburgh, PA 15203
1200 Pittsburgh Street, Cheswick, PA 15024
517 Beaver Street, Sewickley, PA 15143
221 Grove City Road, Slippery Rock, PA 16057
446 West Main Street, Monongahela, PA 15063
4111 William Penn Hwy., Monroeville, PA 15146
600 William Marks Drive, Munhall, PA 15120
1120 Philadelphia Avenue, Northern Cambria, PA 15714
8775 Norwin Avenue, North Huntingdon, PA 15642
3550 Route 130, Irwin, PA 15642
1440 East High Street, Waynesburg, PA 15370
201 Devine Drive, Wexford, PA 15090
100 Seven Fields Blvd, Seven Fields, PA 16046
334 Main Street, Greenville, PA 16125
1851 East State Street, Hermitage, PA 16148
811 East State Street, Sharon, PA 16146
802 Pennsylvania Avenue, Pittsburgh, PA 15233
880 Butler Street, Pittsburgh, PA 15223
900 Mount Royal Blvd., Pittsburgh, PA 15223
25 Jones Station Road West, Severna Park, MD 21146
1800-1814 Morningside Avenue, Pittsburgh, PA 15206
139 South Main Street, Butler, PA 16001
Virginia
2600 Weir Place, Chester, VA 23831
520 West Broad Street, Richmond, VA 23220
Warwick Shopping Center, Newport News, VA 23601
3701 Kecoughtan Road, Hampton, VA 23669
421 Wythe Creek Road, Poquoson, VA 23662
Cape Henry SC, Virginia Beach, VA 23451
#rite #aid #closing #more #stores